
The story
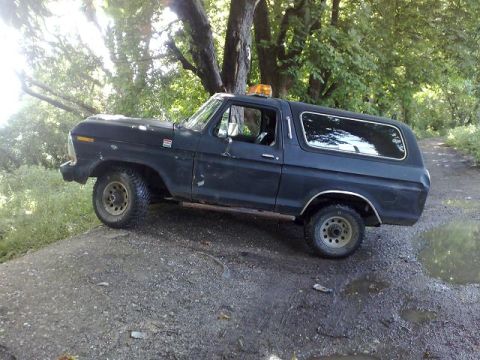
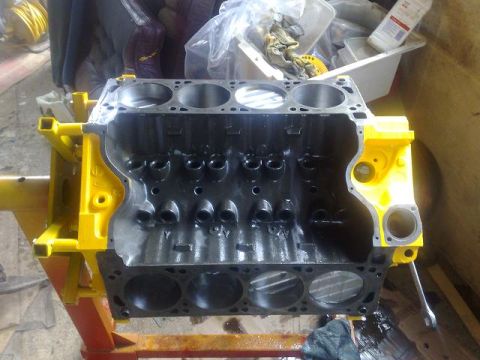
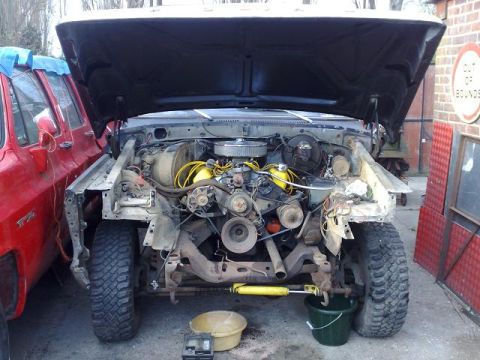
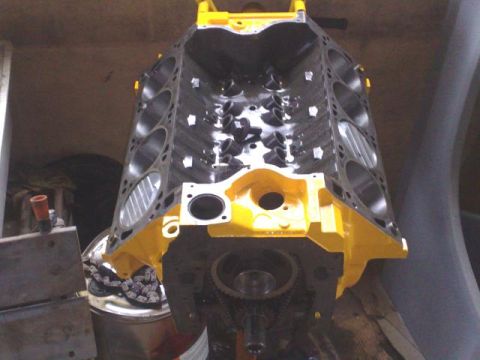
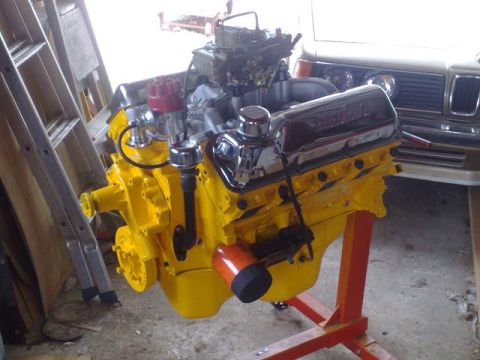
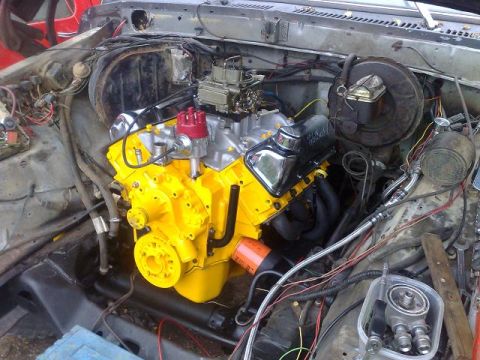
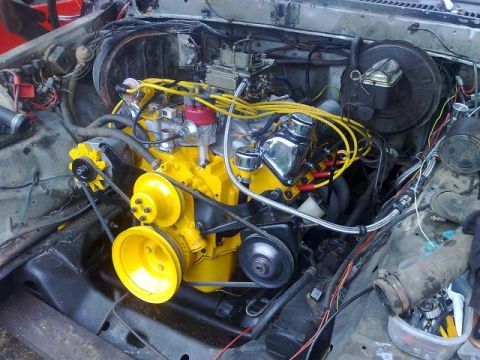
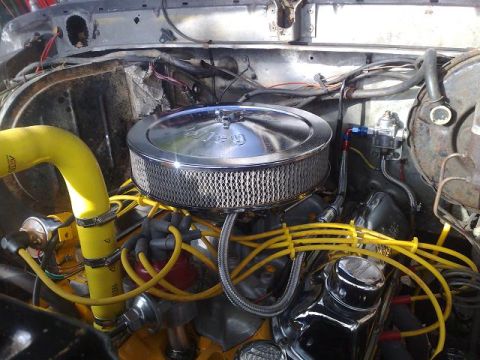
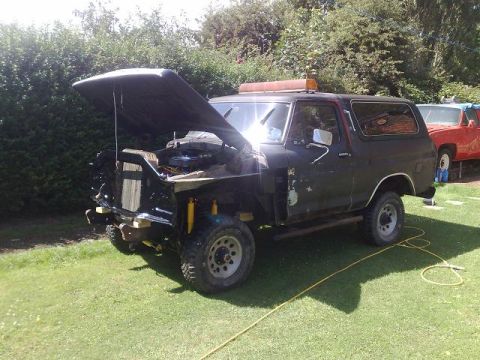
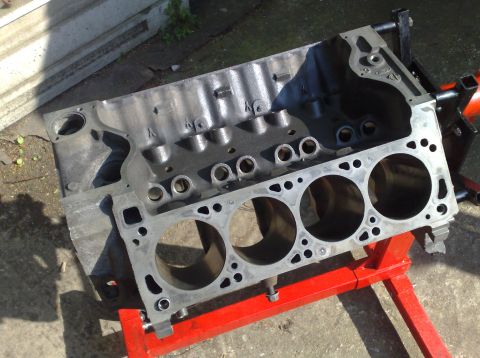
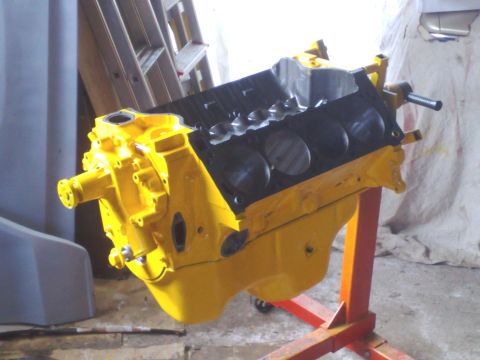
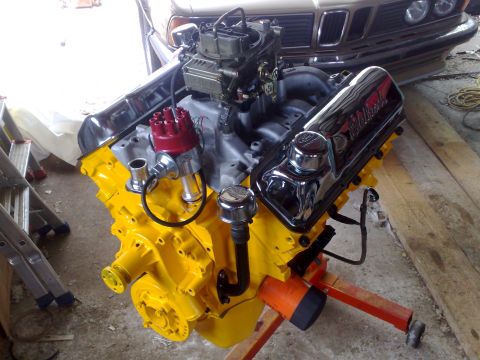
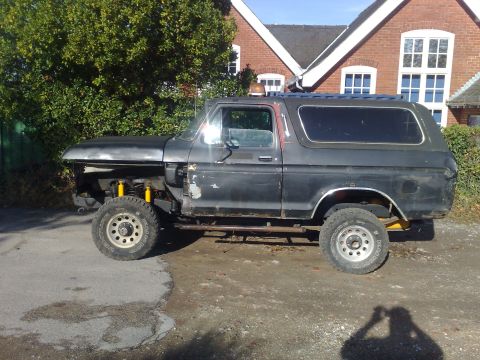
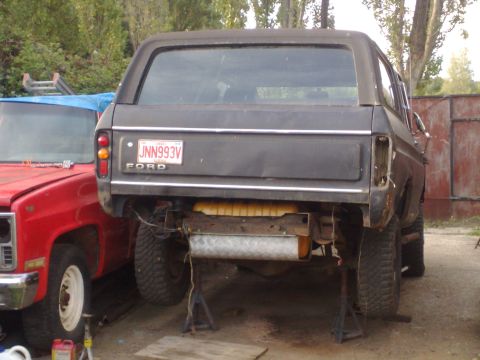
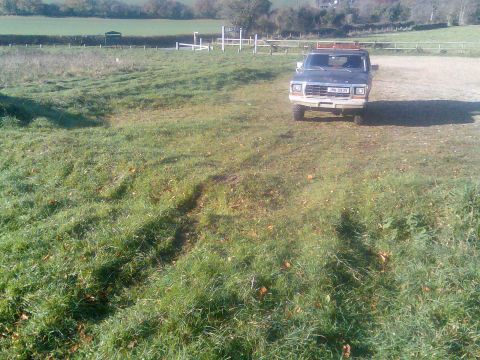
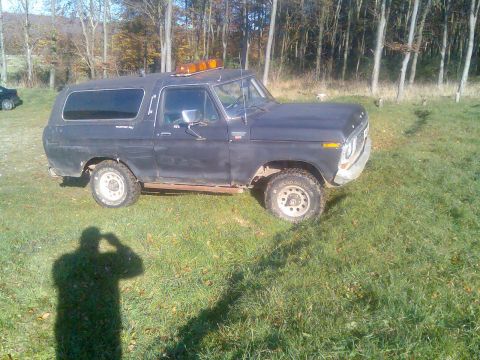
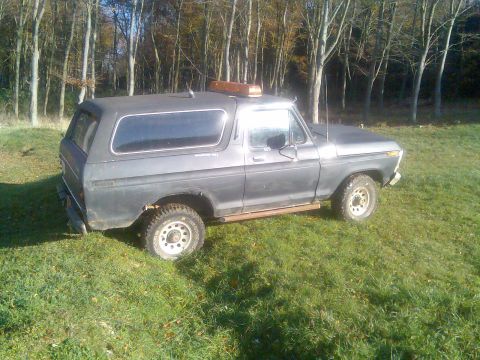
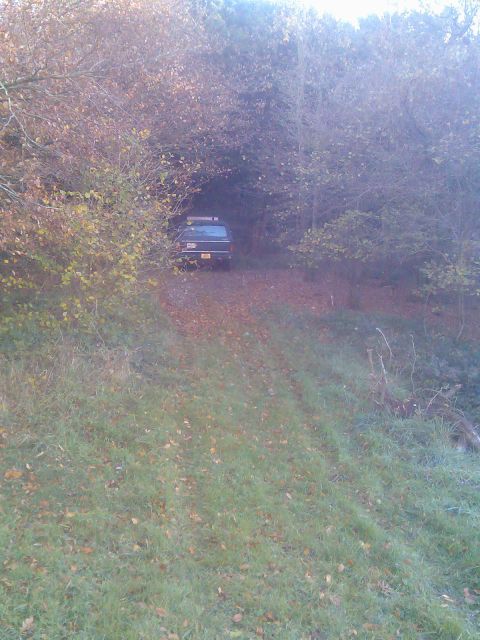
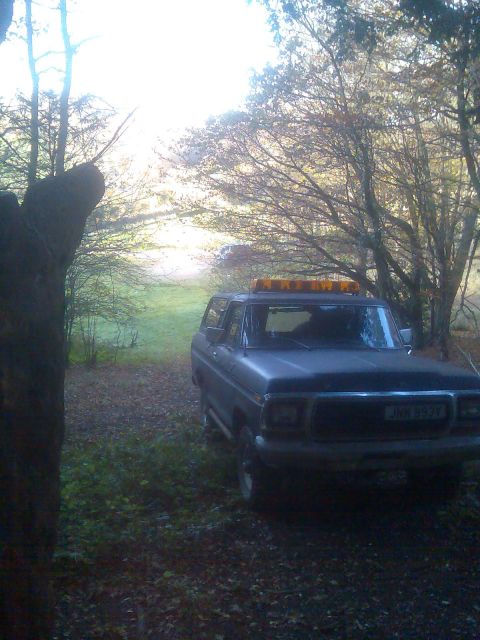
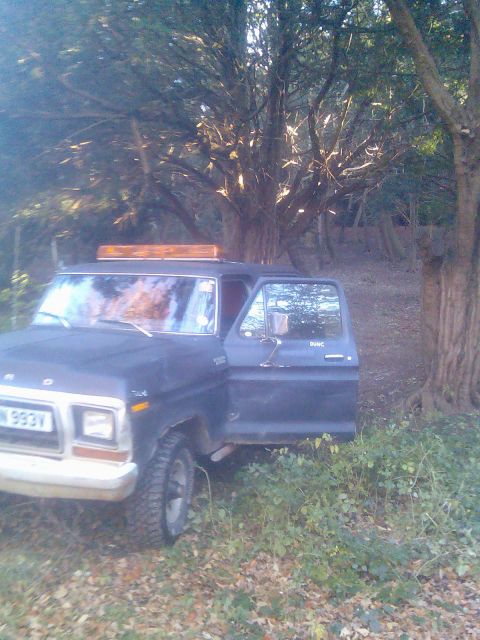
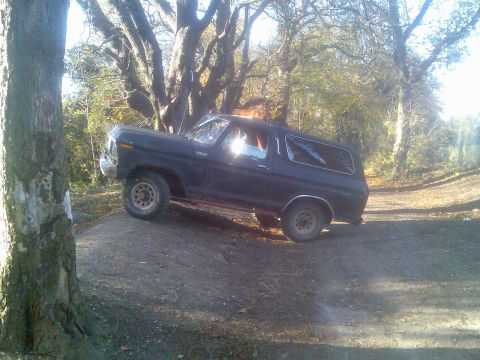
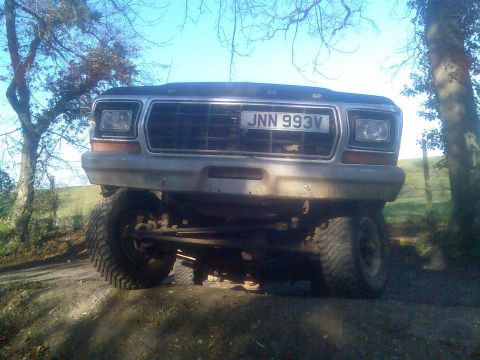
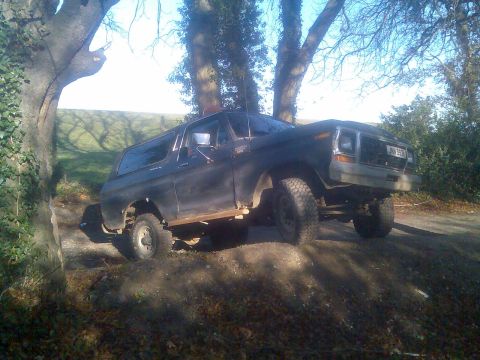
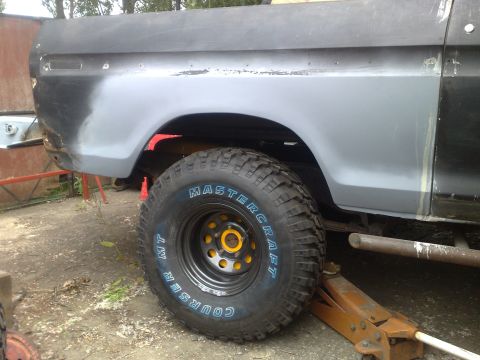
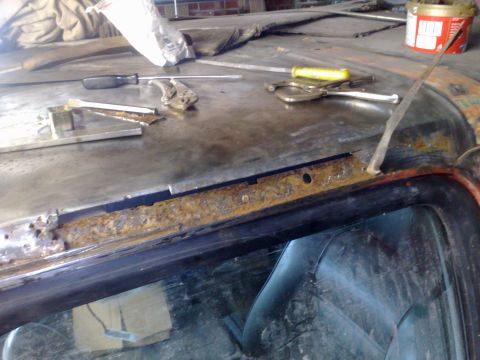
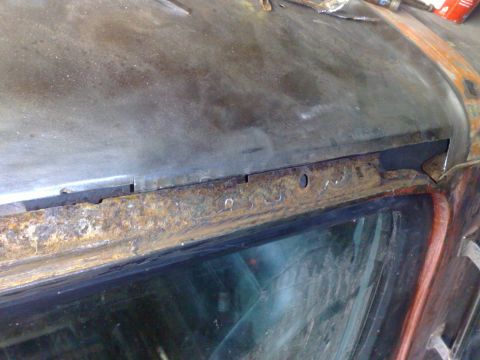
.It had originally been imported to UK from Canada.I have started a long rebuild that i intend to do along side using it. I would love to do a nut and bolt rebuild but shipping parts over the pond makes it rather expensive.It is an on going restoration that I intend using as much as I can in between repairs money allowing! — paddythegod
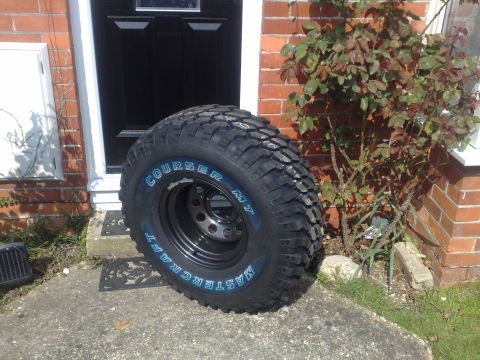
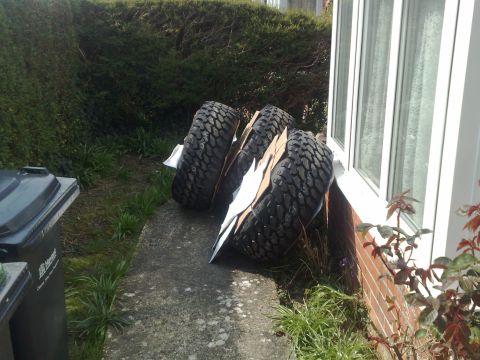
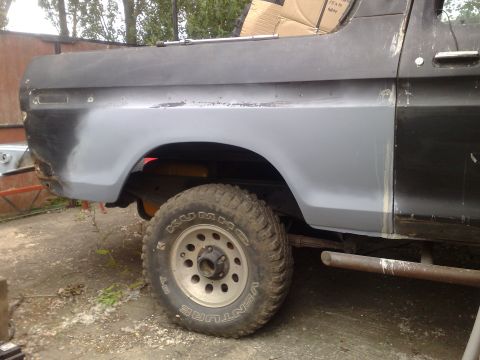
Photos


The peanut gallery
Spotted in the wild
Seen this vehicle at a show or on the trail? Add your shot — the owner approves it onto the record.
Spotted this vehicle somewhere? Sign in to submit your shot.
Sign in
No comments yet — be the first to add to the record.