P1200001.JPG
11139 hits | 70.5 KB | Posted: 1/21/07

Ford SuperDuty 
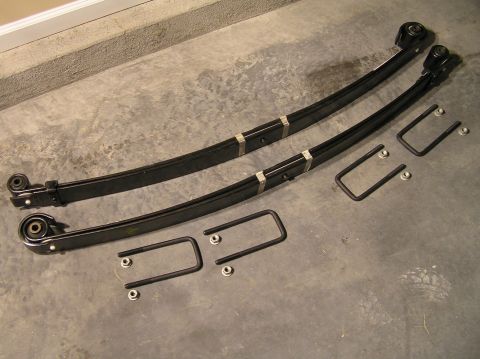
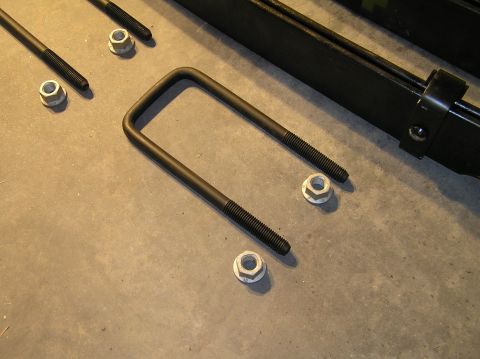
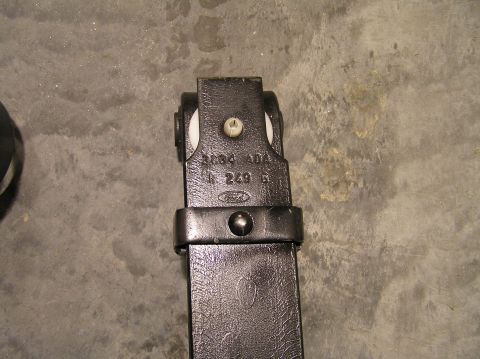
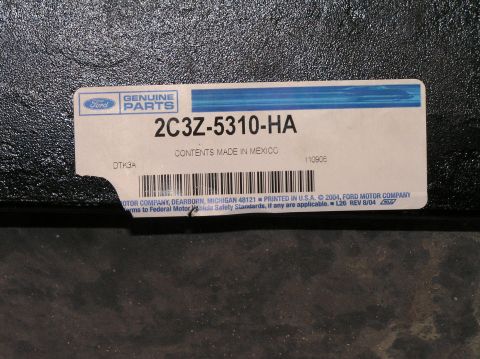
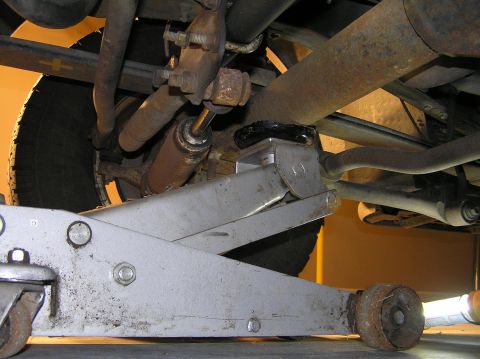
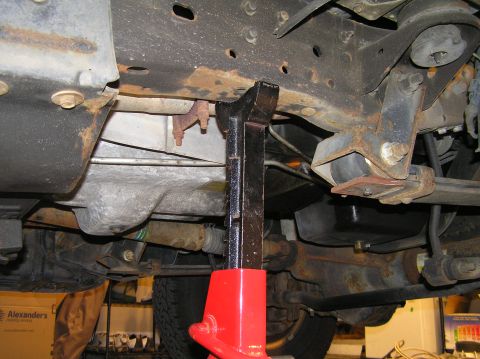
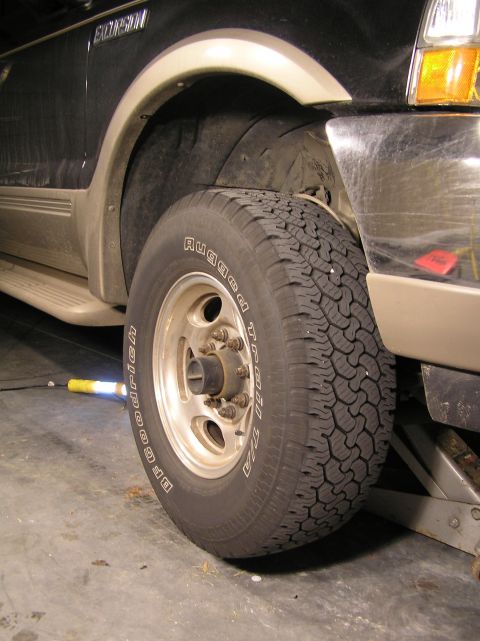
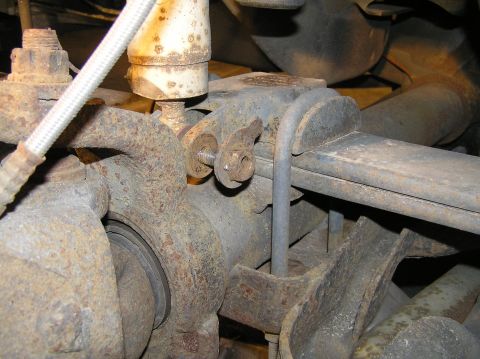
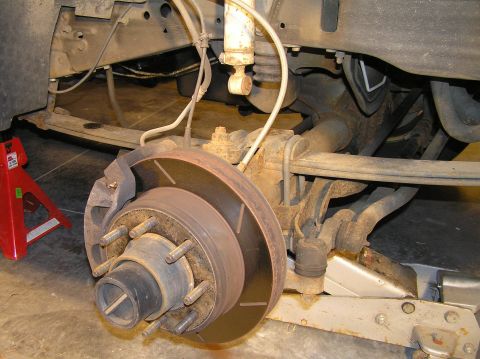
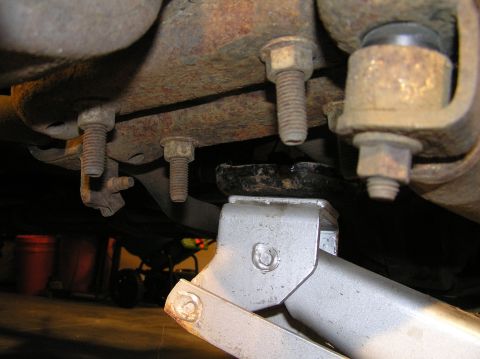
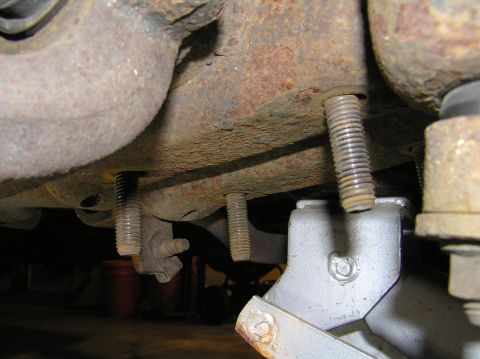
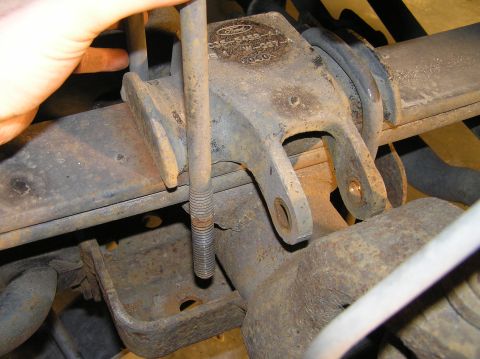
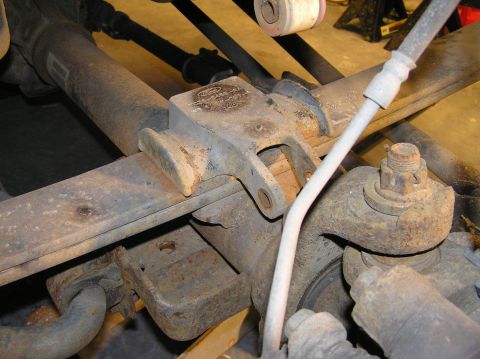
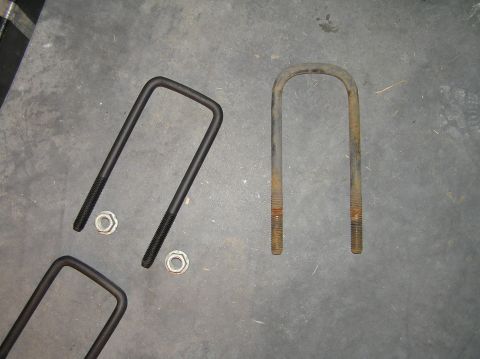
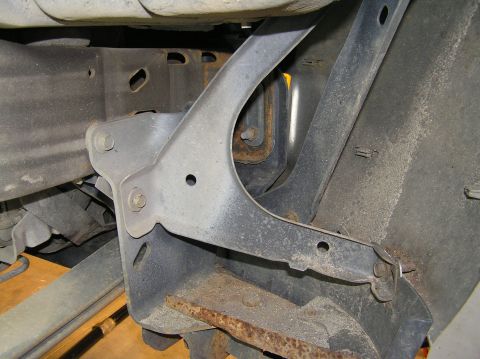
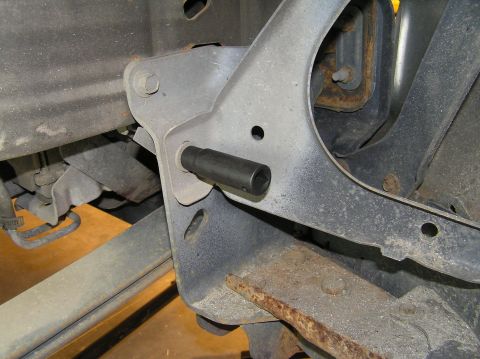
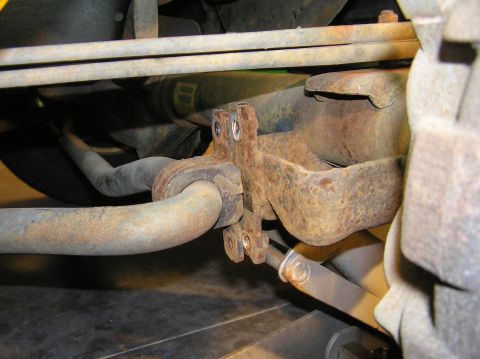
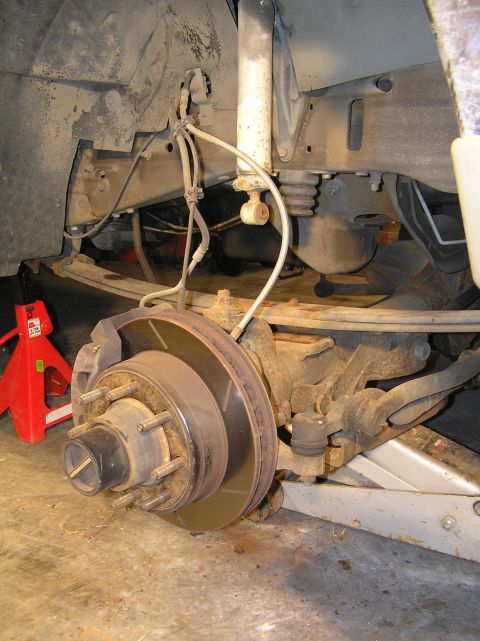
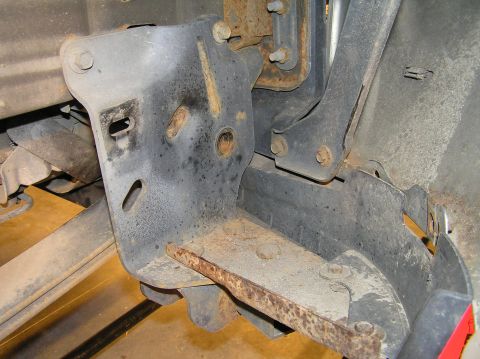
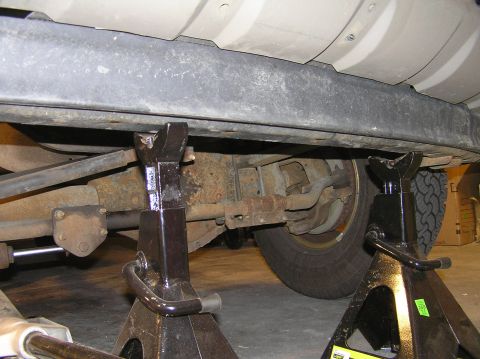
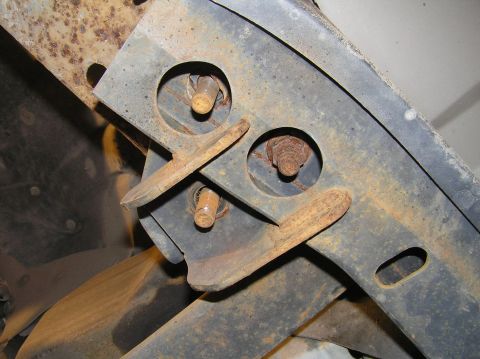
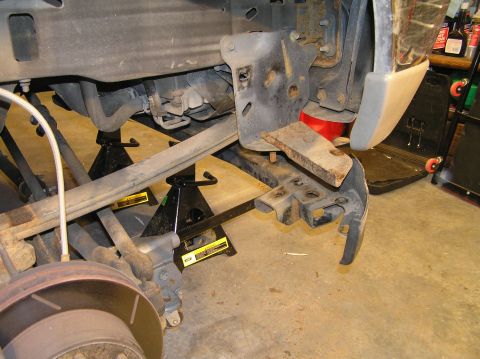
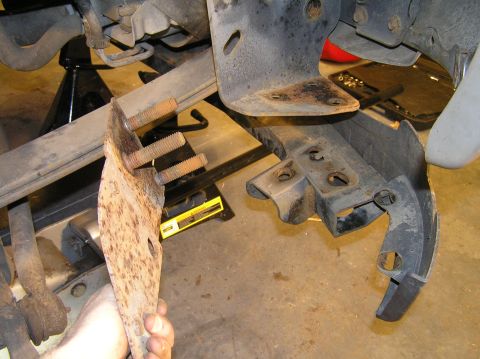
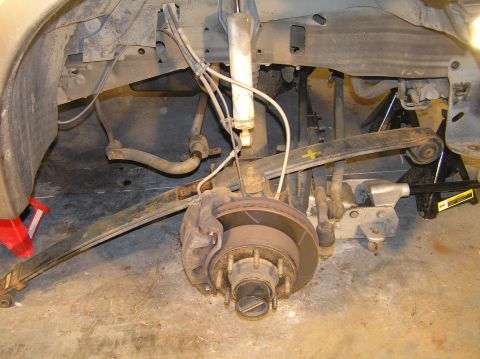
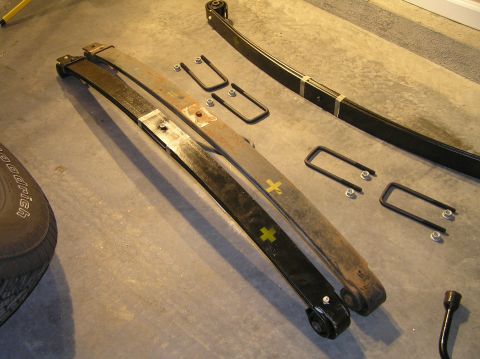
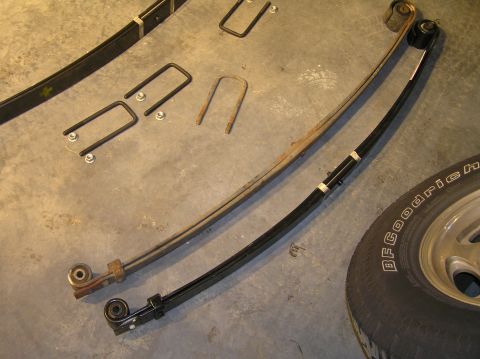
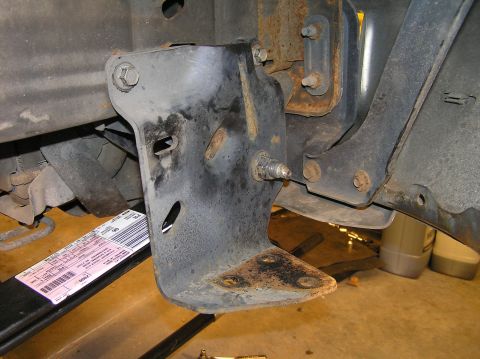
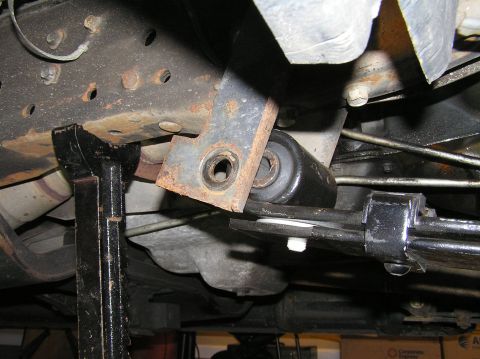
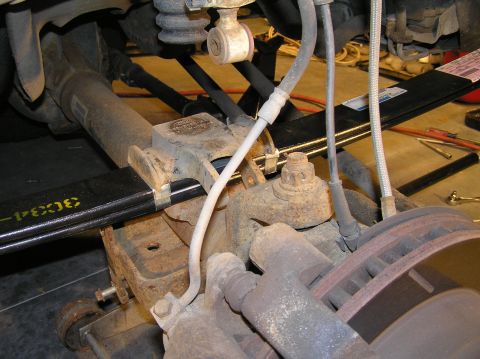
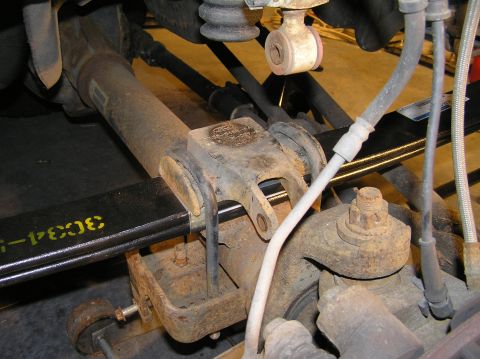
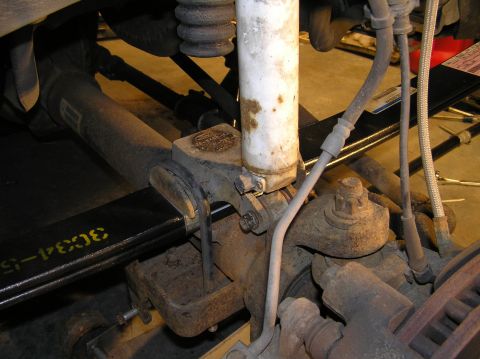
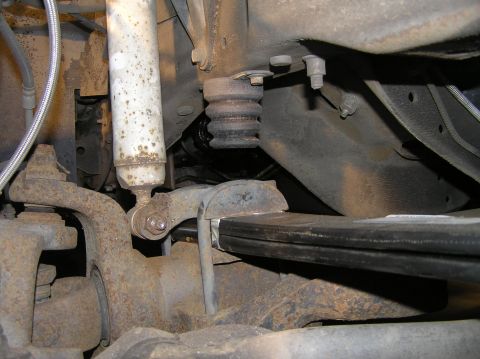
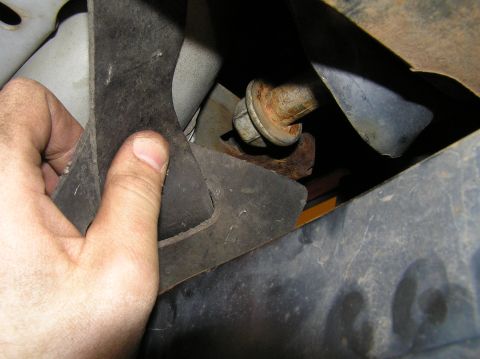
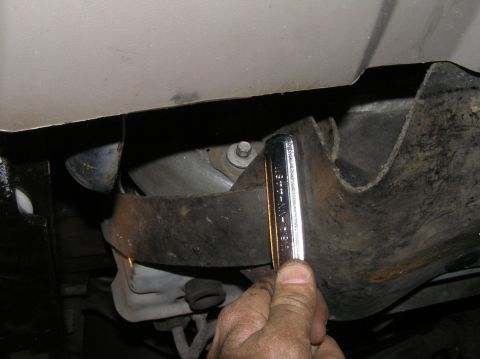
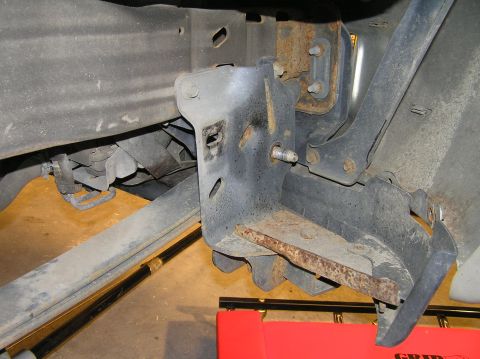
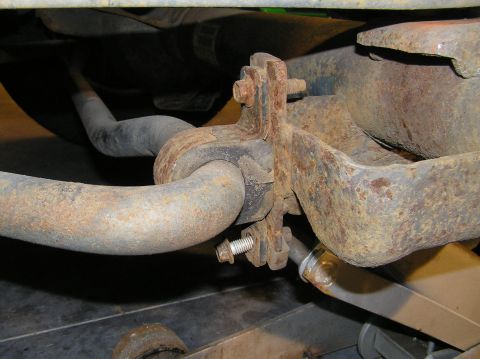
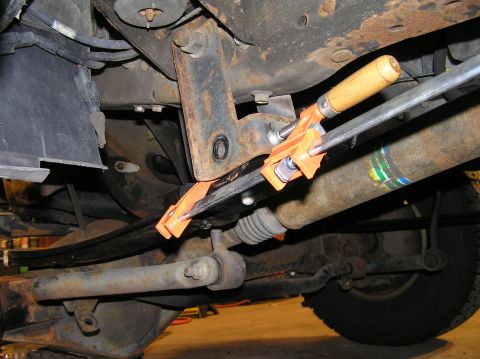
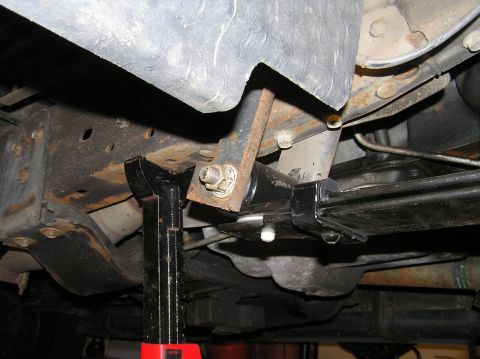
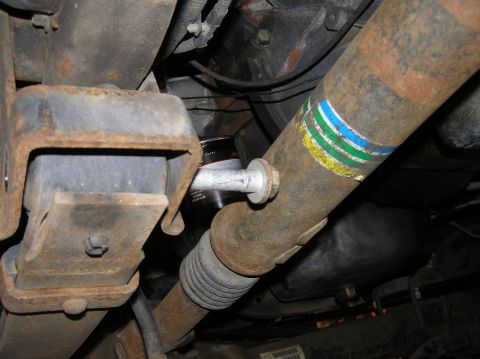
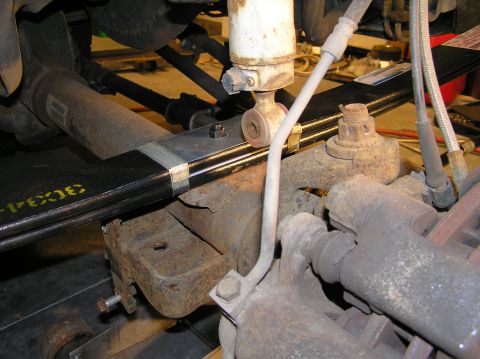
V-Code Leaf Spring Installation on a 2000 Ford Excursion

The Problem...
P1200002.JPG
6120 hits | 63.97 KB | Posted: 1/21/07

IMPORTANT: Your front OEM u-bolts for your leaf springs may be different. I ordered replaceme...
P1200003.JPG
7158 hits | 73.15 KB | Posted: 1/21/07

SuperDuty V-Code Stamping: 3C34 ADA R 249 6
P1200007.JPG
6805 hits | 86.83 KB | Posted: 1/21/07

SuperDuty V-Code Leaf Spring part number: 2C3Z-5310-HA
P1200010.JPG
5628 hits | 73.19 KB | Posted: 1/21/07

Remove the lug-nut wrench from under the hood of your Excursion. We'll use the end with the rubber t...
P1200011.JPG
5539 hits | 73.71 KB | Posted: 1/21/07

Pry off the lug nut wheel cover.
P1200012.JPG
5506 hits | 70.01 KB | Posted: 1/21/07

P1200015.JPG
5791 hits | 57.79 KB | Posted: 1/21/07

Before jacking up the front end, I measured the height from the ground to the top of the wheel well....
P1200021.JPG
6880 hits | 71.36 KB | Posted: 1/21/07

This install covers the passenger side leaf spring. When jacking up the passenger side, position you...
P1200022.JPG
5941 hits | 80.22 KB | Posted: 1/21/07

Since we'll need to jack the truck up and lower the front end, I jacked the front end under the axle...
P1200023.JPG
5723 hits | 64.32 KB | Posted: 1/21/07

With the vehicle secured on jack stands and your floor jack still maxed out under the front axle, no...
P1200024.JPG
5716 hits | 79.95 KB | Posted: 1/21/07

With the wheel removed, we can now remove the lower shock bolt. We need to disconnect the shock so w...
P1200028.JPG
6347 hits | 80.64 KB | Posted: 1/21/07

With the lower shock bolt removed, you can compress the shock as much as possible to get it out of y...
P1200029.JPG
5586 hits | 61.4 KB | Posted: 1/21/07

With the shock disconnected, we can now remove the nuts on the u-bolts. My u-bolts actually turned o...
P1200032.JPG
5393 hits | 65.15 KB | Posted: 1/21/07

All 4 u-bolt nuts removed.
P1200033.JPG
5348 hits | 76.19 KB | Posted: 1/21/07

Slide the u-bolts out from the top. They pull out quite easily.
P1200034.JPG
5543 hits | 77.51 KB | Posted: 1/21/07

All 4 u-bolts removed. Notice the round mark on the bump-stop from the rubber stopper. This is from ...
P1200035.JPG
5435 hits | 82.01 KB | Posted: 1/21/07

Lift the bump-stop off of the leaf spring.
P1200036.JPG
5336 hits | 57.38 KB | Posted: 1/21/07

Here are the new u-bolts (left) and my original u-bolt (right). Notice how my original u-bolt is mor...
P1200041.JPG
5488 hits | 74.65 KB | Posted: 1/21/07

Unfortunately, the front leaf spring eye-bolts are not easy to get to, so you have to remove the cor...
P1200042.JPG
5437 hits | 76.3 KB | Posted: 1/21/07

There are three 13mm bolts holding the bracket in place. Using an impact wrench makes easy work of t...
P1200043.JPG
5411 hits | 73.63 KB | Posted: 1/21/07

The top 13mm bolt for the bumper corner support bracket is in a tight spot. You'll have to resort to...
P1200044.JPG
5250 hits | 70.45 KB | Posted: 1/21/07

Next up, remove the nut from the rear eye-bolt of the leaf spring. Simply punch the bolt through the...
P1200046.JPG
5196 hits | 80.58 KB | Posted: 1/21/07

Prepare to spend a lot of time on this step.

As you can see, I pulled out the Bernz-O-Matic propa...
P1200048.JPG
5421 hits | 76.45 KB | Posted: 1/21/07

I couldn't fit my impact wrench in this space so I had to resort to using a 1/2" ratchet on the bolt...
P1200050.JPG
5290 hits | 81.51 KB | Posted: 1/21/07

Success! Before you go pounding this bolt out, you'll need to remove a support bracket on the front ...
P1200059.JPG
5283 hits | 61.09 KB | Posted: 1/21/07

This photo is actually from the driver's side -- but it applies to the passenger side leaf spring ey...
P1200089.JPG
5261 hits | 50.71 KB | Posted: 1/21/07

Fortunately for us, this bracket is simple to remove with a 3/8" ratchet and an 8mm socket. It's som...
P1200051.JPG
5375 hits | 74.58 KB | Posted: 1/21/07

With the support bracket from the previous step out of the way, you can now punch the eye-bolt out f...
P1200053.JPG
5507 hits | 68.11 KB | Posted: 1/21/07

Before we drop the front axle, we must disconnect the way bar. If we don't, the sway bar will preven...
P1200055.JPG
5342 hits | 66.61 KB | Posted: 1/21/07

With the sway bar disconnected from this side of the front axle, the axle can now have full range of...
P1200057.JPG
5376 hits | 75.81 KB | Posted: 1/21/07

Now it's time to lower your floor jack. Keep lowering it until the axle separates from the leaf spri...
P1200062.JPG
6223 hits | 80.36 KB | Posted: 1/21/07

The blocker beam on the front of the Excursion was blocking my ability to drop the leaf spring compl...
P1200063.JPG
5471 hits | 74.01 KB | Posted: 1/21/07

Position 2 jack stands under the blocker beam so it doesn't crash to the ground when you unbolt it. ...
P1200064.JPG
5696 hits | 74.69 KB | Posted: 1/21/07

Unbolt the nuts from the 3 bolts on each side of the blocker beam.

Tools Needed:
21mm dee...
P1200066.JPG
5945 hits | 80.07 KB | Posted: 1/21/07

With the 5 bolts removed from each side, you can separate the blocker beam and facia from the front ...
P1200067.JPG
5677 hits | 78.21 KB | Posted: 1/21/07

Lift the blocker beam bracket out of the holes in the blocker beam.
P1200072.JPG
5355 hits | 80.63 KB | Posted: 1/21/07

The coast is finally clear to remove the leaf spring. You can use your 3-lb hammer to knock it out o...
P1200073.JPG
5615 hits | 72.03 KB | Posted: 1/21/07

New leaf spring (left) and old leaf spring (right).
P1200074.JPG
5576 hits | 69.43 KB | Posted: 1/21/07

New leaf spring (bottom) and old leaf spring (top). There doesn't appear to be a significant differe...
P1200080.JPG
5532 hits | 76.08 KB | Posted: 1/21/07

Reinsert the eye bolt in the front of the leaf spring first (save the rear bolt for the next step fo...
P1200075.JPG
5308 hits | 74.17 KB | Posted: 1/21/07

The shackle won't initially line up with the leaf spring. No problem, proceed to the next step.
P1200093.JPG
5321 hits | 77.52 KB | Posted: 1/21/07

[i]Sorry to switch angles -- this is from the driver's side, but it still applies to the passenger s...
P1200081.JPG
5261 hits | 69.34 KB | Posted: 1/21/07

Reinsert the rear bolt and tighten.

Tools Needed:
24mm socket (nut)
21mm socket (bolt he...
P1200090.JPG
5251 hits | 67.18 KB | Posted: 1/21/07

I also wanted to show this bolt from the driver's side angle as well. You may run into the issue whe...
P1200077.JPG
5296 hits | 77.84 KB | Posted: 1/21/07

Jack the front axle back up with your floor jack. Hopefully the stud in the new leaf spring will ali...
P1200078.JPG
5233 hits | 79.8 KB | Posted: 1/21/07

Reinstall the bump-stop/u-bolt plate. The notch in the bump-stop lines up with the nut on top of the...
P1200082.JPG
5117 hits | 80.14 KB | Posted: 1/21/07

Reinstall the u-bolts and tighten with the new nuts (discard the old nuts). Hand-tighten at first, e...
P1200083.JPG
5053 hits | 72.63 KB | Posted: 1/21/07

Re-attach shock with lower shock bolt.

Tools Needed:
21mm socket (for bolt)
15mm socket ...
P1200085.JPG
5557 hits | 71.42 KB | Posted: 1/21/07

The completed install! There's actually room for spring travel again.

Conclusion
This pro...

About SuperMotors | Contact Us | FAQ/Help | Legal
Copyright © 1998-2024 Web Design Solutions, Inc.
All rights reserved. Duplication & reproduction is strictly prohibited.
SuperMotors.net v5.0.2 ChangeLog