Home/
Registry/
Ford/
F-150/
2004–2008/
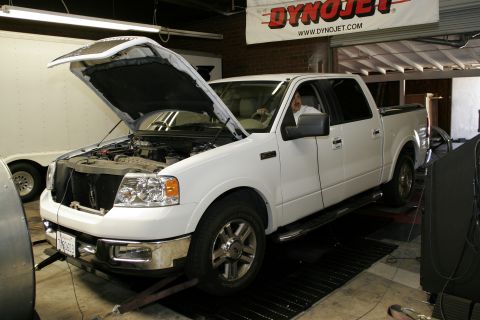
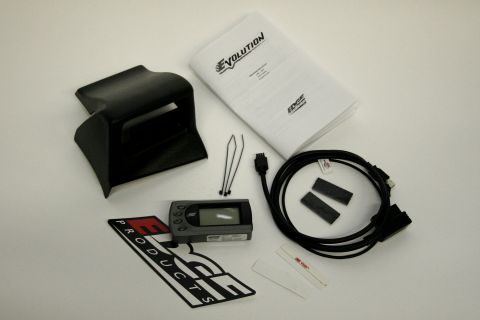
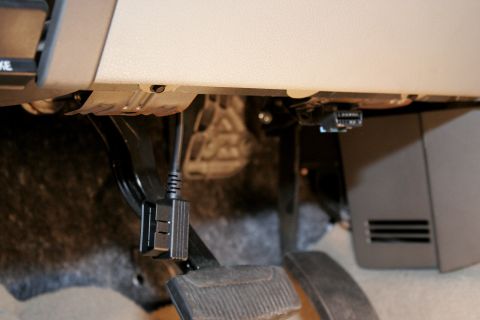
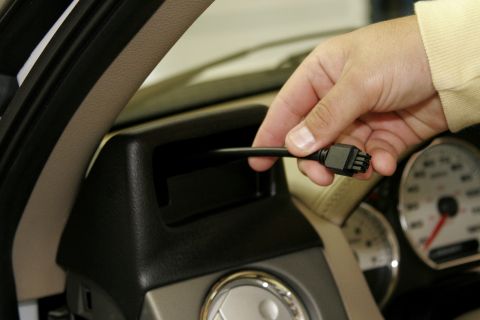
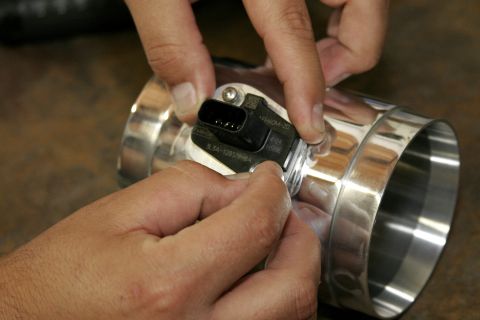
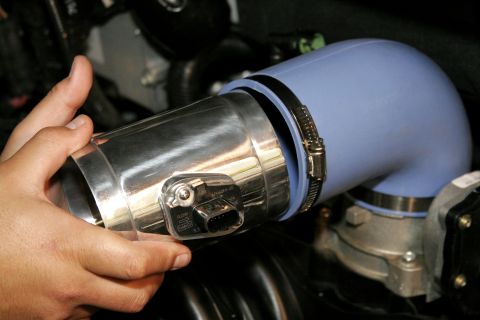
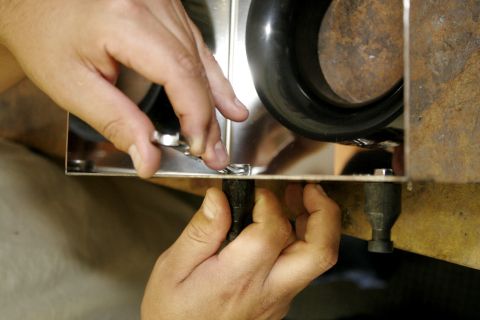
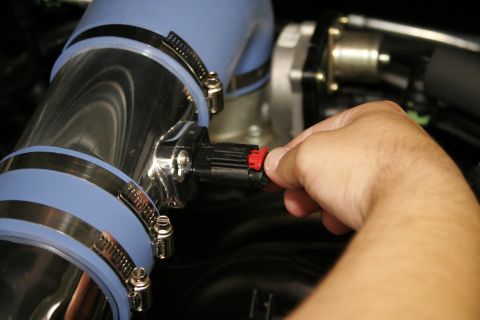
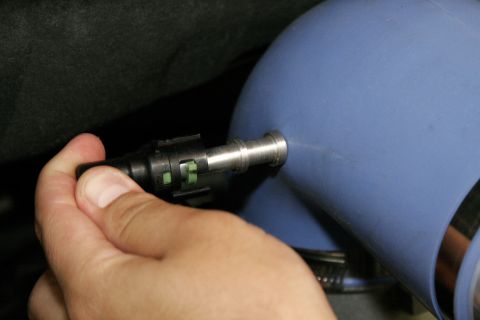
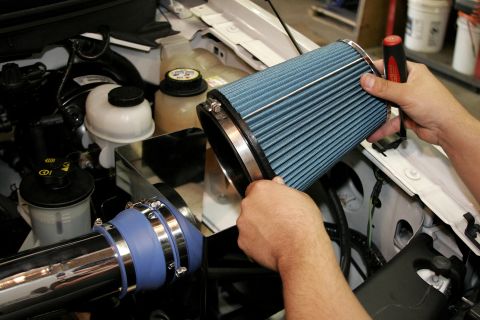
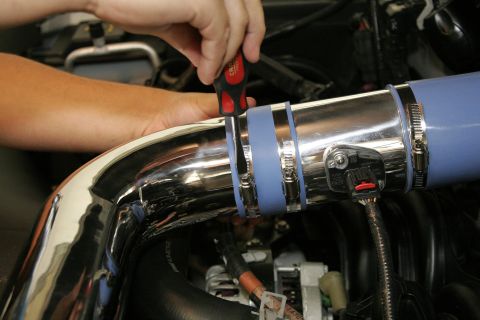
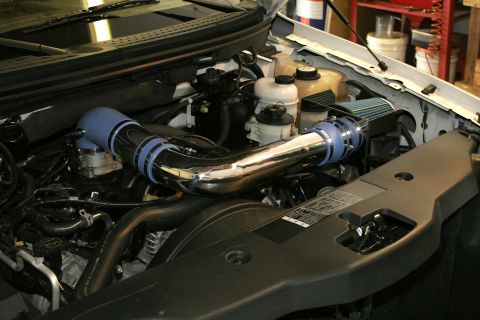
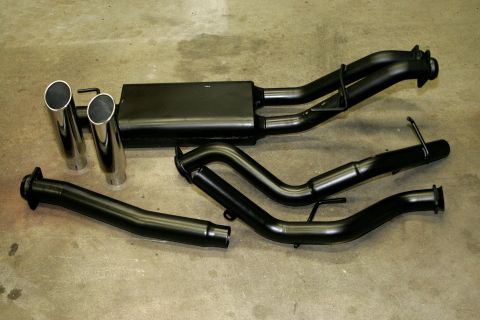
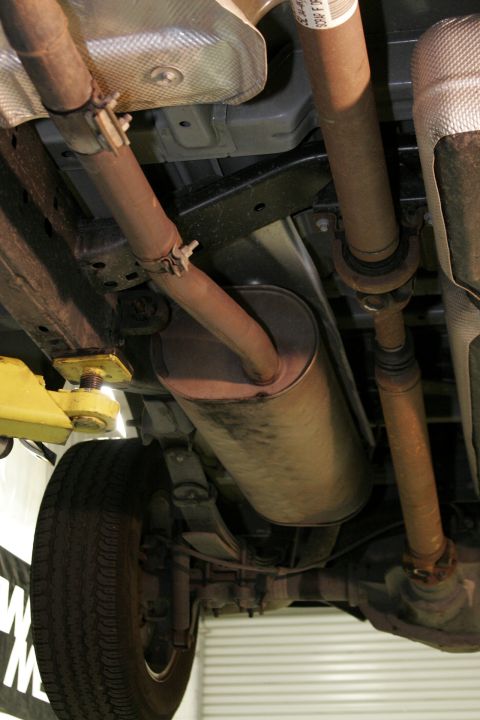
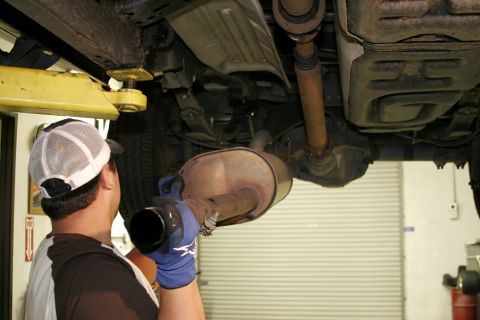
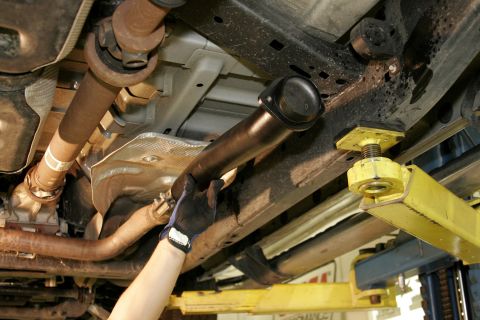
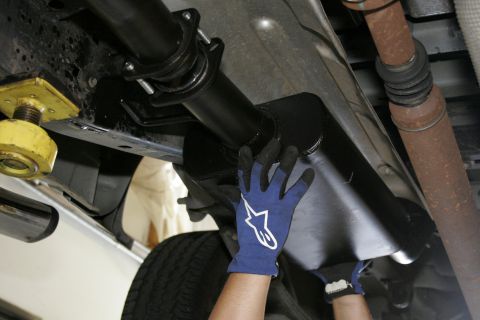
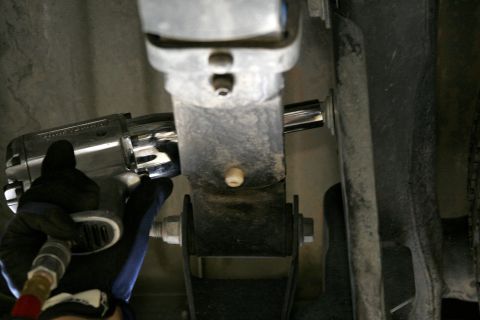
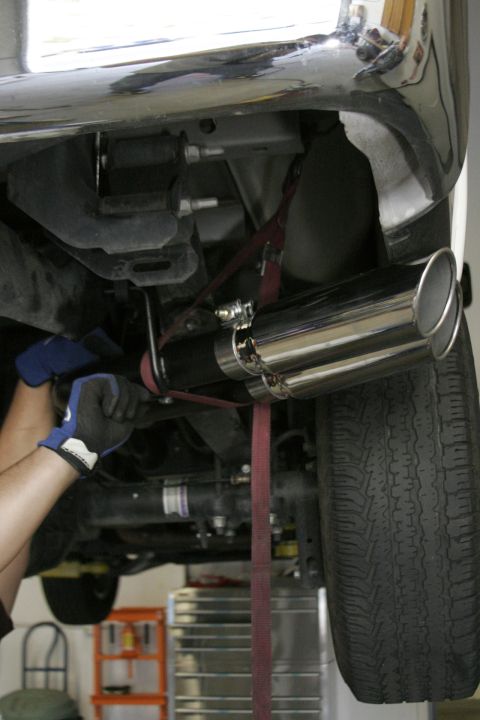
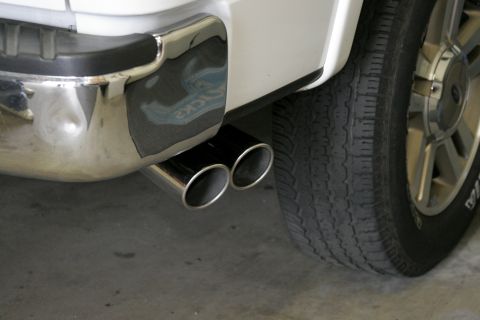
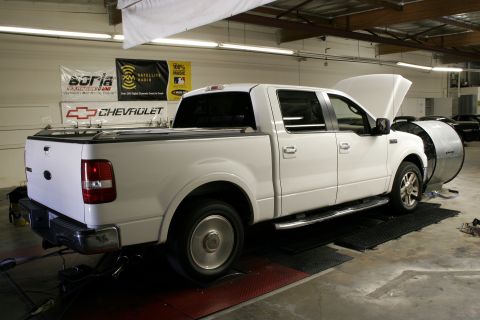
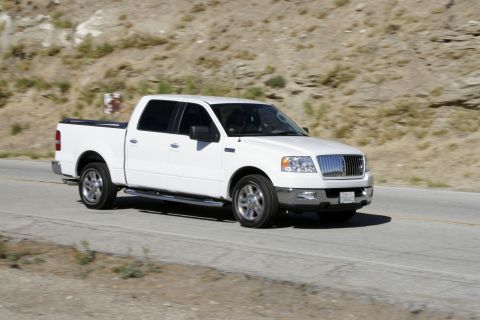
“Quick and Easy Power”/
F150 performance mods from MAC and Edge Products
supermotors.net/registry/16162/54602
Album section
F150 performance mods from MAC and Edge Products
From 2005 Ford F-150 “Quick and Easy Power” — documented by SuperMotors.
36 photos