How-to
1968 Ford Ranchero: Taking Apart an Underhood Harness Connector
This how-to walks through disassembling a typical Ford underhood and chassis harness connector on a 1968 Ford Ranchero. The photos cover releasing the red keeper, pulling the weather seal, and freeing each wire from the plastic tabs inside the connector body.
-
Step 1
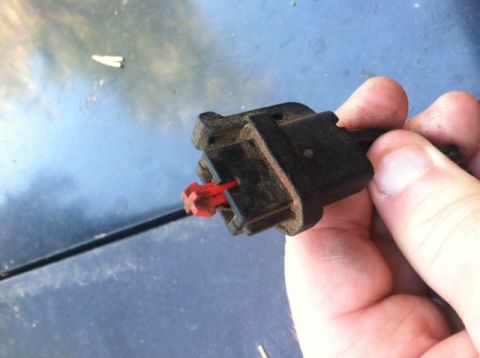
Identify the parts of the connector: the wires, a rubber weather-tight piece, the plastic connector body, and a red plastic keeper. scld1343 recommends a small pick for this job and notes that a tiny flat-head screwdriver will work as well.
-
Step 2
Find the small slot in the keeper, place the pick in the slot, and push the keeper loose. scld1343 warns that a connector may have more than one keeper and that a keeper can shoot off when it releases.

-
Step 3
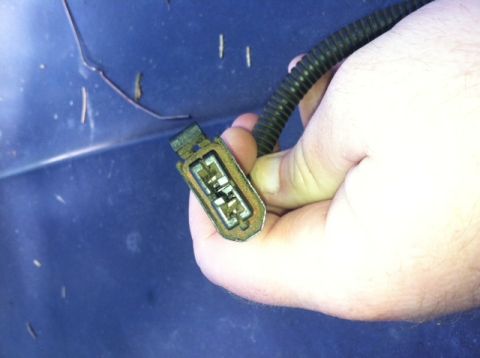
Once the keeper is loosened, remove it completely. Look down inside the connector at the wires, which are held in place by plastic tabs.
-
Step 4
Remove the foam and rubber weather protection from the back of the connector by placing the pick between the foam and the wires, or between the foam and the edge of the connector, and pulling it out. With the foam out, the plastic tabs that hold the wires are visible, so turn the piece back over to reach them.


-
Step 5
Working from the front side, slide the pick carefully between a tab and its wire while wiggling and pulling that wire from the back of the connector. scld1343 points out that there is one tab per wire and that the tabs are very brittle, and reports that the wire pulls out easily from the back once the tension on the tab is relieved.


-
Step 6
Repeat for each wire until the connector is fully disassembled. The album ends here, with the connector apart and no reassembly photos.

Some product links go to the supplier the owner bought from. SuperMotors does not earn a commission today; if that changes, this line will say so and creators will be paid from it.