How-to
1990 Ford F-250 Rear Disc Brake Conversion
This job converts the rear drum brakes on a 1990 Ford F-250 with a 10.25 full-floating axle over to discs using a bolt-on caliper bracket kit. Kingfish999 bought the kit from Ruffstuff and documented the teardown, the shimming needed to clear the rotor, the final bearing and hub install, new brake lines and an adjustable proportioning valve.
-
Step 1
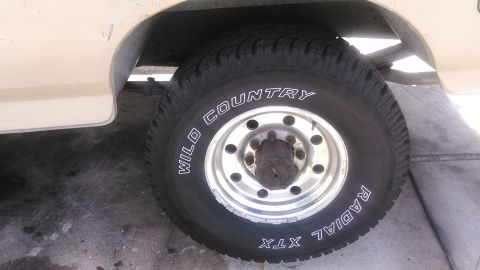
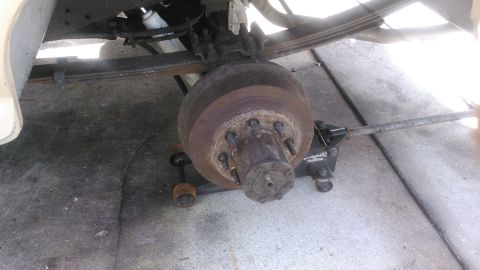
Chock the front tires, jack up the rear and remove the wheel. Kingfish999 bought the conversion kit from Ruffstuff.
-
Step 2
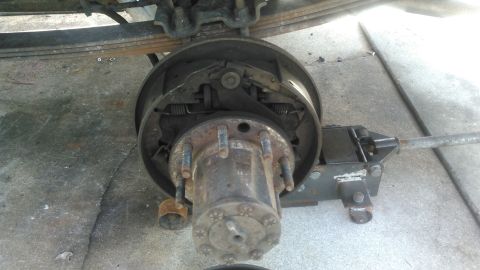
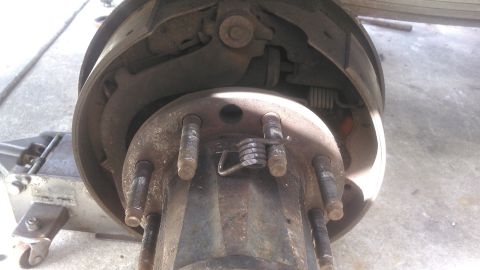
Pull the drum off. If it wobbles but will not come off, loosen the self adjuster through the back access hole with a flathead screwdriver; if it will not budge at all it may be rusted to the hub and need tapping to break it free. Kingfish999 found a broken spring inside, which explained a noise in the drums and settled the decision to go to discs rather than repair them.
-
Step 3
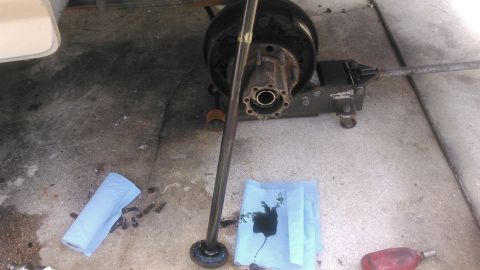
Check there is enough room to slide the axle shaft out before going further, then remove the 8 flange bolts and pull the flange. Gear oil will come out, so catch it; the higher the axle is angled, the less oozes out. Kingfish999 missed this check on the passenger side and had to reassemble enough to roll the truck to a spot with clearance.
-
Step 4
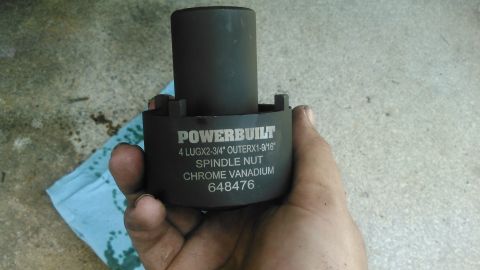
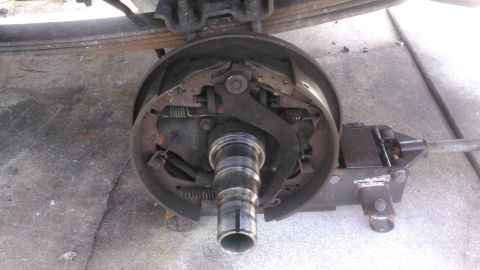
Remove the spindle nut with a 4-point spindle nut tool and pull the entire hub off. Pry the spindle seal off where it sticks to the spindle.
-
Step 5
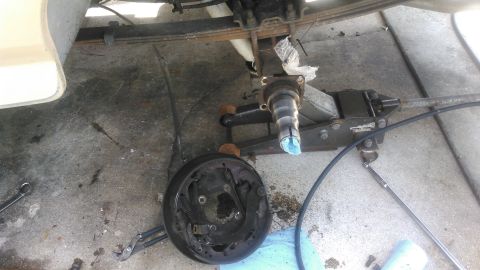
Remove the 4 bolts holding the brake backing plate and disconnect the brake line, then lift the backing plate off. Have a way to stop the brake fluid ready before the line comes loose; Kingfish999 slowed it with a plastic bag and a zip tie. The e-brake cable can come off at any point.
-
Step 6
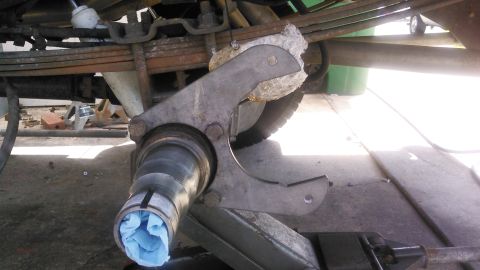
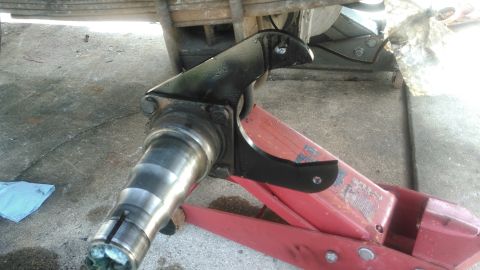
Bolt the new caliper mounting plate to the axle to mock everything up. Kingfish999 painted the brackets at this stage.
-
Step 7
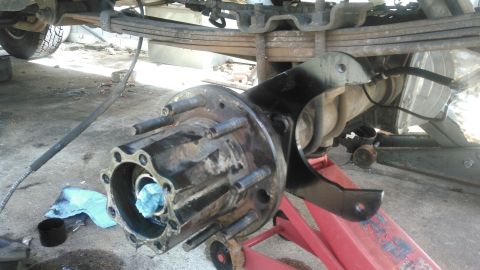
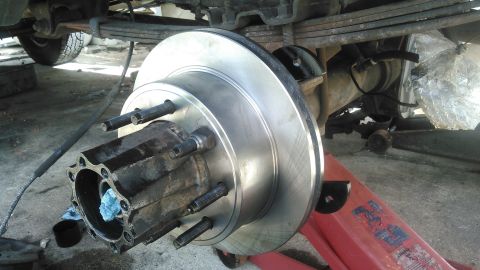
Mock up the hub and tighten the spindle nut until it is snug. Mount the new rotor and hold it tight with a couple of lug nuts.
-
Step 8
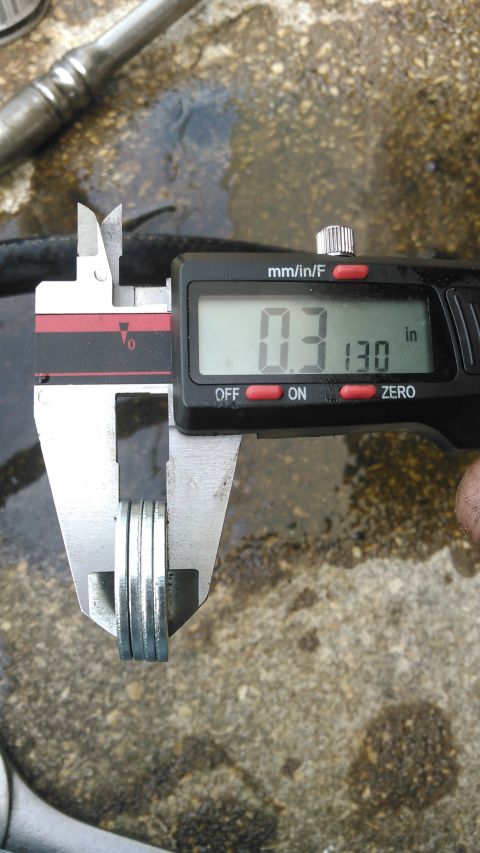
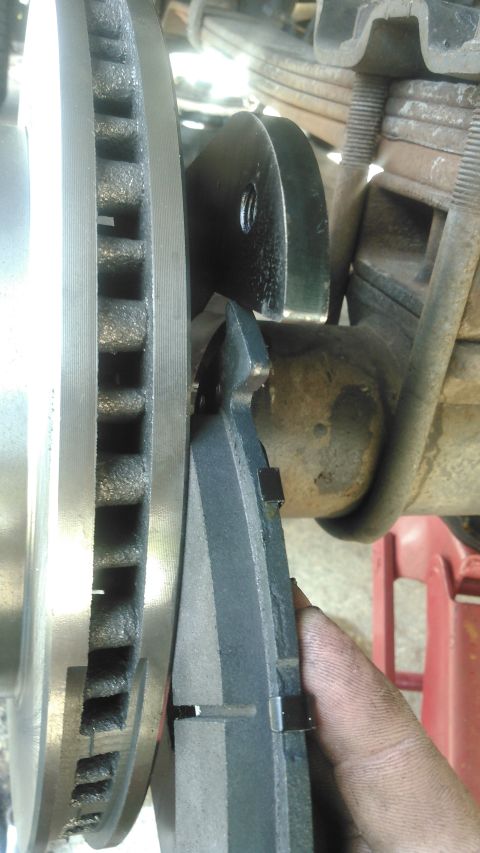
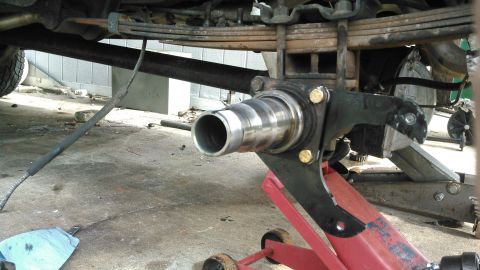
Check whether the caliper bracket needs shimming away from the rotor; the giveaway is that the brake pad will not fit between the rotor and the bracket. The instructions call for 1/8 inch (0.125 inch), but Kingfish999 found that was not enough, used a thicker shim stack and needed longer bolts to mount to the axle.
-
Step 9
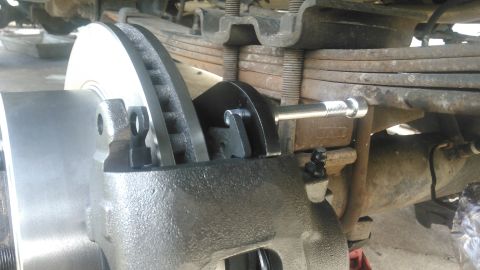
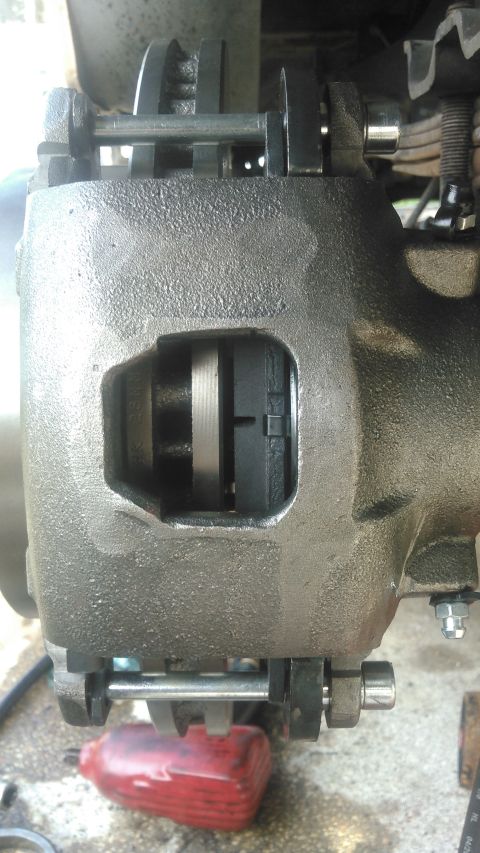
Set the bracket position with the leaf spring in mind, since it can block the upper caliper pin from going in or out easily. Kingfish999 mounted the bracket lower, accepting harder bleeding in exchange for easier caliper removal, and also notes that the caliper slides inward as the pads wear, so the caliper tabs should sit closer to the bracket while still leaving room to assemble it.
-
Step 10
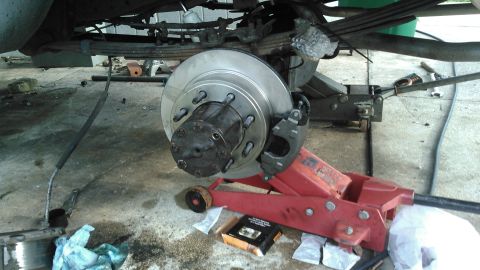
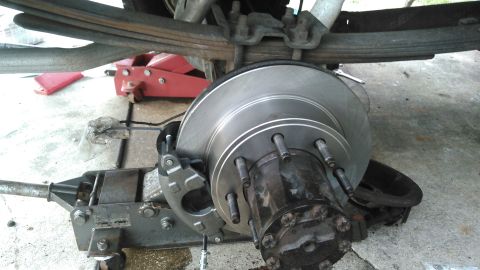
Replace the wheel bearings and seals, then do the final install: tighten the spindle nut to 55-65 ft-lb while rotating the hub, then back it off 5 clicks on new bearings or 8 clicks on used ones, and torque the axle flange bolts to 60-80 ft-lb. Repeat the whole process on the other side. Kingfish999 notes that the official Ford manual has the flange bolts torqued last, after the wheel is on and torqued.
-
Step 11
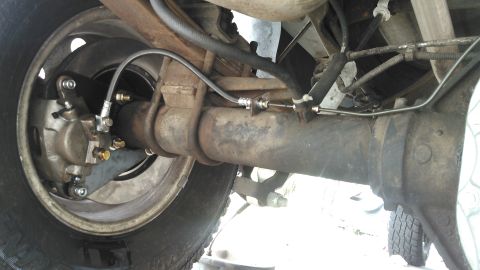
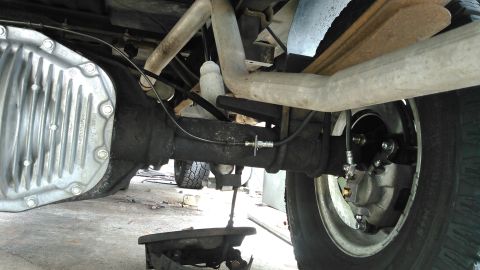
Make up a new pair of brake lines, with a very short one on the driver side and the passenger side formed like the original but shorter. Kingfish999 notes that some kits include tabs that can be welded to the axle to hold the brake hose.
-
Step 12
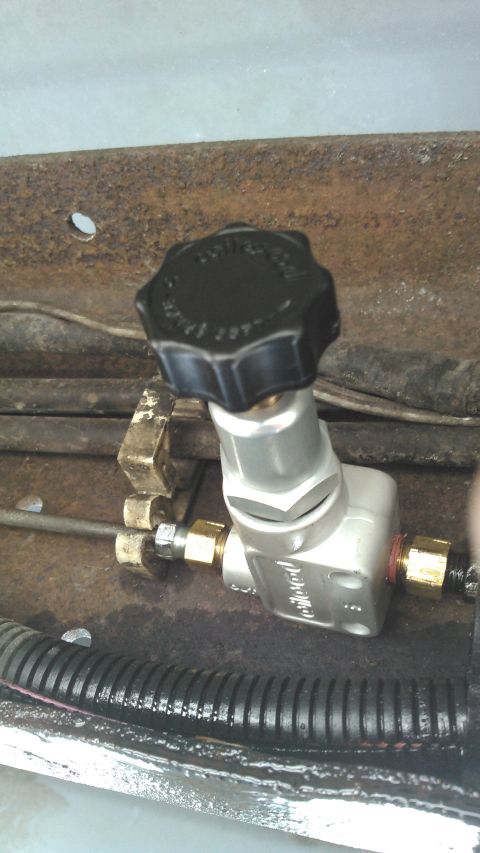
Fit a Wilwood 260-8419 proportioning valve into the rear brake line along the frame and adjust it, screwing in for more pressure and out for less, aiming for roughly 70% of the braking at the front and 30% at the rear. Kingfish999 set it by making hard stops and backing the pressure down until the rear brakes would no longer lock up, and the album's photos end there.
Some product links go to the supplier the owner bought from. SuperMotors does not earn a commission today; if that changes, this line will say so and creators will be paid from it.