SuperMotors SuperMotors SUPERMOTORS Search: try “orange Bronco on 35s”
Home/ Registry/ Ford/ Bronco/ 1992-1996/ “Big Red”/ Sound Deadening & Flooring supermotors.net/registry/28914/88585

Album section

Sound Deadening & Flooring

From 1996 Ford Bronco “Big Red”, documented by Impact.

78 photos
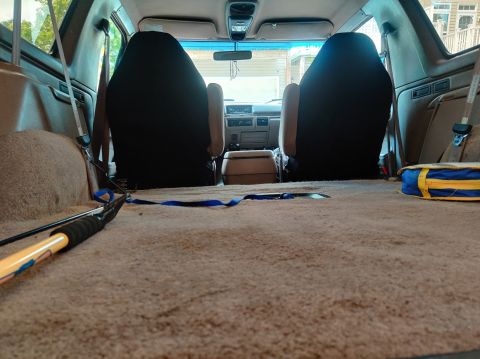
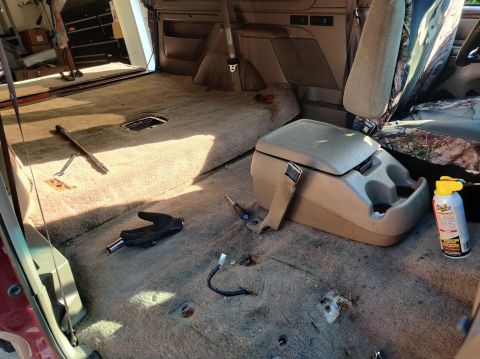
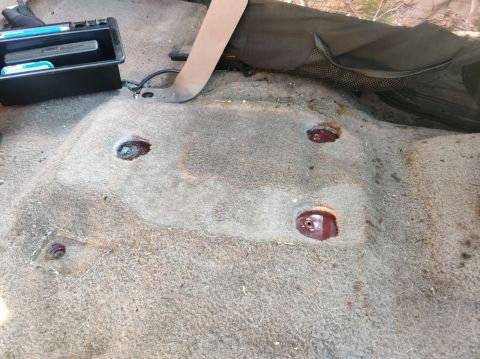
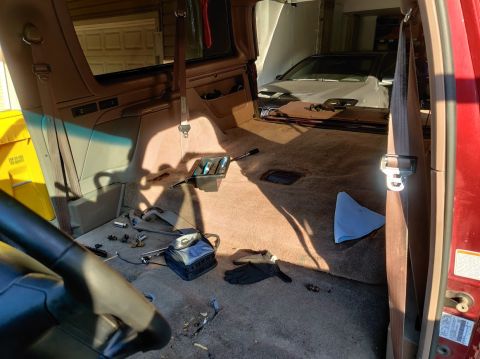
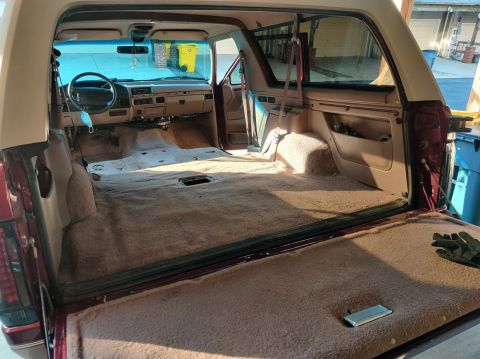
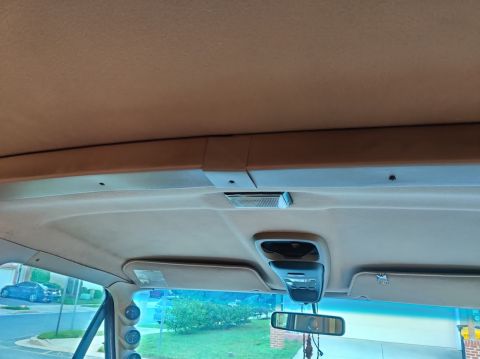
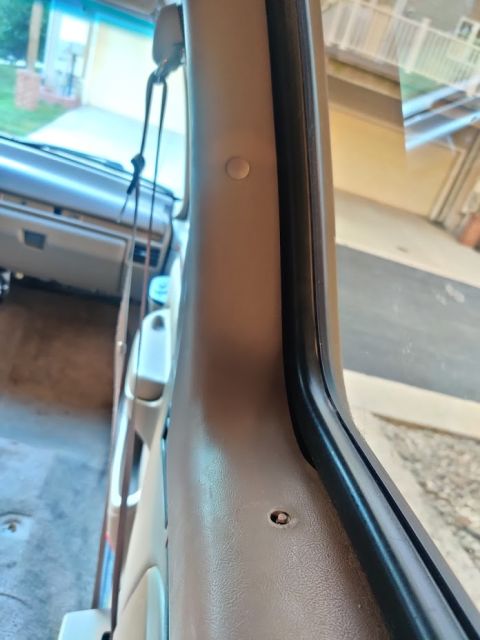
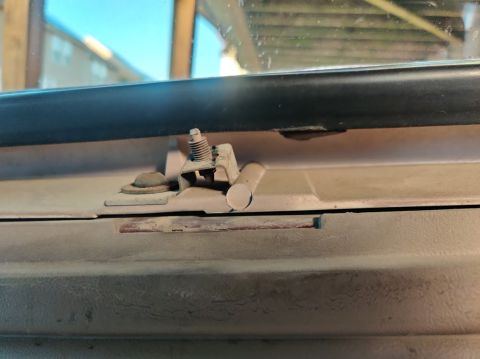
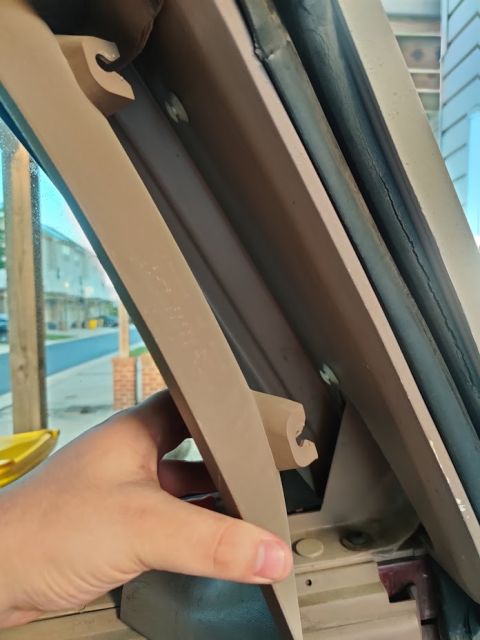
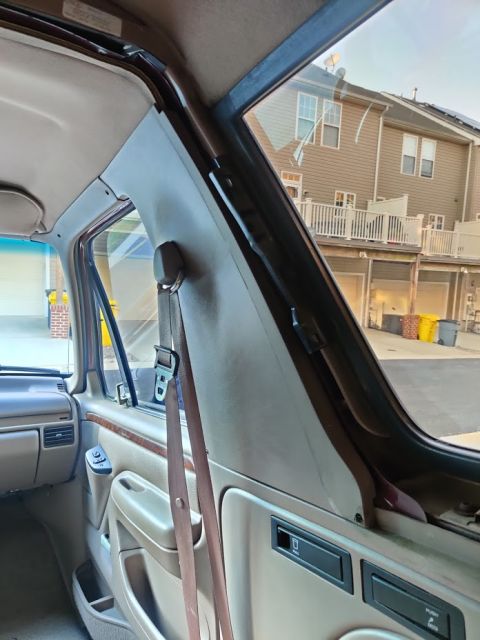
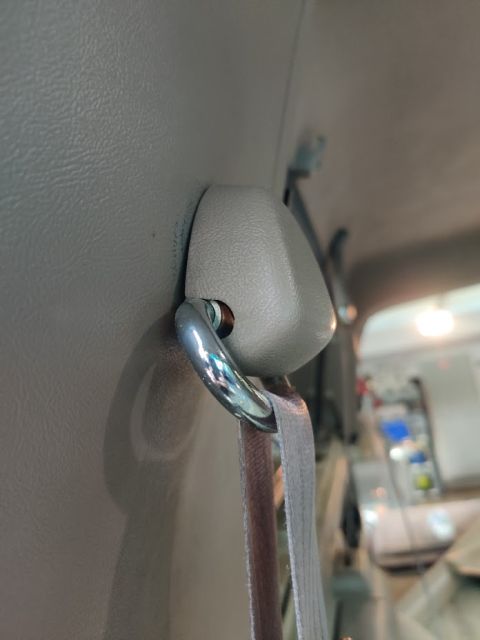
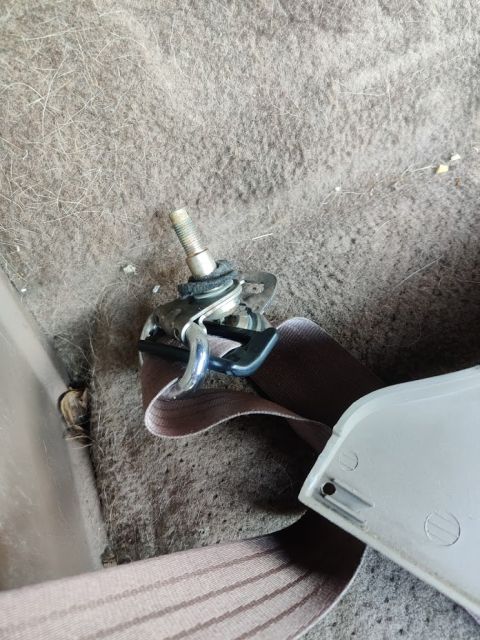
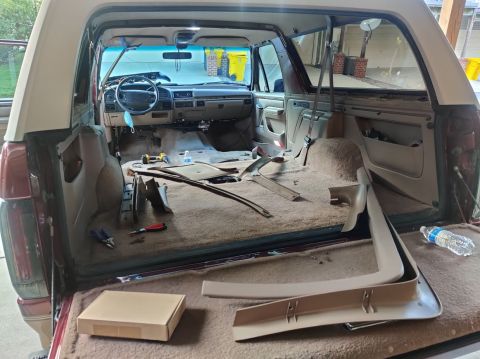
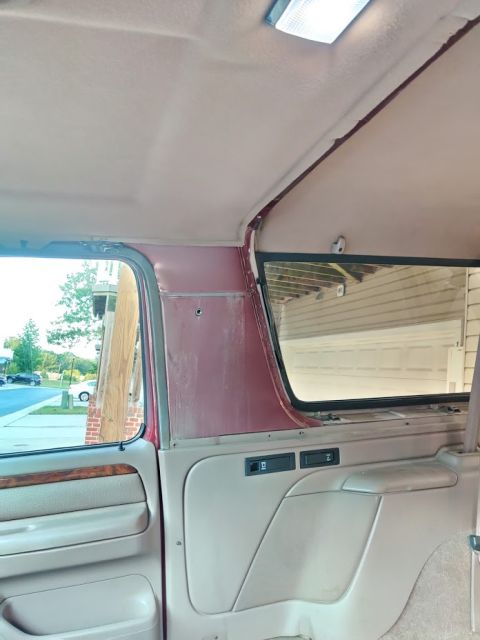
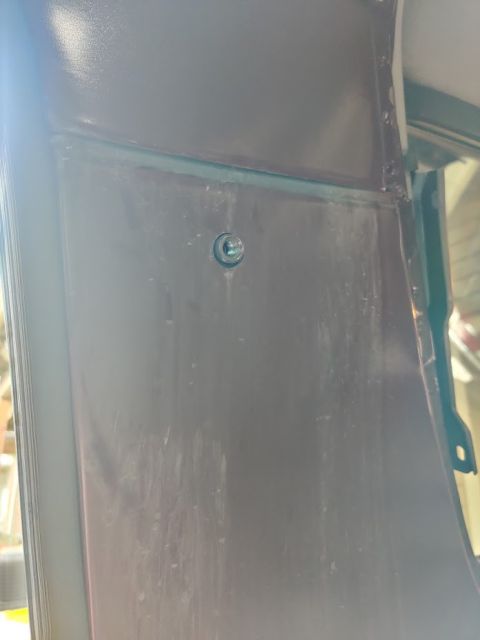
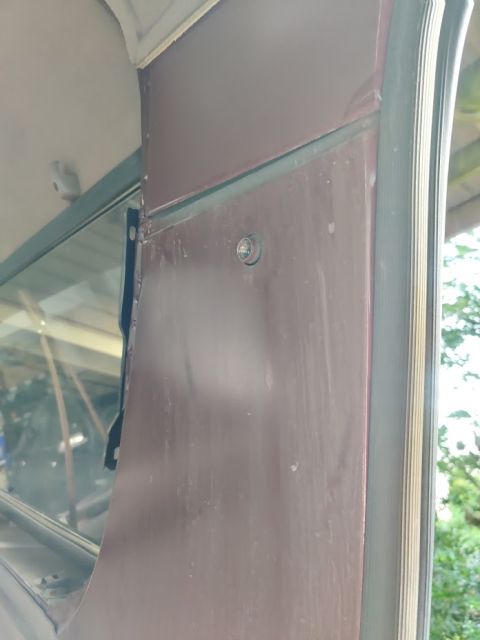
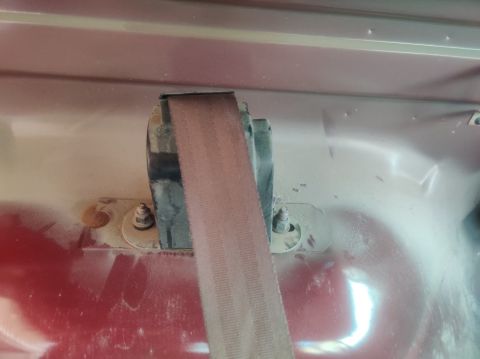
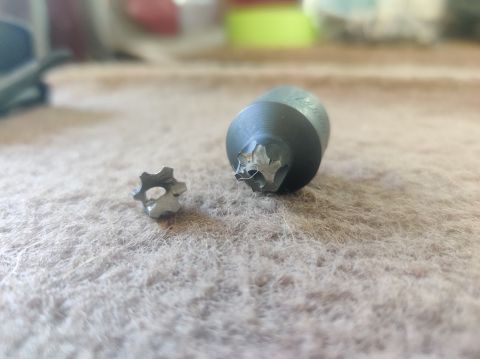
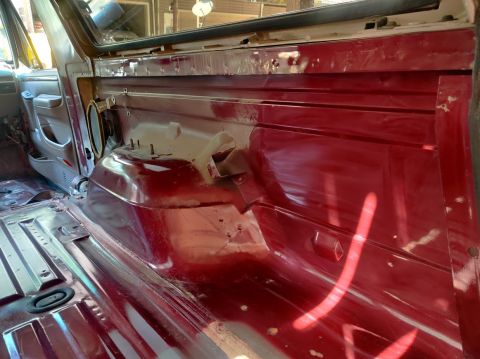
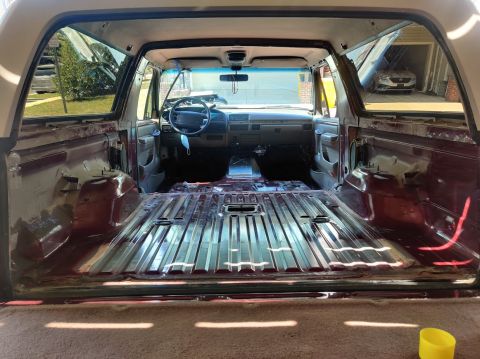
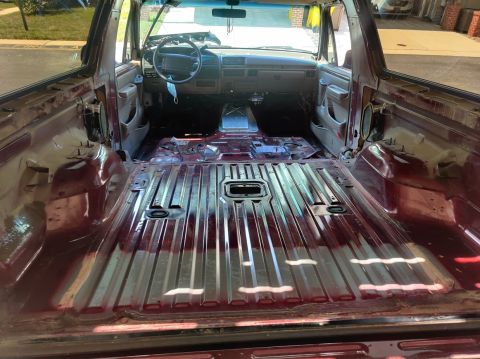
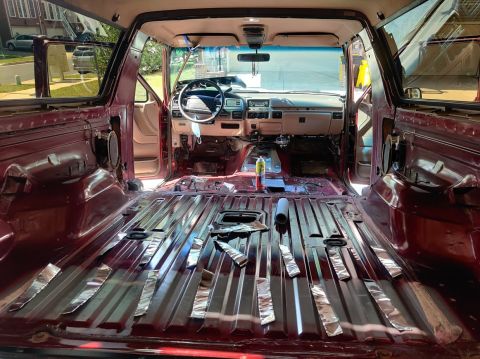
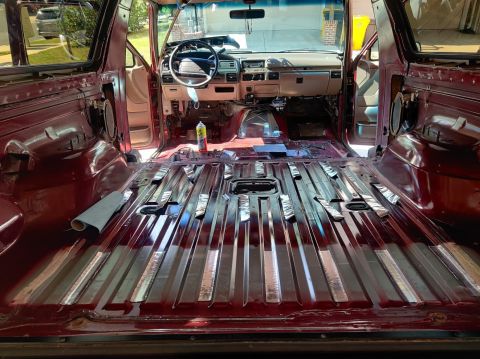
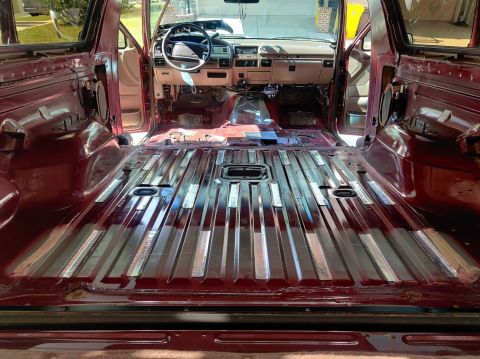
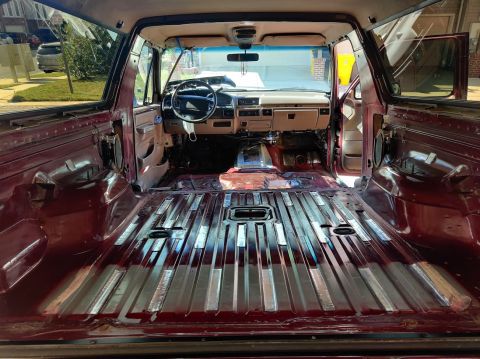
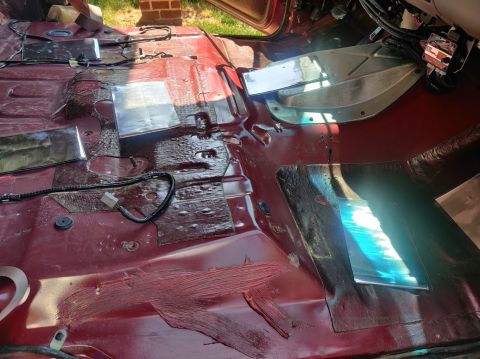
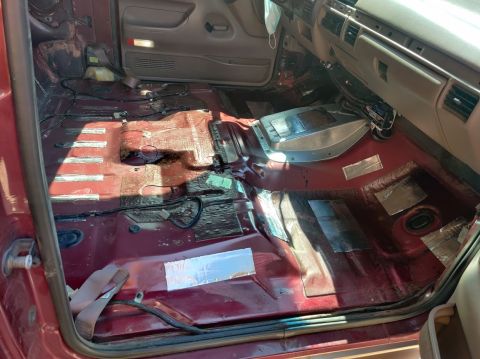
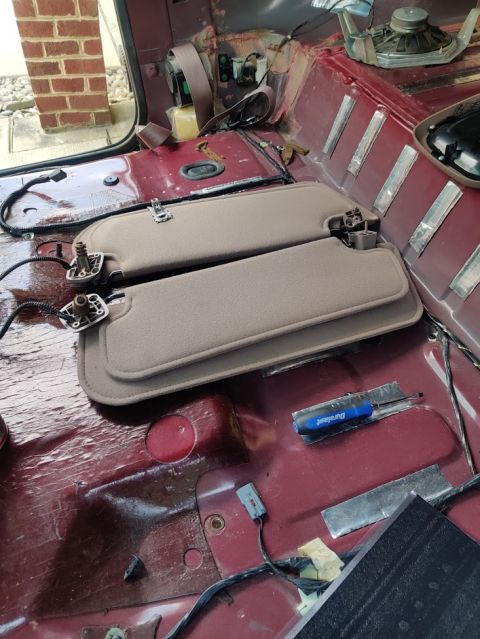
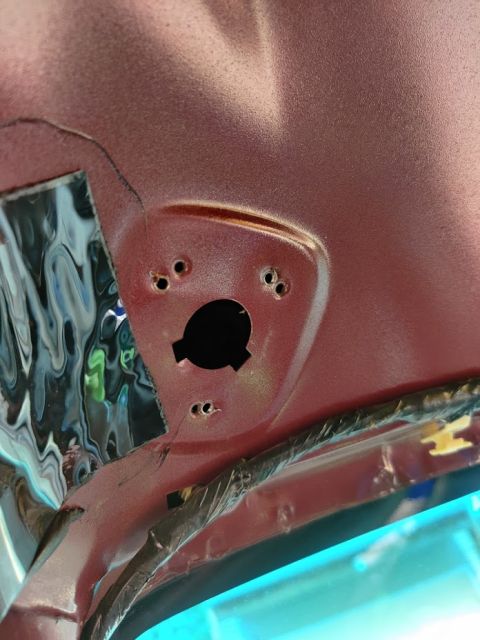
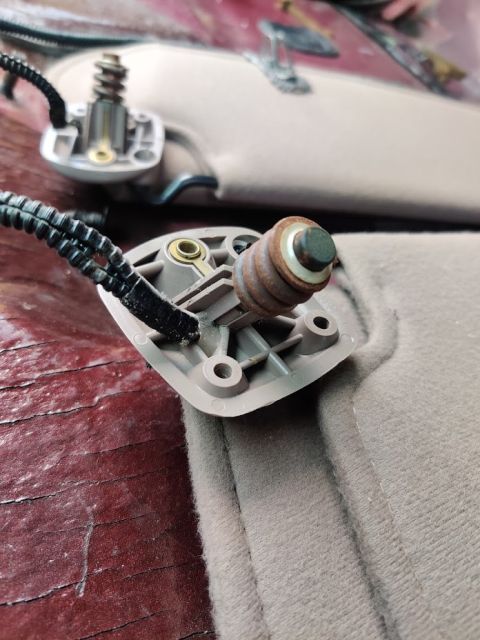
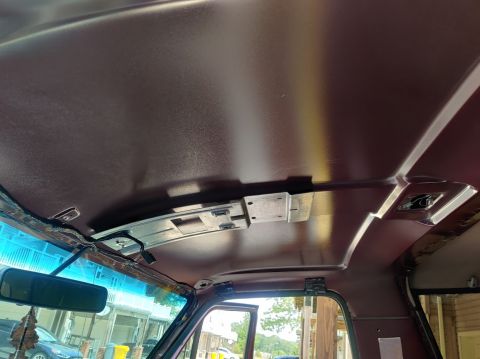
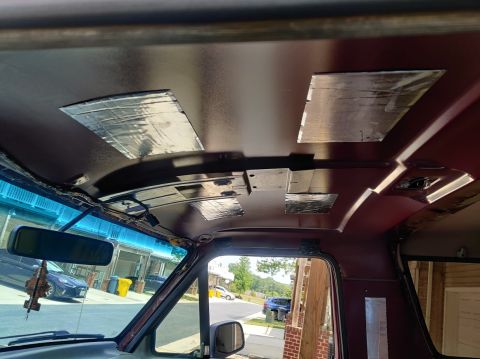
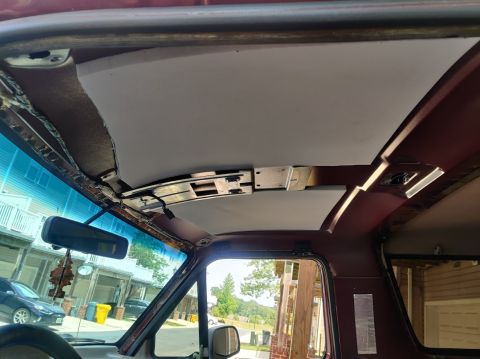
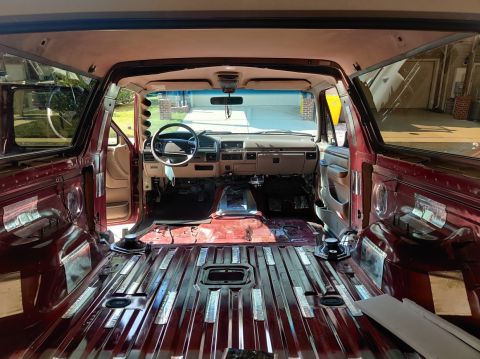
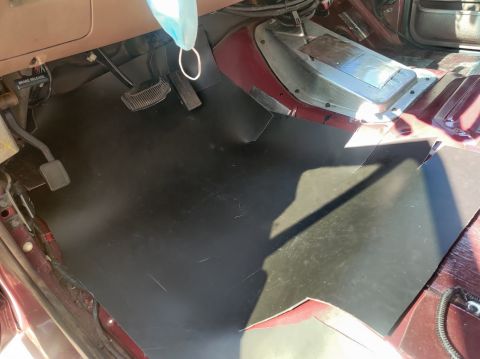
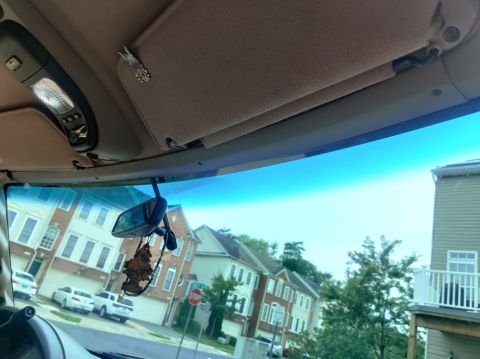
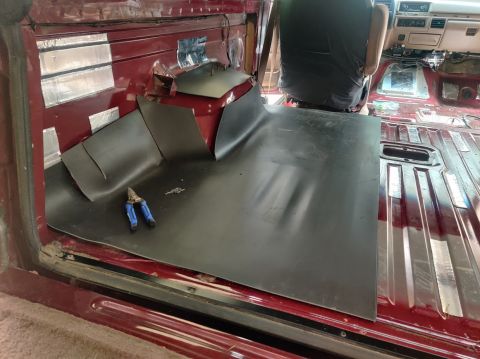
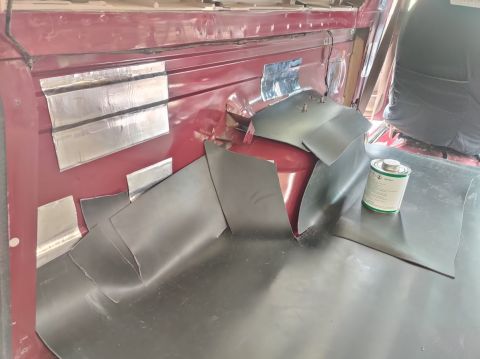
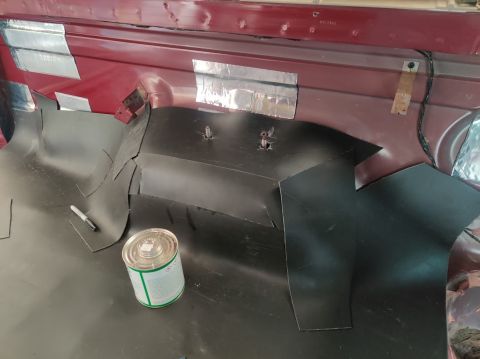
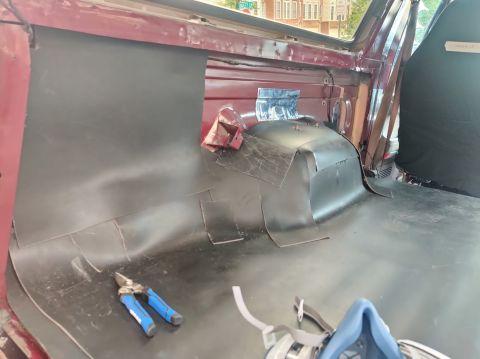
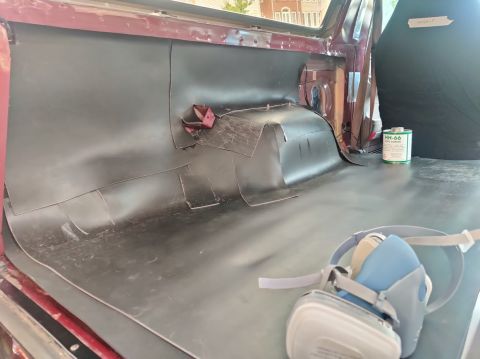
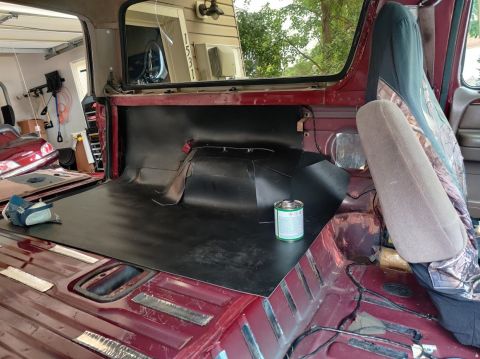
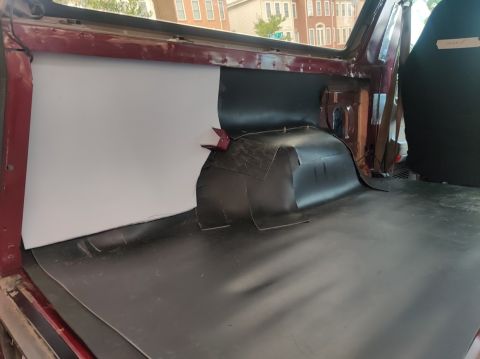
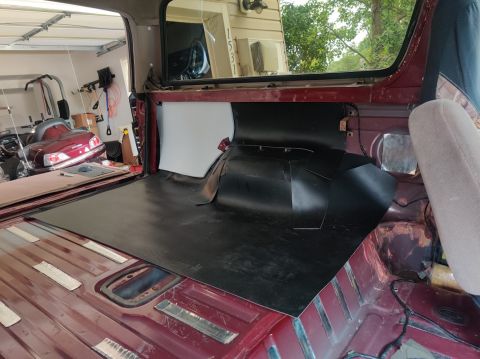
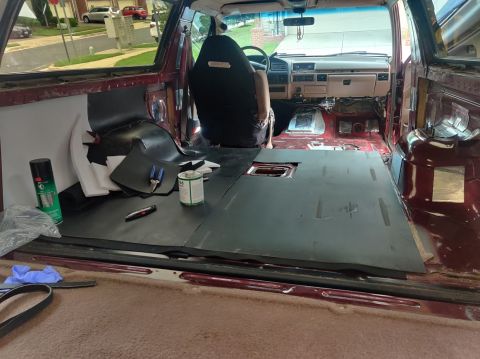
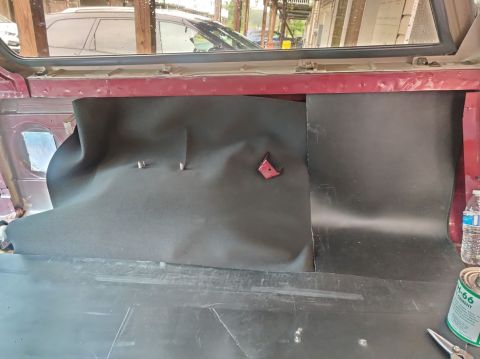
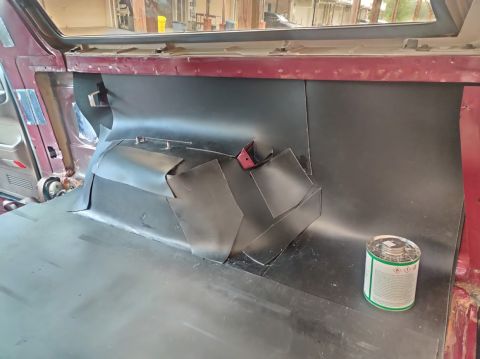
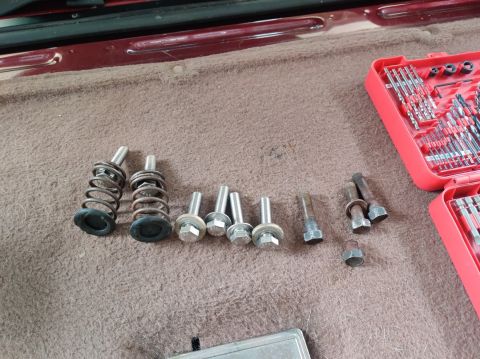
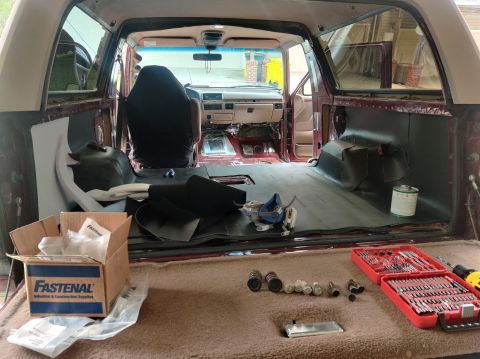
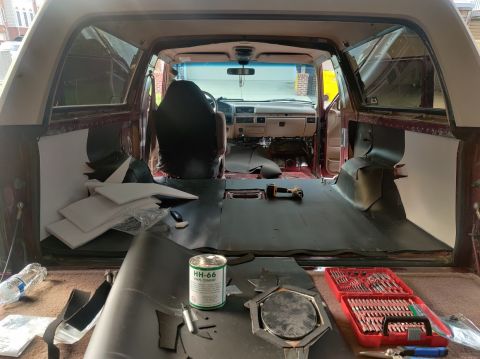
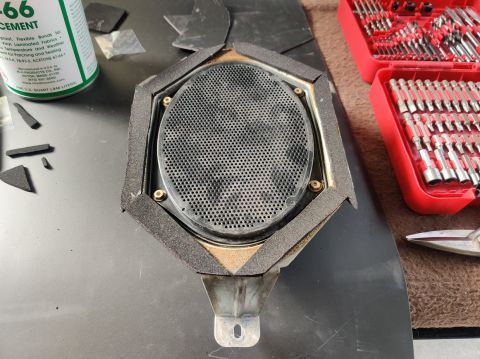
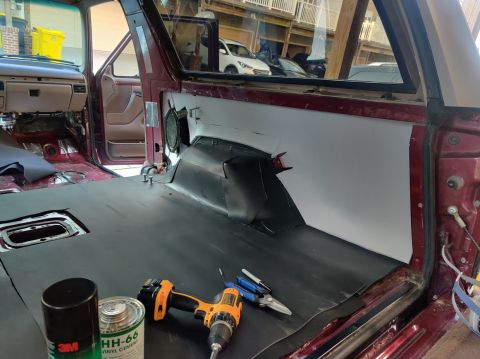
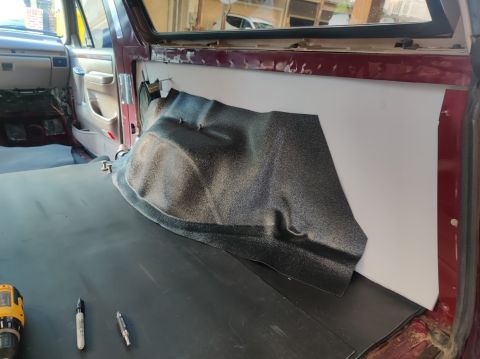
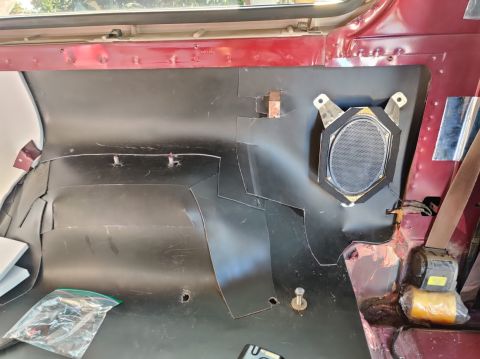
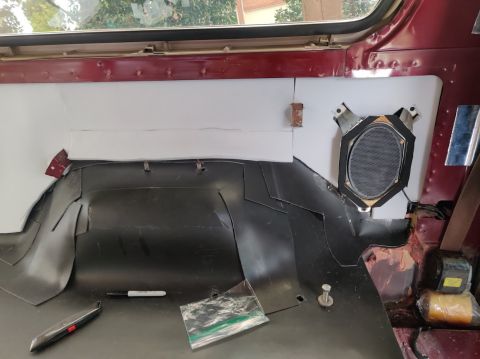
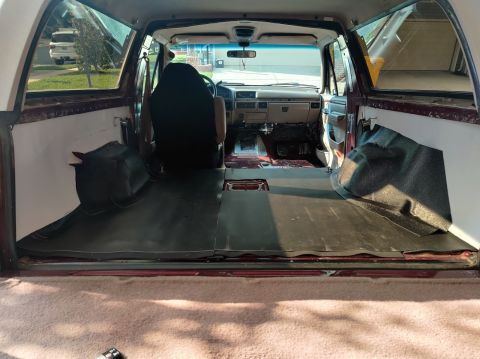
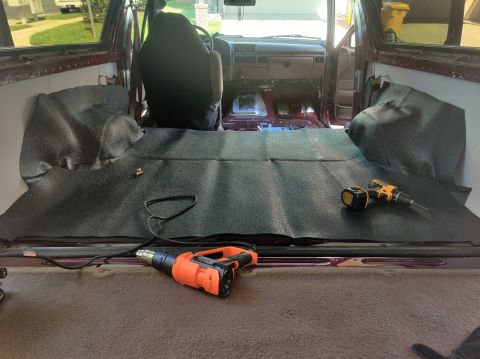
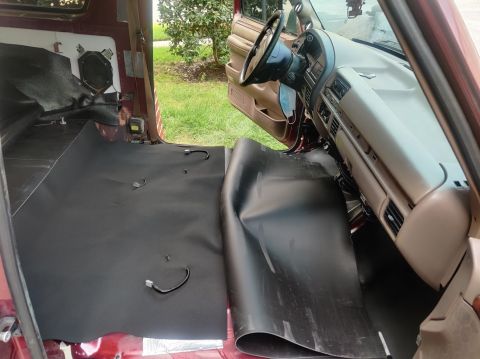
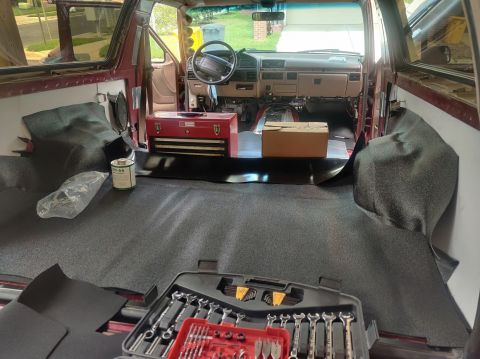
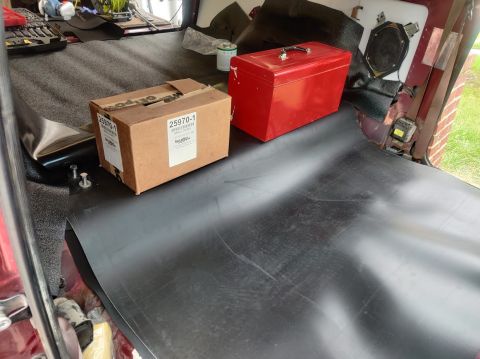
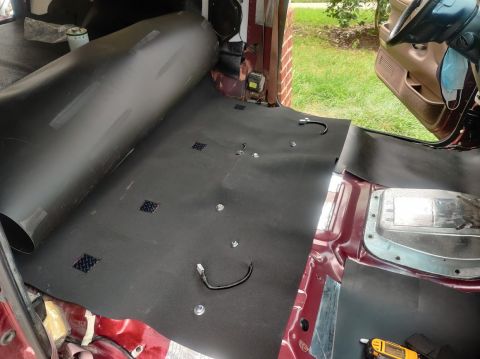
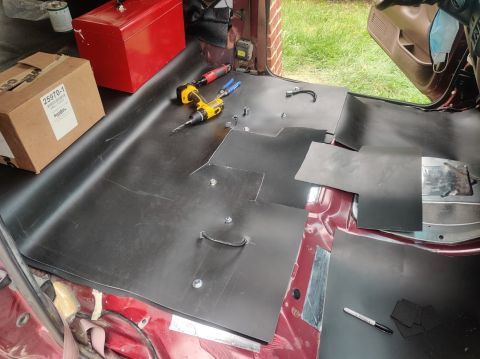
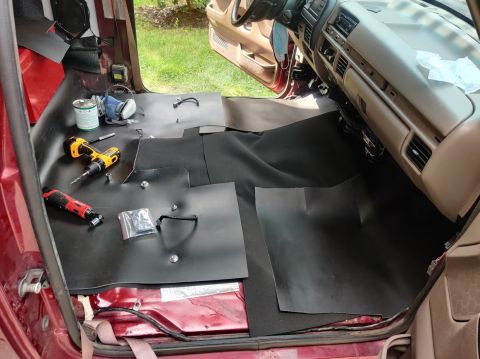
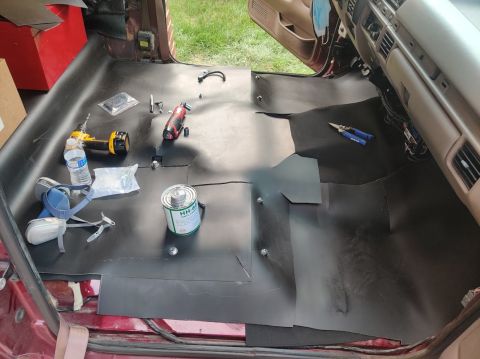
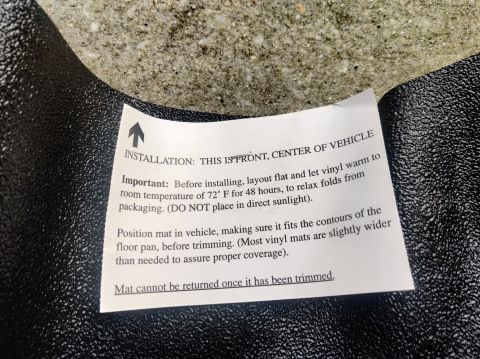
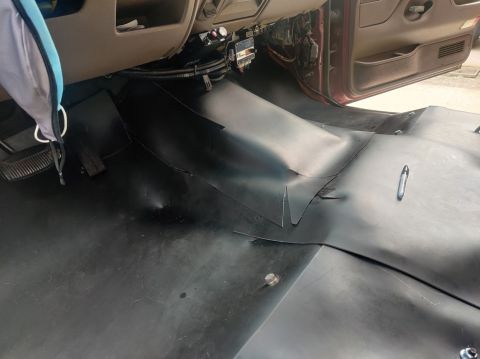
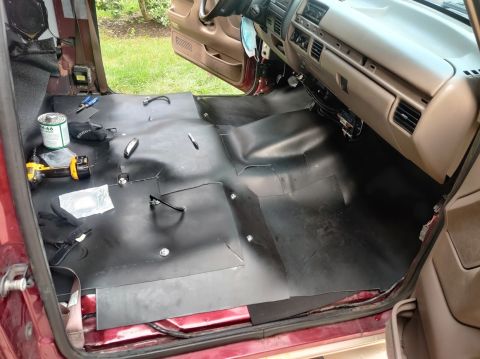
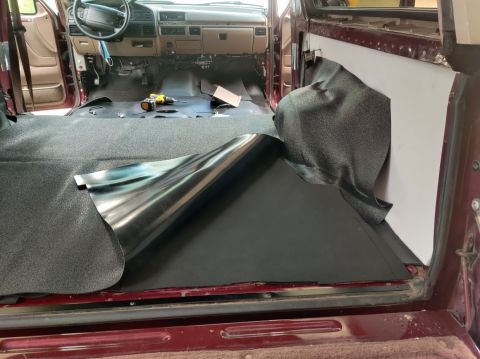
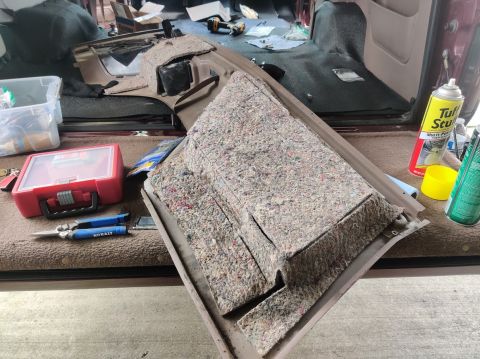
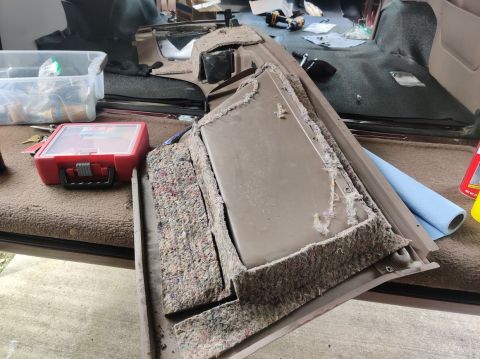
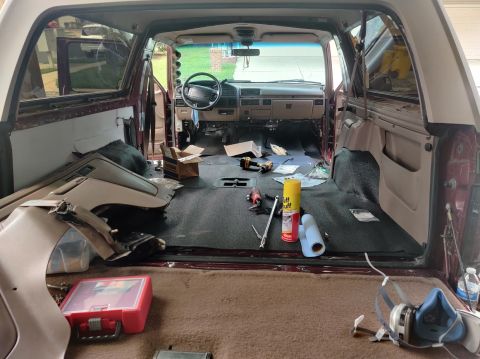
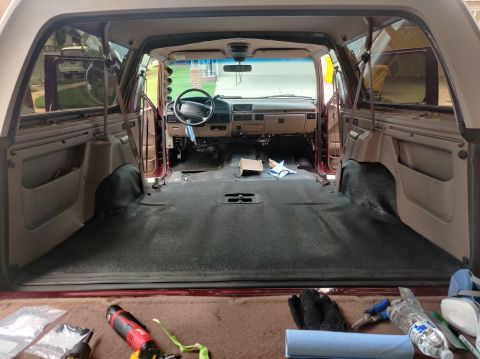
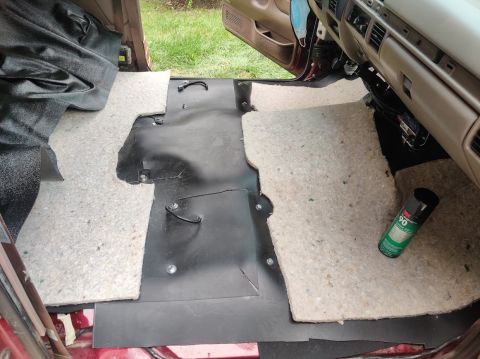
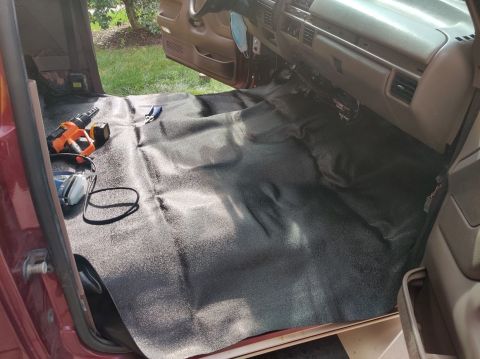
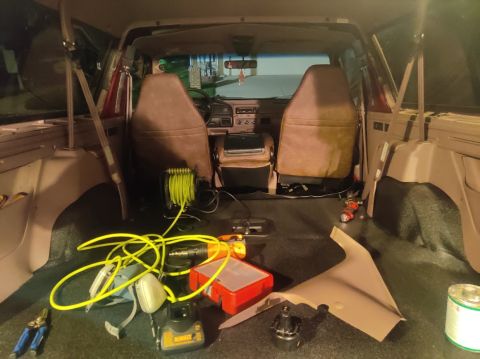
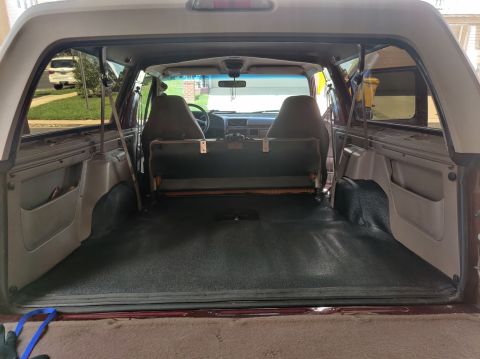
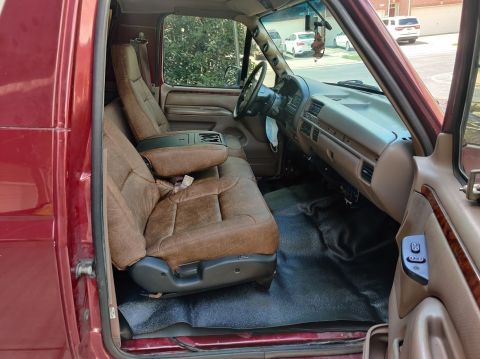
1996 Ford Bronco - 20200710 - Pulled the rear seat out. Lot's of space... having trouble unbolting the three mounts from the floor, but working on them slowly… 1996 Ford Bronco - 20200715 - Passenger seat came out surprisingly easy. Unplug the cable connecting to the bottom, then 4 bolts that needed 15mm sockets. The… 1996 Ford Bronco - 20200715 - Center console comes out with three 10mm bolts. It also came out pretty easily. 1996 Ford Bronco - 20200715 - Driver's seat came out tough. I ended up shearing off two of the four 15mm bolts getting it out. 1996 Ford Bronco - 20200716 - Pretty spacious without seats. This is going to require a lot of sound deadening materials. 1996 Ford Bronco - 20200715 - All of the rest of the interior is more or less layered over the top of each other, and needs to be disassembled top down. I sta… 1996 Ford Bronco - 20200715 - Next is the long piece that runs along the bottom of the hard-top window. It's secured by the plastic trim clips. All mine were… 1996 Ford Bronco - 20200715 - This is what the trim clips are hooking into to hold the trim below the hard-top window. Had to get them out with plyers, but ca… 1996 Ford Bronco - 20200715 - The next piece I removed was this trim piece at the back of the hard top running vertically behind the side windows. This just n… 1996 Ford Bronco - 20200715 - Next is the trim over the front driver and passenger windows (3-4 screws each) followed by the large B-pillar trim pieces (2 scr… 1996 Ford Bronco - 20200715 - The seatbelt needs to come off for the B pillar trim to come out. It requires a t50 torx bit. To get the trim piece covering thi… 1996 Ford Bronco - 20200715 - Passenger seatbelt top bolt removed. It has some carpet-padding-like material between the bolt and the body of the truck it bolt… 1996 Ford Bronco - 20200715 - Made some pretty good progress. I have quite a bit more to go, though. 1996 Ford Bronco - 20200715 - The B pillar looks like it has dirty water streaks from the seam. 1996 Ford Bronco - 20200715 - Passnger B pillar seam shows evidence of leaking. 1996 Ford Bronco - 20200715 - Driver B pillar seam shows evidence of leaking. Also, the gap in the seam is much bigger than the passenger side. 1996 Ford Bronco - 20200718 - The rear seat belts will have to come out completely since I can't get the side trim off without taking the seatbelts out. Here… 1996 Ford Bronco - 20200718 - With the seatbelt bolts removed, the side trim can be easily removed. Be aware there is a screw hiding under the armrest that ne… 1996 Ford Bronco - 20200718 - One of the three T50 torx bits I broke trying to get the driver side bed bolt out. 1996 Ford Bronco - 20200718 - After getting the carpets out, there was just a lot of vacuuming and wiping down to do. 25 years of built up dust and grime. 1996 Ford Bronco - 20200718 - Progression of cleaning, laying out the first stage of sound deadening (CLD tiles), and applying them to the floor. 1996 Ford Bronco - 20200718 - Progression of cleaning, laying out the first stage of sound deadening (CLD tiles), and applying them to the floor. 1996 Ford Bronco - 20200718 - Progression of cleaning, laying out the first stage of sound deadening (CLD tiles), and applying them to the floor. 1996 Ford Bronco - 20200718 - Progression of cleaning, laying out the first stage of sound deadening (CLD tiles), and applying them to the floor. 1996 Ford Bronco - 20200718 - Progression of cleaning, laying out the first stage of sound deadening (CLD tiles), and applying them to the floor. 1996 Ford Bronco - 20200718 - Progression of cleaning, laying out the first stage of sound deadening (CLD tiles), and applying them to the floor. 1996 Ford Bronco - 20200718 - Progression in the front of cleaning, laying out the first stage of sound deadening (CLD tiles), and applying them to the floor. 1996 Ford Bronco - 20200718 - Progression in the front of cleaning, laying out the first stage of sound deadening (CLD tiles), and applying them to the floor. 1996 Ford Bronco - 20200719 - Pulled the headliner off so I could get the roof done. These visors are a pain in the ass to pull off when you have no idea how… 1996 Ford Bronco - 20200719 - The visors notch into this hole and twist to more or less lock them in place on top of three screws on this joint and one at the… 1996 Ford Bronco - 20200719 - You can see the bit that notches into the roof and the spring assembly that goes into the big hole. 1996 Ford Bronco - 20200719 - The headliner is held up by the center console, a plastic trim clip, one over the driver window and one over the passenger windo… 1996 Ford Bronco - 20200719 - I cleaned the roof and applied the CLD tiles. 1996 Ford Bronco - 20200719 - Used 3m spray high strength 90 spray cement on this Hydrophobic Melamine Foam (HMF) as the second layer of sound deadening for t… 1996 Ford Bronco - 20200719 - Putting the headliner back up by yourself is kind of tough. Getting it aligned with the HMF bulging it was interesting too, but… 1996 Ford Bronco - 20200719 - It was 105 degrees today so I had to quit after trimming up this first piece. Lots of placing, removing, cutting, repeat. 1996 Ford Bronco - 20200815 - Reinstalled the front trim at the top of the windshield. I put a bit of HMF on the back to help with rattles and noise. 1996 Ford Bronco - 20200815 - Started fitting MLV in the cargo area driver wheel well. 1996 Ford Bronco - 20200815 - Started cementing the MLV in the cargo area driver wheel well. 1996 Ford Bronco - 20200815 - Started cementing the MLV in the cargo area driver wheel well. 1996 Ford Bronco - 20200815 - Cementing CCF to the MLV in the inner quarter panel 1996 Ford Bronco - 20200815 - Cementing the MLV in the inner quarter panel 1996 Ford Bronco - 20200815 - Cementing the MLV in the inner quarter panel 1996 Ford Bronco - 20200815 - Cementing the HMF in the inner quarter panel 1996 Ford Bronco - 20200815 - Cementing the MLV in the inner quarter panel 1996 Ford Bronco - 20200815 - More MLV and CCF on the cargo floor. 1996 Ford Bronco - 20200816 - Started putting down MLV and CCF on the passenger side quarter and wheel well. 1996 Ford Bronco - 20200816 - Started putting down MLV and CCF on the passenger side quarter and wheel well. 1996 Ford Bronco - 20200816 - Replacing the 6 rear seat bolts with grade 8 stainless. 1996 Ford Bronco - Interior of a 1996 Ford Bronco undergoing sound deadening and flooring work, with tools and parts visible. 1996 Ford Bronco - 20200816 - Drilled through the sound deadening to place the bolts. Half of them won't thread and I'm not sure why. Also put up more HMF. 1996 Ford Bronco - 20200816 - Foam on the rear speakers disintegrated, so I replaced it with CCF. 1996 Ford Bronco - 20200816 - Passenger side is complete. Time for new flooring and putting the trim back on. 1996 Ford Bronco - 20200816 - Passenger side wheel well vinyl placed. Might need to heatgun it to get it to lay out flat. 1996 Ford Bronco - 20200818 - Finished up CCF and MLV on the driver side cargo area. 1996 Ford Bronco - 20200818 - And HMF on the driver side cargo area. 1996 Ford Bronco - 20200818 - Cargo area sound deadening is finished. 1996 Ford Bronco - 20200820 - I started applying the new vinyl flooring I purchased from Bronco Graveyard (been sitting in the garage for over a year). The ol… 1996 Ford Bronco - 20200821 - Started laying CCF and MLV in the cabin area. 1996 Ford Bronco - 20200821 - Needed heavy boxes to keep the MLV down on the bit that attached the cargo area to the cabin area while the vinyl cement set. 1996 Ford Bronco - 20200821 - Needed heavy boxes to keep the MLV down on the bit that attached the cargo area to the cabin area while the vinyl cement set. 1996 Ford Bronco - 20200821 - Used industrial velcro to keep the MLV tight to the dropoff from the cargo area and help keep the flooring from coming up for wh… 1996 Ford Bronco - 20200821 - Much easier to drill holes and cut holes through the CCF and vinyl one layer at a time, rather than both at the same time. Also… 1996 Ford Bronco - 20200821 - More CCF down for the rest of the floor in the cabin. 1996 Ford Bronco - 20200821 - Putting MLV on this one elevated place under the center console took forever. Lots of cutting, cementing, and force and pressure… 1996 Ford Bronco - 20200822 - These instructions are bull. I did this and it still doesn't form correctly. Heat gun was the only way for me and even that does… 1996 Ford Bronco - 20200822 - Finally finished the transmission hump 1996 Ford Bronco - 20200822 - Second view of the finished transmission hump. Lot's of velcro used here to keep the contours over the odd shapes. 1996 Ford Bronco - 20200822 - I had excess CCF, so I put it over the top of the sound deadening vinyl, and under the flooring vinyl to add some softness to th… 1996 Ford Bronco - 20200822 - Starting to reinstall some trim. I had to install and uninstall several times to perfect where to trim the flooring so everythin… 1996 Ford Bronco - 20200822 - Padding removed from behind the pocket on the side panel. 1996 Ford Bronco - 20200822 - Also reinstalled the mounts for the rear seat amongst this disaster of tools and things. 1996 Ford Bronco - 20200822 - Completed reinstalling some trim and mounts in the cargo area. 1996 Ford Bronco - 20200822 - Padding came with the cabin flooring, so I positioned and trimmed it as necessary and used the 3m Hi-Strength 90 spray cement. 1996 Ford Bronco - 20200822 - The front flooring required a massive amount of trimming, refuses to let me get the creases and things out, and has contours bui… 1996 Ford Bronco - 20200822 - Preview of my struggles getting the F250 reupholstered 40/20/40 seats and seatbelts in. I gave up for the night to finish it in… 1996 Ford Bronco - 20200823 - After a metric F***load of finagling and forcing, I was able to get the seats to bolt up without drilling or bending. It looks r… 1996 Ford Bronco - 20200823 - I still have more heatgun treatments to do on the floor, more trimming to do, and some more trim to sound-deaden and install, bu…