How-to
1995 Ford Bronco Oil Pan and Oil Pump Replacement
The rusted-through oil pan on a 1995 Ford Bronco was replaced, with the oil pump and pickup changed at the same time while the pan was off. The engine was raised on its mounts and the exhaust partly disconnected to clear the pan, and the whole job took TRUCKY18 seven hours lying in the driveway.
-
Step 1
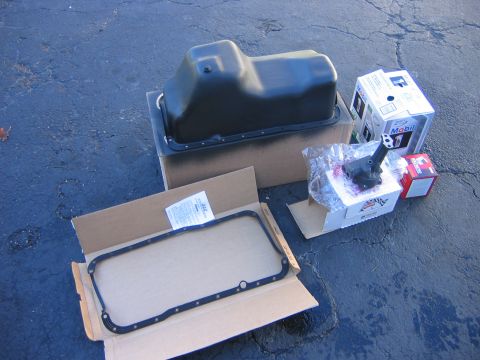
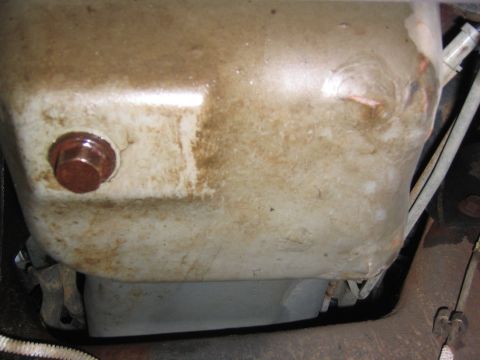
Gather the parts before starting, and note the rust bubbles along the stock pan that make the replacement necessary. TRUCKY18 sprayed a couple of generous coats of truck bed coating on the new pan the day before and decided to replace the oil pump at the same time.
-
Step 2
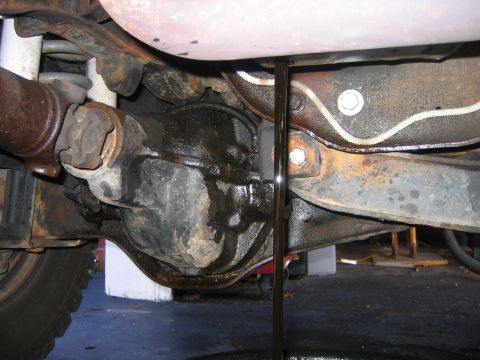
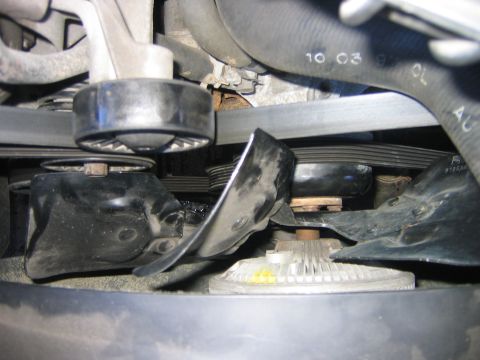
Drain the oil. Remove the fan from the clutch so it cannot hit the shroud or the radiator once the engine moves.
-
Step 3
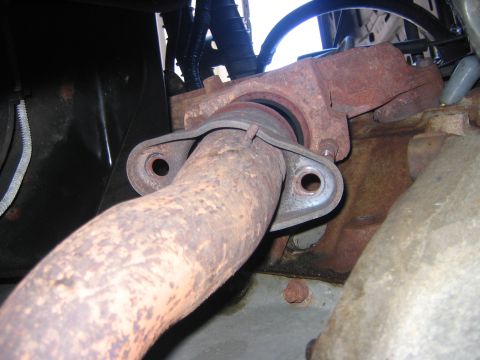
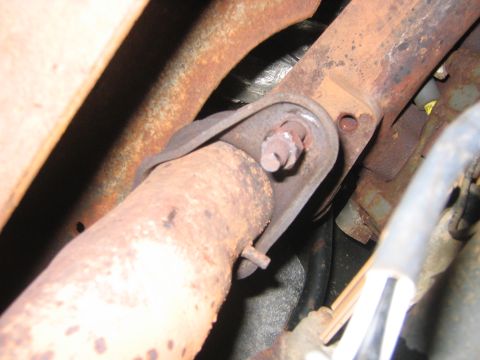
Apply plenty of heat and remove the nuts holding the crossover pipes to the exhaust manifolds. TRUCKY18 reports the nuts were two different sizes, a 15mm and a 16mm, and that one of them pulled the whole stud out.
-
Step 4
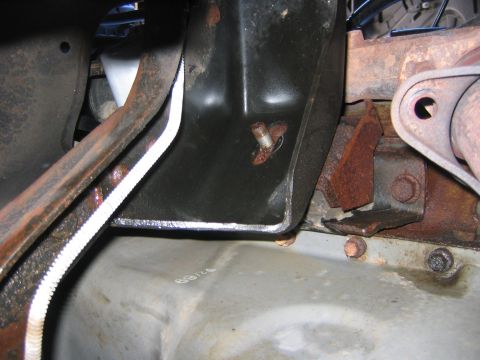
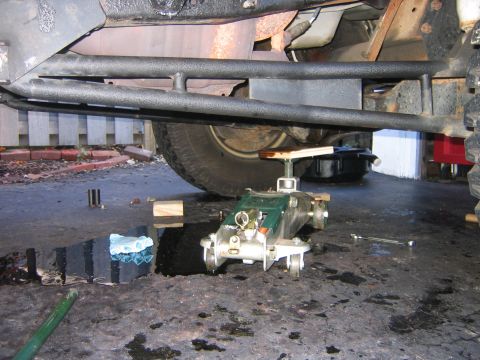
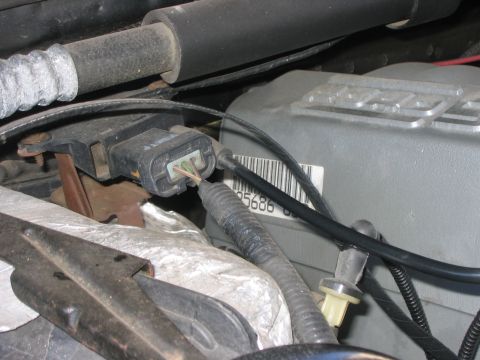
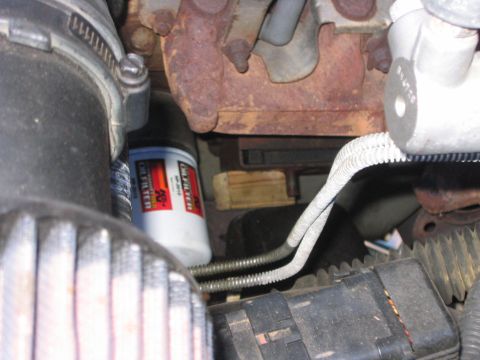
Unbolt the motor mounts from below, then jack the engine up with a piece of wood between the jack and whatever it lifts against. Raise it until the upper intake reaches the firewall, then wedge wood between the motor mounts and the cross member to hold it there; TRUCKY18 cut the wood to a custom size because no standard piece fit.
-
Step 5
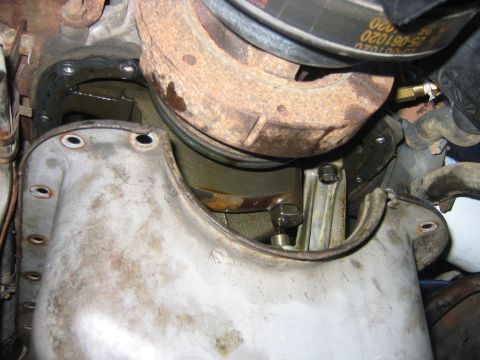
With the engine held up, unbolt the oil pan and the two bolts in the oil pump, one of them next to the harmonic balancer, and let the pump drop into the pan. Also remove the nut holding the pickup tube to the engine, about midway back.
-
Step 6
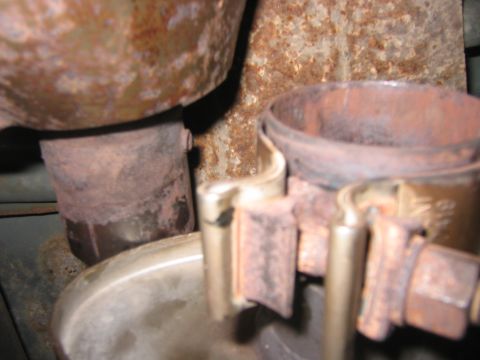
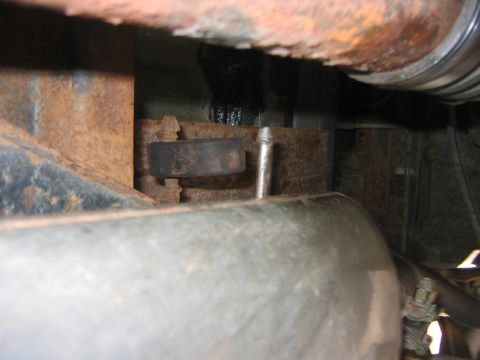
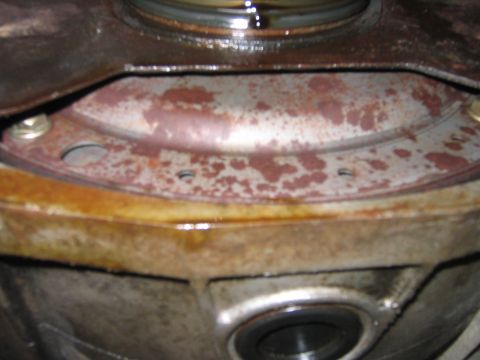
Disconnect the exhaust where the muffler meets the cat and free the muffler from its hangers, then take off the transmission inspection plate. TRUCKY18 notes that doing this cleared enough room to pull the pan without removing the upper intake.
-
Step 7
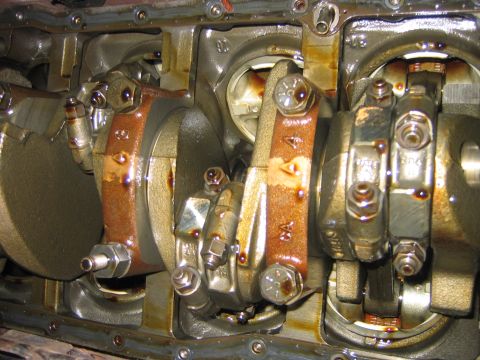
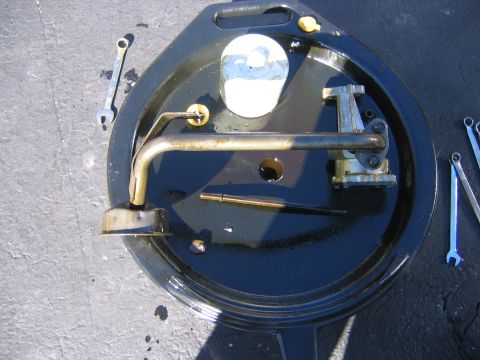
With the pan out, inspect the bottom end of the engine and the stud the oil pickup attaches to. Clean the pickup tube even if nothing is lodged in it, as TRUCKY18 did.
-
Step 8
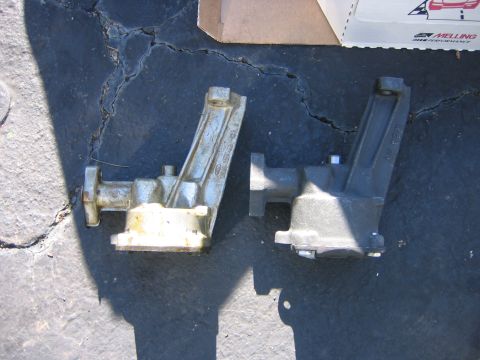
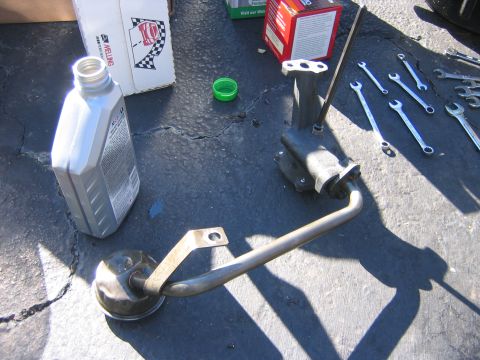
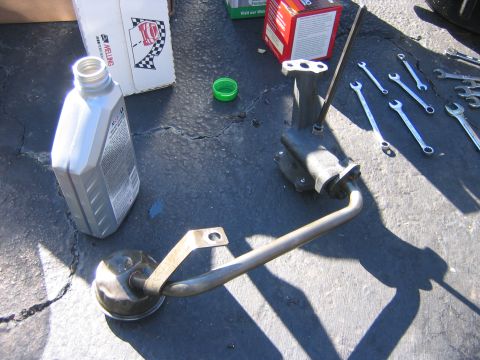
Bolt the pickup to the new pump and clean every trace of the old gaskets off the mating surfaces. TRUCKY18 chose a Melling high flow pump, which came out twice as heavy and noticeably bigger than the stock unit, and advises looking at how the stock pump shaft seats in the distributor before taking it out.
-
Step 9
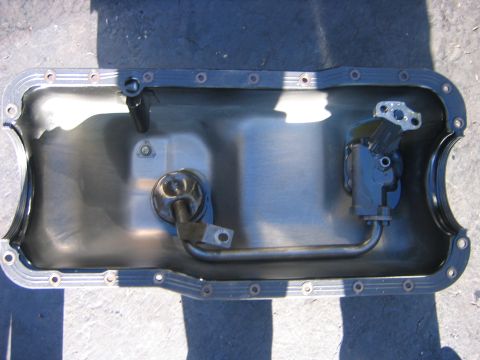
Set the pump and pickup in the pan and turn the pump backwards by hand to prime it so the engine does not start dry.
-
Step 10
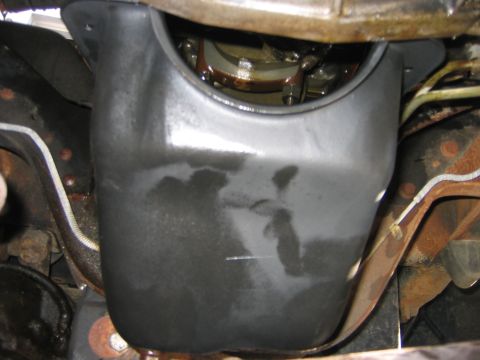
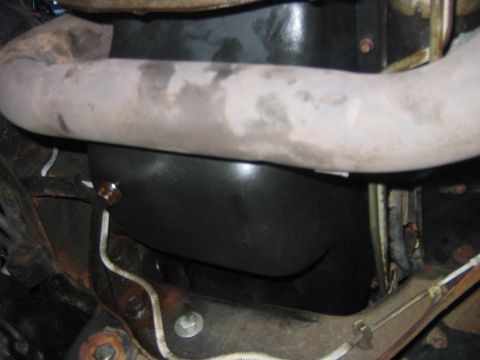
Lay the gasket in place and lift the pan back up to the block, which is a tight fit. Bolt the oil pump and pickup in first, holding the heavier pump in position while starting a bolt and lining the pump shaft up with the distributor, then bolt the pan on and confirm the gasket seals all the way around.
-
Step 11
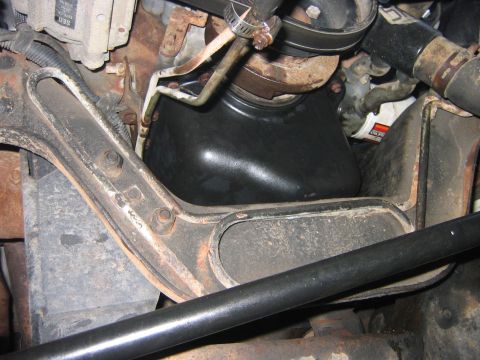
Reconnect everything that was disconnected and test run the engine. TRUCKY18 ran it half an hour in the driveway and found no leaks other than a small one at the drain plug, which was not tightened fully.
-
Step 12
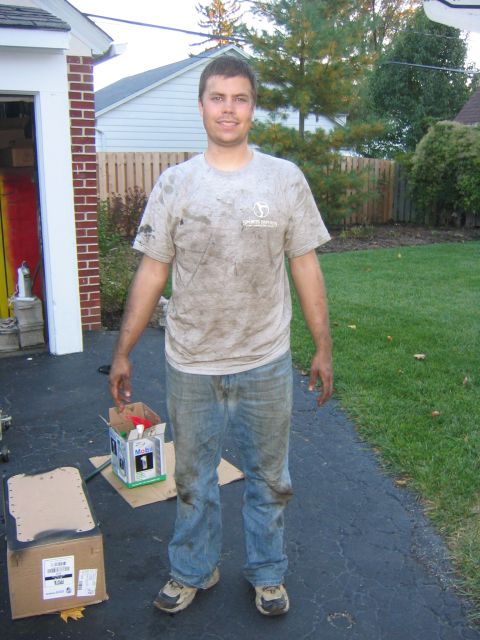
The photos end with TRUCKY18 standing in the driveway after the job. He says he had never been dirtier and was really sore the next day, and a sticker on the inside of the hood marks the project off his list.
Some product links go to the supplier the owner bought from. SuperMotors does not earn a commission today; if that changes, this line will say so and creators will be paid from it.