How-to
1988 Ford Bronco Headlight Relay Rewire
Adrianspeeder rewires the headlights on a 1988 Ford Bronco to run through relays fed by a new auxiliary fuse block in the engine bay. The photos show the relay diagram, parts, harness and fuse block, the wiring run through the engine bay, the under-dash work and a lighted toggle switch mounted in the dash. They do not show the final connections at the headlights, so they are not a complete procedure.
-
Step 1
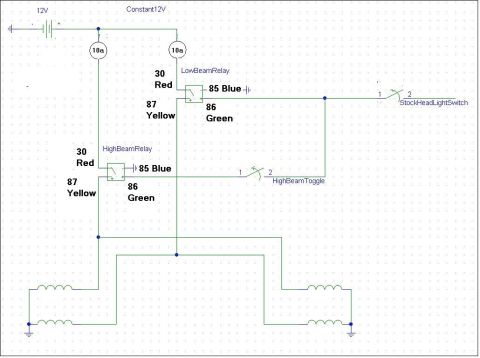
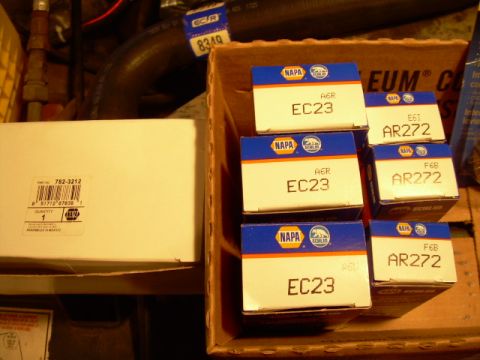
Start from a wiring diagram for the headlight relays that shows the low-beam and high-beam relays with color-coded terminal numbers. Adrianspeeder also photographed the Napa part numbers he used for the fuse panel, the relay pigtails and the 30 amp relays.
-
Step 2
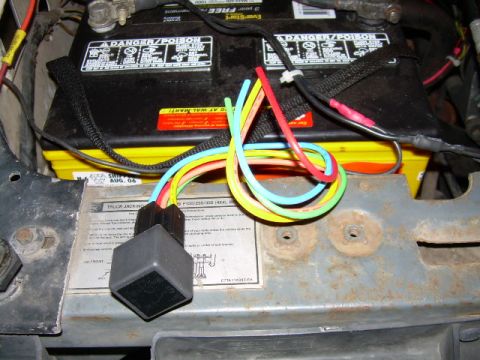
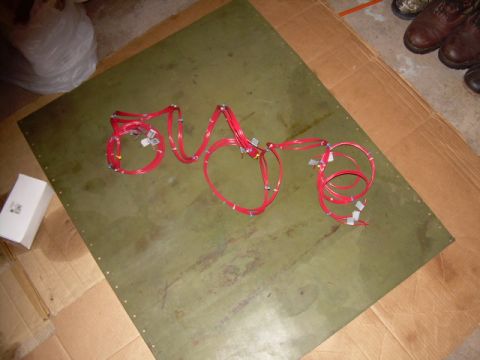
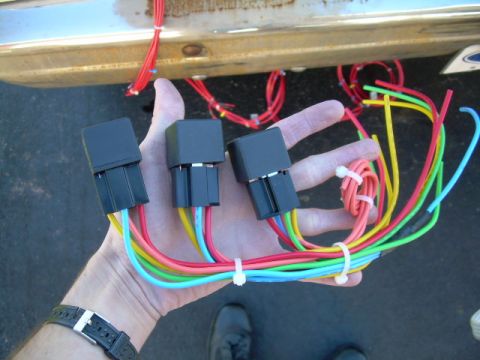
Gather the relays and their pigtails. Build the start of the harness, covering the high-beam and low-beam triggers and the headlight power.
-
Step 3
Wire the four-pin relays into their color-coded leads and bundle the leads with zip ties.
-
Step 4
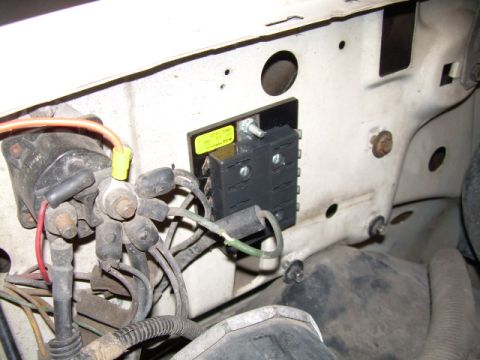
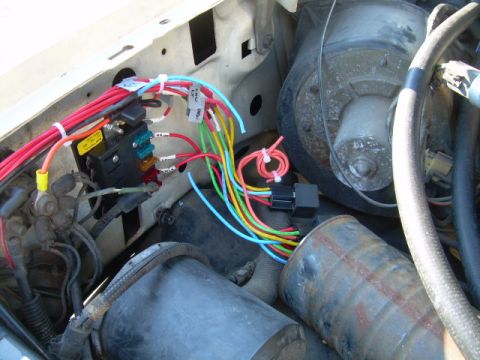
Mount the new fuse block that feeds the headlights, the relays and the air horns. Adrianspeeder warns to place it clear of the hood hinge so the hinge does not hit it on the way down.
-
Step 5
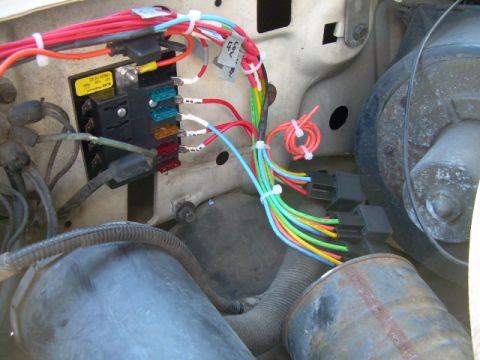
Fasten the auxiliary fuse block to the inner fender, with a bundle of blue, green, yellow and red wires running down to the relay connectors. The harness is zip-tied and the circuits at the block are labeled.
-
Step 6
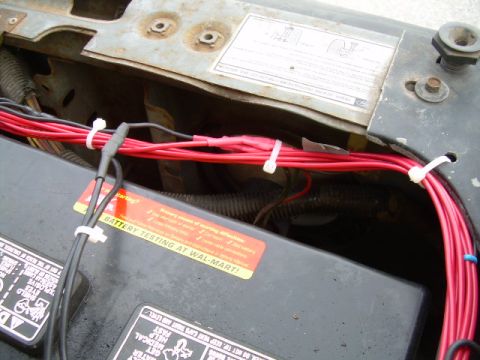
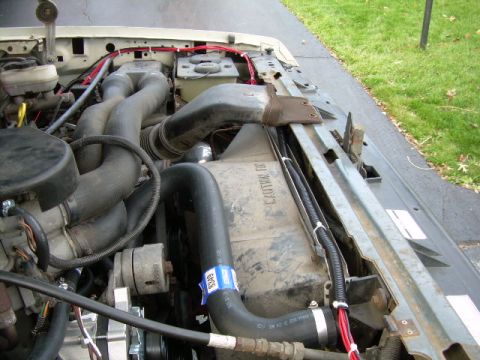
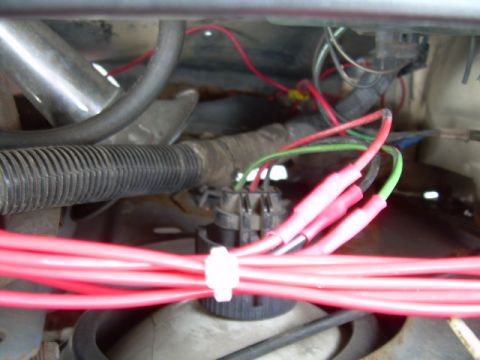
Route the wiring through the engine bay past the battery and along the radiator support, and land the red and green wires on the junction block.
-
Step 7
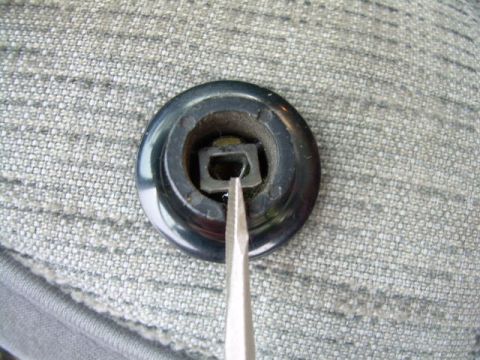
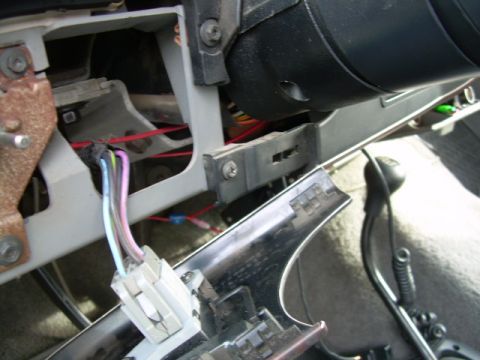
Move inside and remove the lower steering column trim panel to reach the column tube, the multi-pin connector and the harness behind the dash.
-
Step 8
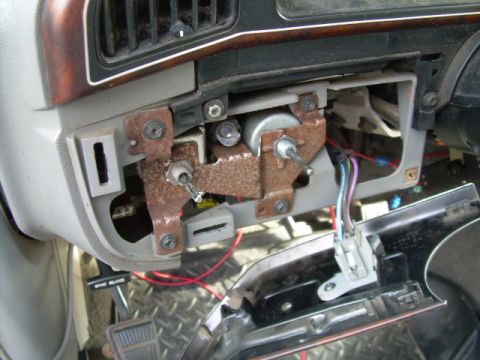
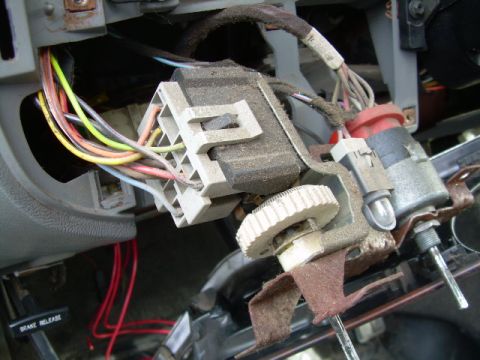
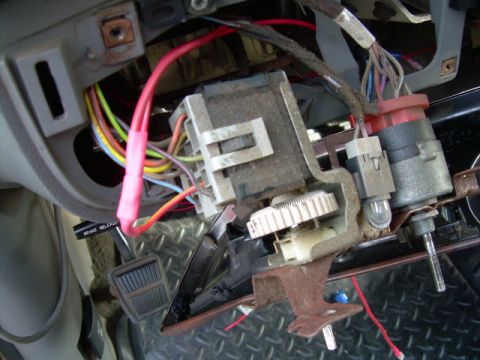
With the trim off, the photos show the dash wiring harness, the bracket behind the dash and the ignition switch assembly on the steering column, with wiring run behind the dash.
-
Step 9
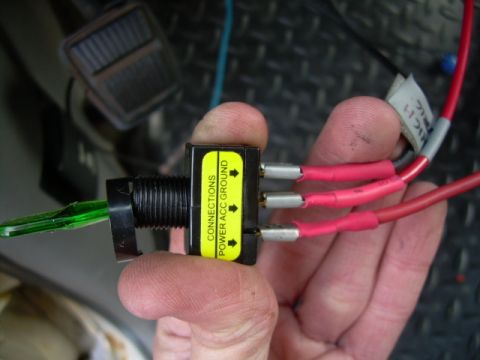
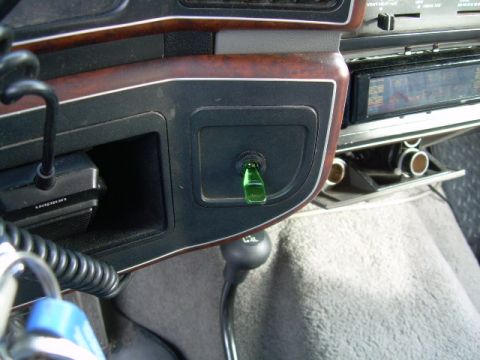
Prepare the illuminated toggle switch, whose terminals are labeled for power, accessory and ground, and fit its spade terminals with heat-shrinked wires. Mount the switch in the lower woodgrain trim panel of the dash.
-
Step 10
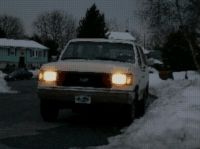
The album ends with the Bronco photographed in the snow with its headlights lit; no further assembly steps were photographed.
Some product links go to the supplier the owner bought from. SuperMotors does not earn a commission today; if that changes, this line will say so and creators will be paid from it.