Home/
Registry/
Ford/
Bronco/
1992-1996/
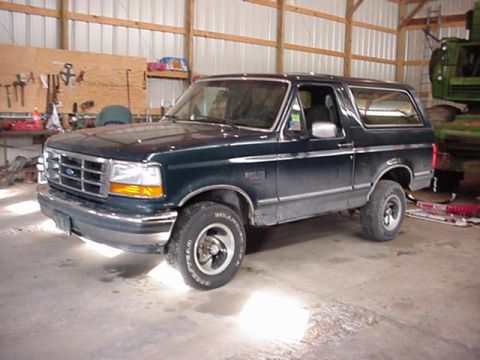
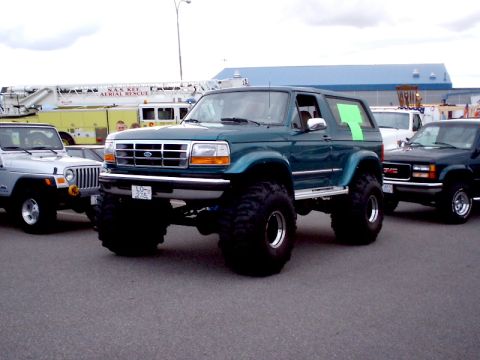
1994 Ford Bronco/
Photo
supermotors.net/registry/media/503854
1992-94 Ford Bronco/F-Series Instrument Panel Tab Install Instructions - Sheet 5

Ford service instruction sheet (I.S. 6551) for right-hand instrument panel tab replacement with torque specs: cowl screws 20 in-lb, attachment bolts 22 ft-lb, braces 62 in-lb.
This document is sheet 5 of 5 of Ford Instruction Sheet I.S. 6551, the Right Hand Instrument Panel Tab Replacement/Installation Instructions for 1992-94 Bronco and F-Series trucks (copyright 1994 Ford Motor Company, Dearborn, Michigan, dated 4-94). It covers the final steps (15-25) of reinstalling the instrument panel after the tab repair. Step 15 instructs drilling two remaining holes using the bracket as a template into the right side of the duct and fastening with truss head rivets, illustrated in Figure 8, which shows the bracket location, the two holes, the tab, and a note to grind one end of the bracket to shorten it. Subsequent steps cover positioning the instrument panel, grinding the tab if needed for clearance (the tab is intentionally long to accommodate body sheet metal variation), installing the A-pillar attaching screw finger tight, and torquing fasteners: cowl top screws to 20 in.-lb (2.2 N·m), the three left-hand side attachment bolts to 22 ft.-lb (30 N·m), left and right bottom braces to 62 in.-lb (7 N·m), the lower right A-pillar screw to 62 in.-lb, and the steering column opening cover to 20 in.-lb. Final steps replace the kick panels and windshield garnish molding and reconnect the battery ground cable.
Is this accurate? Sign in to help verify it.
Frequently asked questions
- What torque is specified for the cowl top screws when reinstalling the instrument panel?
- 20 in.-lb. (2 ft.-lb., 2.2 N·m), per step 19.
- How tight should the three left-hand side attachment bolts be?
- Torque the three left hand side attachment bolts to 22 ft.-lb. (30 N·m), per step 20.
- What should I do if the metal bracket tab doesn't fit against the cowl side?
- Step 17 says to grind the tab (shown in Figure 8) so it fits to the cowl side without forcing into position; the tab is made long to accommodate body sheet metal variations.
- What torque applies to the bottom braces and the lower right A-pillar screw?
- Both the left/right bottom braces (step 21) and the screw at the lower right hand A-pillar (step 22) are torqued to 62 in.-lb. (5 ft.-lb., 7 N·m).
- What vehicles does Ford instruction sheet I.S. 6551 cover?
- The document states it covers 1992-94 Bronco/F-Series right hand instrument panel tab replacement/installation.
Comments
More from this build

No comments yet.