How-to
1993 Ford Bronco Soft Top Fabrication and Install
A soft top was fitted to a 1993 Ford Bronco using shortened tonneau cover rails and mounts fabricated from aluminum bar, aluminum channel and square steel. The brackets bolt to the original hardtop mounting holes, and the snaps, footman's loops and a removable rear rail were laid out and drilled to suit the top.
-
Step 1
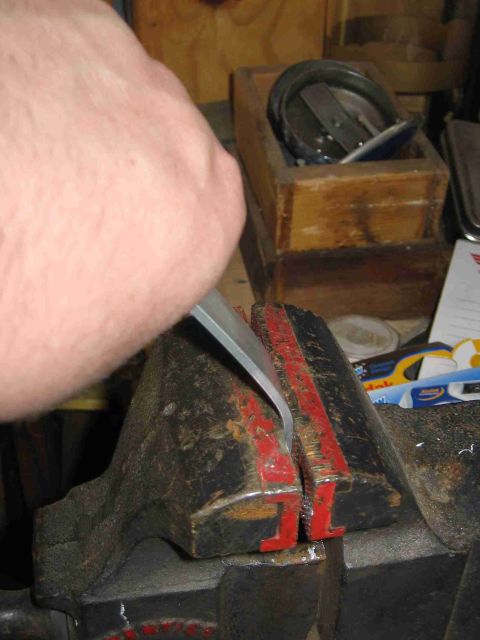
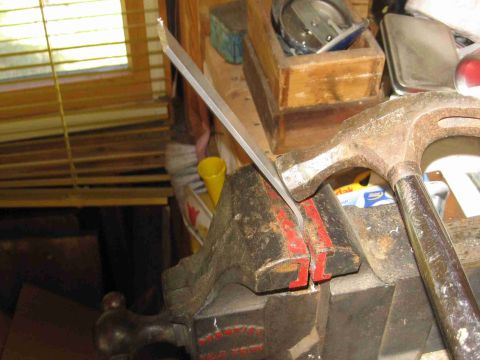
Bend 90 degree brackets from 1/8 inch thick aluminum bar, 1 inch wide for the bedsides and 3 inch wide for the cab mounts, by clamping the measured short end in a vice, pulling the longer end over and tightening the bend with a hammer. The owner tried heating the bar with a small torch before bending and reports it made no difference.
-
Step 2
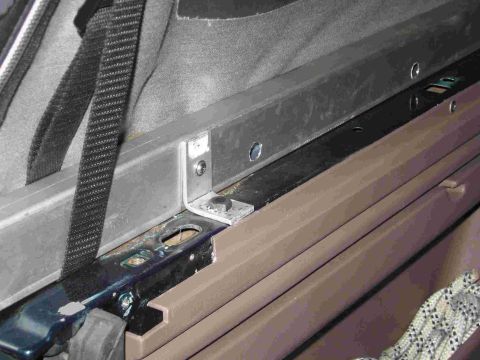
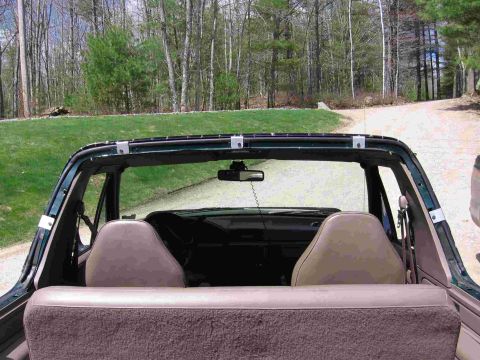
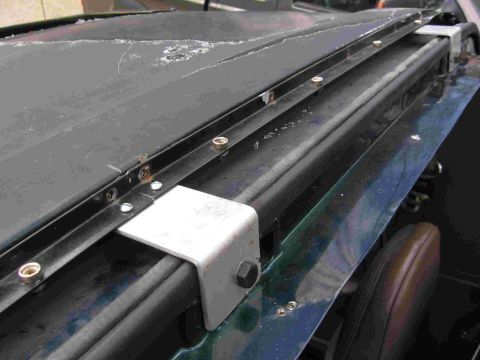
Bolt five fabricated aluminum brackets to the hardtop bolt locations, and use them to mount the cab channels and the shortened tonneau cover bed rails at the original hardtop mounting holes. The owner made the center cab mount from 3 inch wide aluminum and left the bracket slightly long front to back so that it pushes against the cab when bolted in, which keeps the cab mount channel sturdy when snapping and unsnapping the top.
-
Step 3
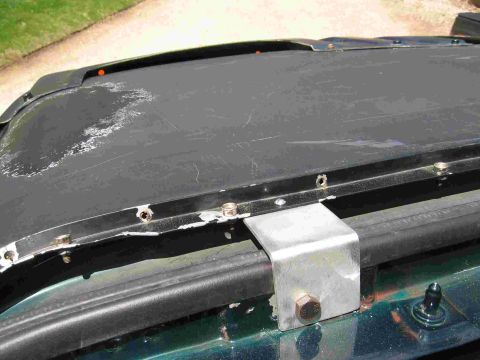
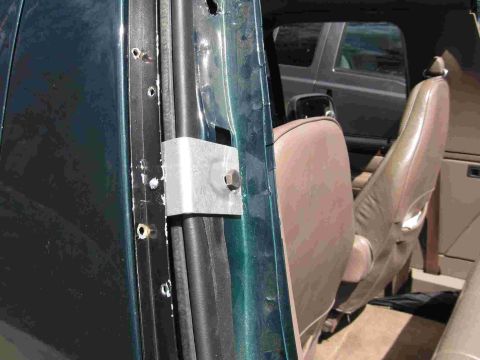
Attach the cab channel to the aluminum brackets with small bolts, leaving the option to Tig weld them later if the thin aluminum channel will hold up to the heat. The owner notes the side cab bracket dimensions are almost the opposite of the top mounts, and that the bolt hole location in all brackets was set by the snap locations on the cab mount channels.
-
Step 4
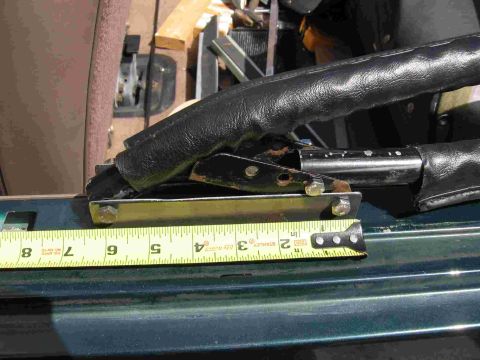
Cut one side out of 1.5 inch square steel with a sawzall to build the bow mounts, then clean up the inside edges with a grinder so the bows move freely and attach the mount to the bedside with sheetmetal screws. The owner reports the mount is about 3/4 inch longer than the original and works fine.
-
Step 5
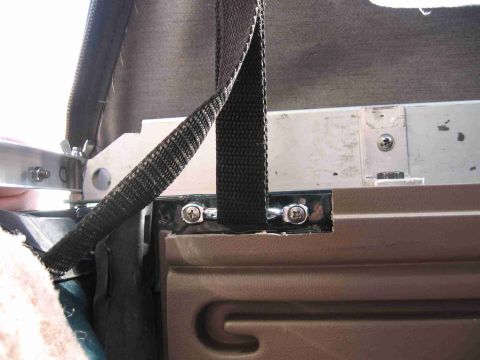
Mount the footman's loops on the inside of the bedsides, cutting away a portion of the interior trim panel with a dremel and a sharp knife to make room. The owner chose the inside position partly for lack of space on top of the bedside and partly so the loops do not have to come off when the hardtop goes back on in the fall.
-
Step 6
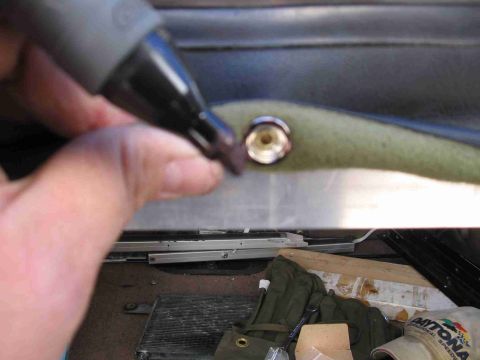
Secure the top on the bows and snap it fully to the cab so it sits in position, then mark, drill and mount the snaps one at a time working front to back down each side rail and the rear rail. The owner marked each location by coloring the back of the snap with a sharpie marker, pulling the cover tight and pressing it against the aluminum, then drilling at the center of the marker ring.
-
Step 7
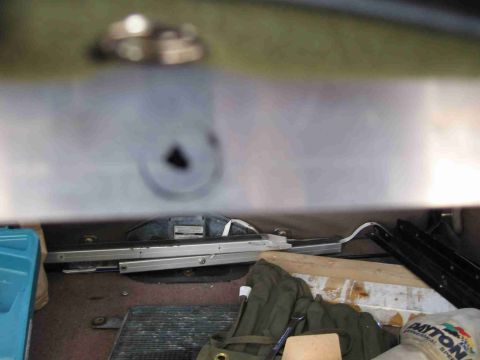
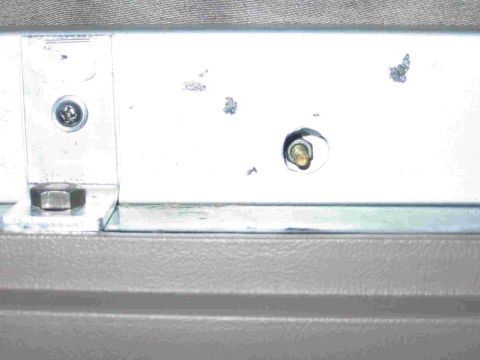
Drill behind the button location with a 1/2 inch bit so that a socket can reach the nut on the back of the button screw.
-
Step 8
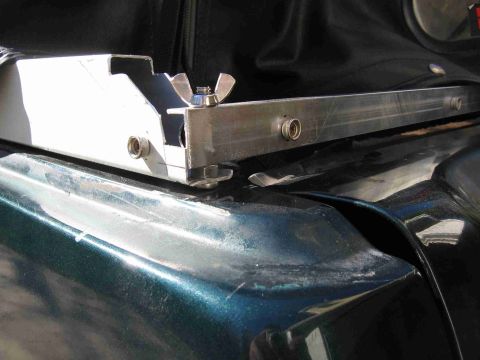
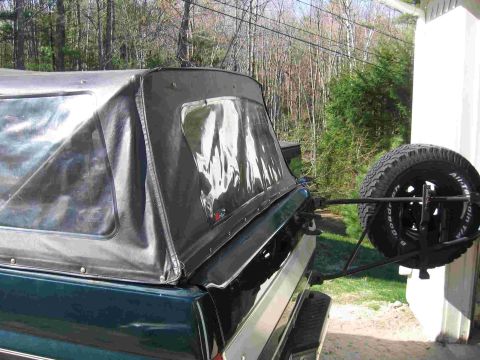
Cut the tonneau cover side rails to length, notch them on the inside to accept a cross bar, and cut a section of aluminum channel to length for the rear rail; drill the rear of the side rails and the ends of the channel, fit a stainless screw in each side rail, slide the channel over it and secure it with a wing nut. The owner used this arrangement to keep the rear rail easily removable and to avoid drilling any holes in the tailgate, and reports about a half inch gap between the aluminum channel and the top of the tailgate that rubber seal will close up. The photos end with the rear window fully snapped onto the fabricated channel.
Some product links go to the supplier the owner bought from. SuperMotors does not earn a commission today; if that changes, this line will say so and creators will be paid from it.