How-to
1992 Ford Bronco E4OD Transmission Teardown
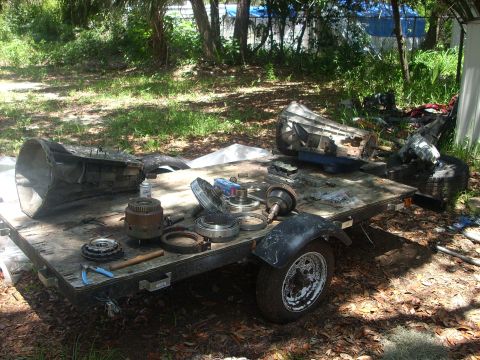
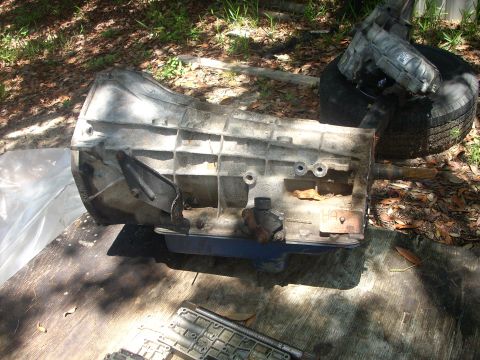
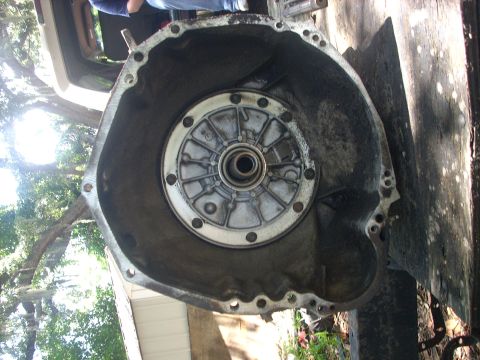
A teardown of an E4OD automatic transmission from a Ford Bronco, taken apart as a parts transmission to harvest its forward and direct clutches. The photos cover the pan, valve body, pump, clutch drums, center support and OD servo. No reassembly is shown.
-
Step 1
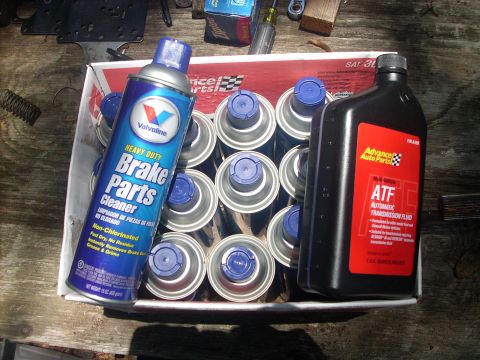
Gather brake cleaner and ATF Mercon fluid before starting; yoomooman notes that much more of both will be needed than what is shown. yoomooman set up two E4ODs, choosing to rebuild the already torn-down unit because it only had burnt clutches and keeping the second as a parts transmission.
-
Step 2
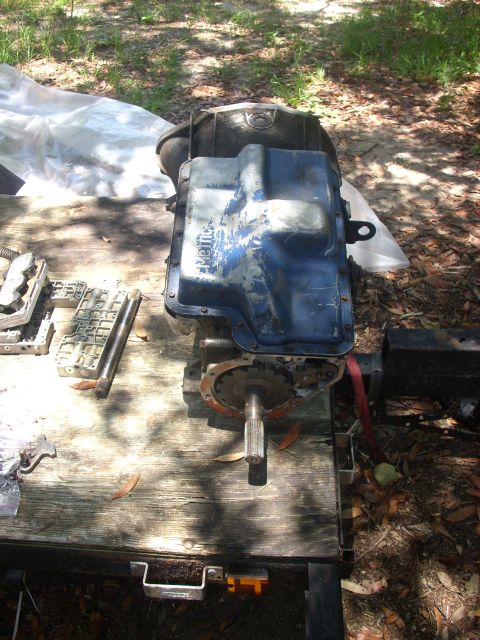
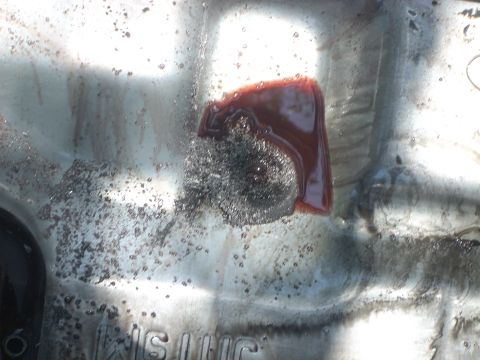
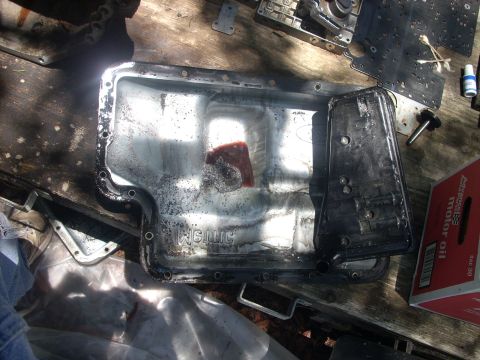
Remove the 20 10mm bolts and take off the pan, then pull the filter. yoomooman found lots of metal in the pan from a reverse planetary that exploded.
-
Step 3
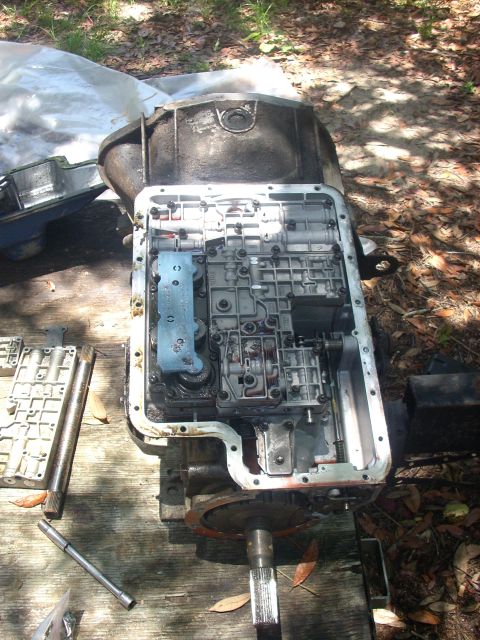
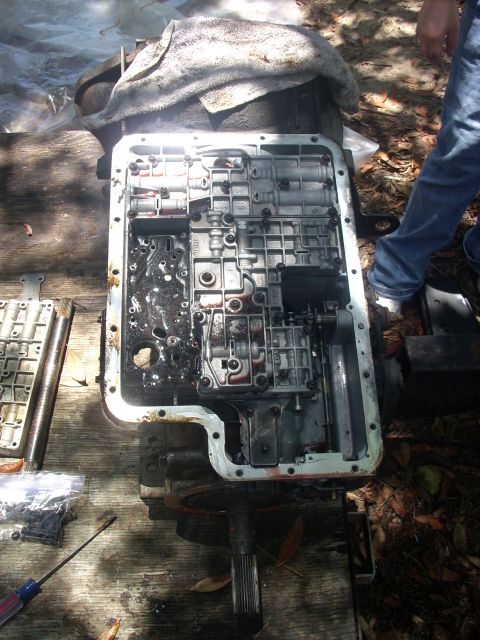
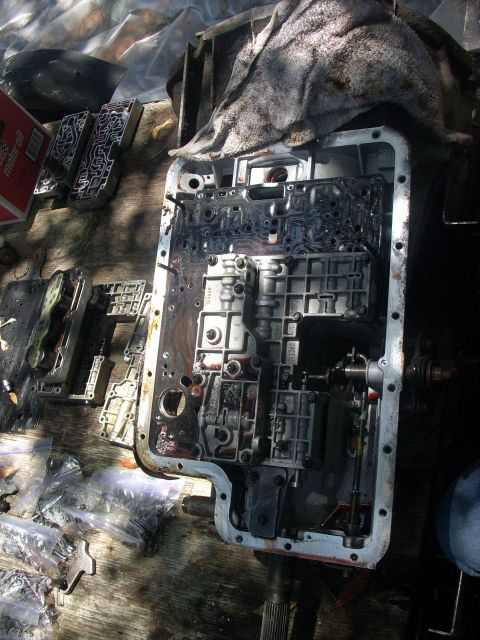
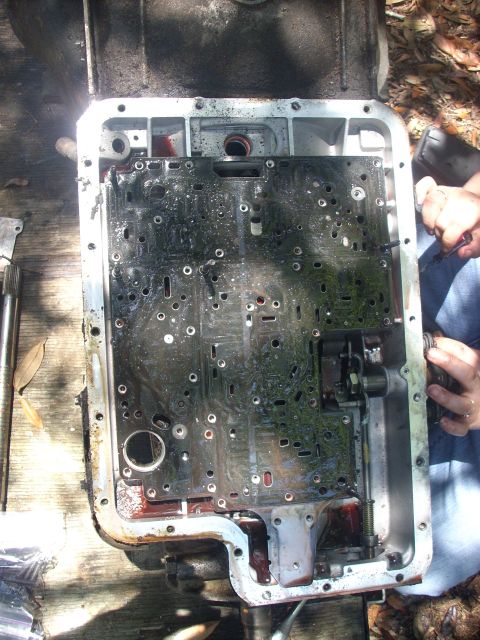
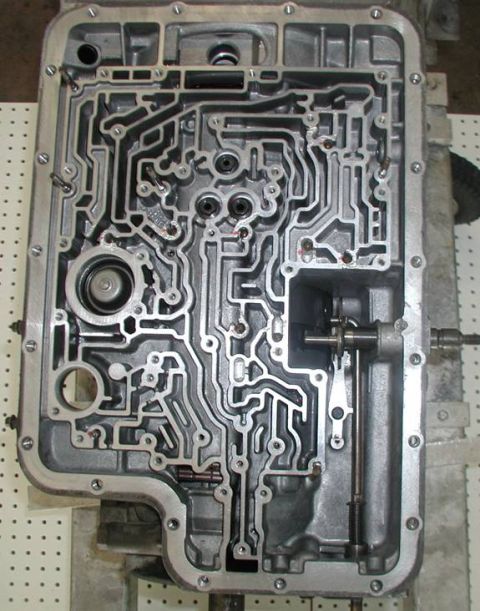
Remove the solenoid pack, which requires a tamper-proof torx driver or bit, then remove the accumulator body using a 10mm and an 8mm socket. Remove the main valve body next, followed by the 3 bolts retaining the separator plate, and lift off the separator plate with its 2 gaskets.
-
Step 4
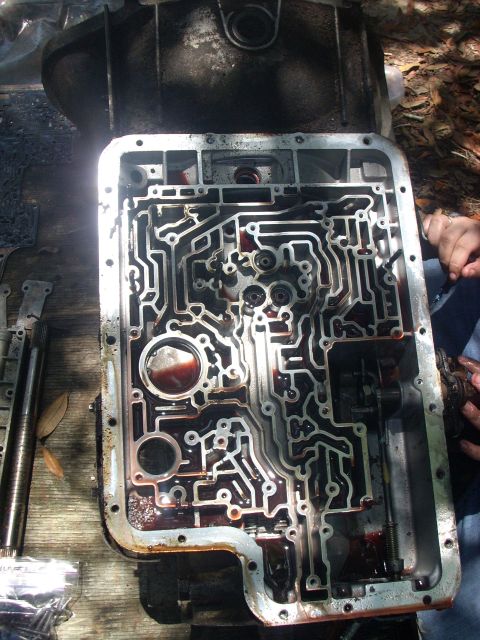
With the separator plate off, clean the exposed 8-10 check balls, the steel ball and spring, and the filters with brake cleaner, then mark each one before removing them along with the 3 bolts holding the center support. yoomooman marked them with white out and warns not to remove the OD servo cover yet, leaving it in place to hold pressure on the internals.
-
Step 5
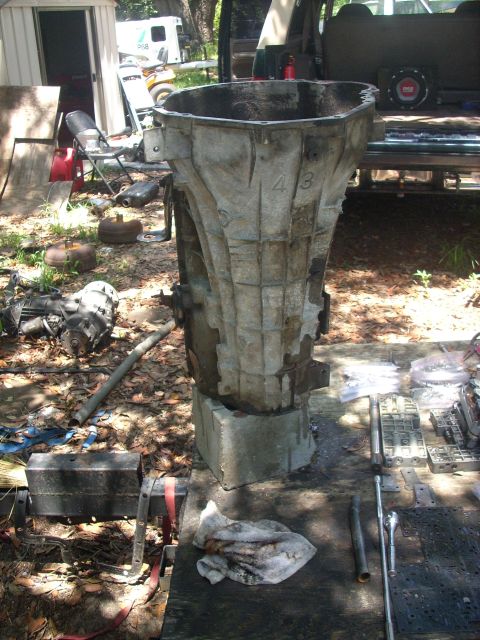
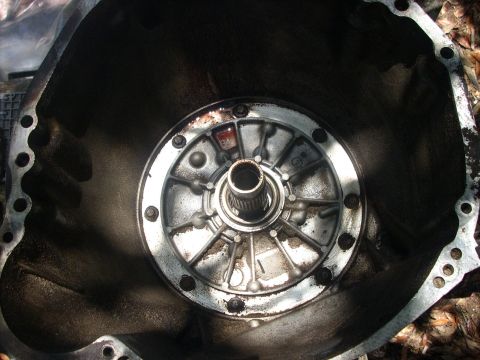
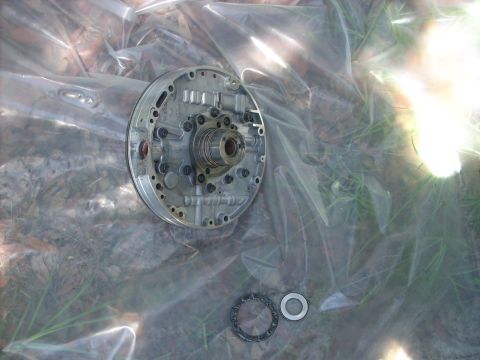
Stand the transmission up, then remove the nine 10mm bolts holding the pump in. Shake the front pump if needed to free it, and take care not to lose the thrust washer and bearing behind it.
-
Step 6
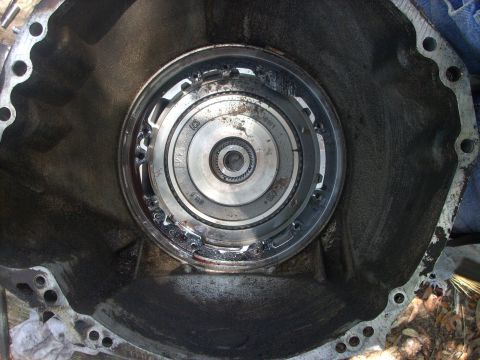
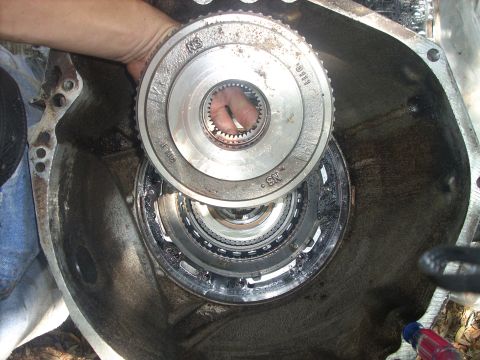
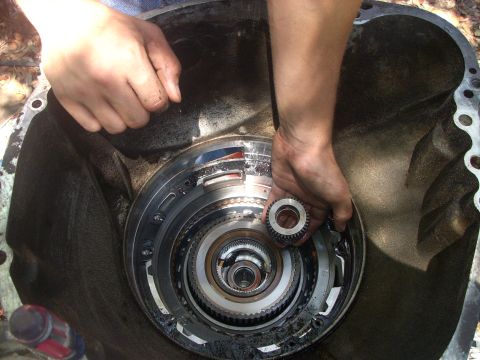
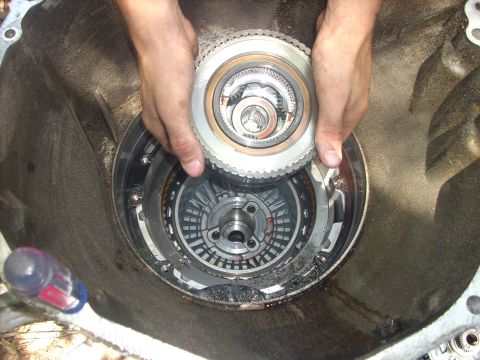
Lift out the parts that come free at this point: the coast clutch drum, the sun gear, then the overdrive ring gear and center shaft.
-
Step 7
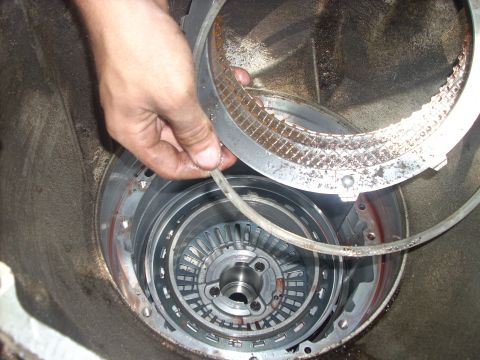
Remove the snap ring from the case, then remove the overdrive pressure plate and clutches.
-
Step 8
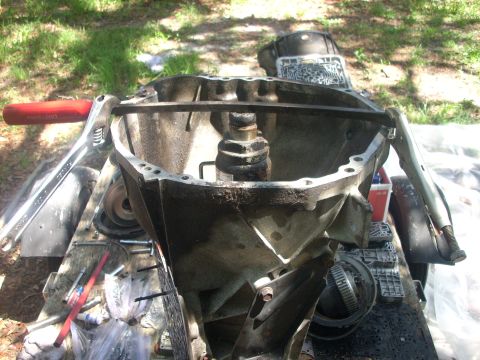
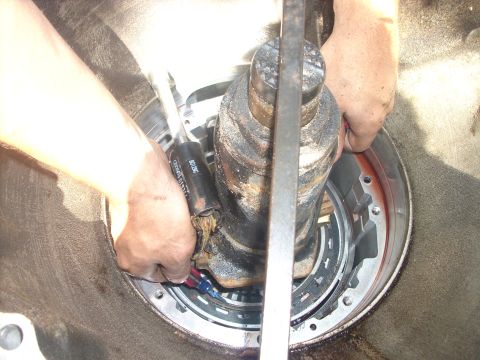
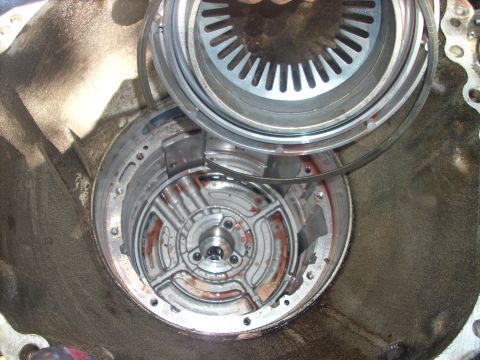
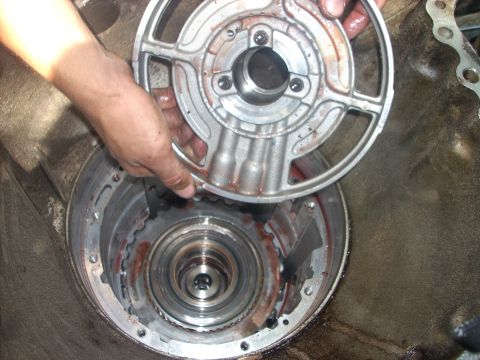
Put light pressure on the center support with a bottle jack, pry bar, vice grips and a 1X1 piece of wood sized to sit on the metal inside, then remove only the outer snap ring in the case. yoomooman stresses that the inner snap ring must stay in place, having removed it once and had the intermediate cylinder spring out of the center support. Release the jack and lift the center support out.
-
Step 9
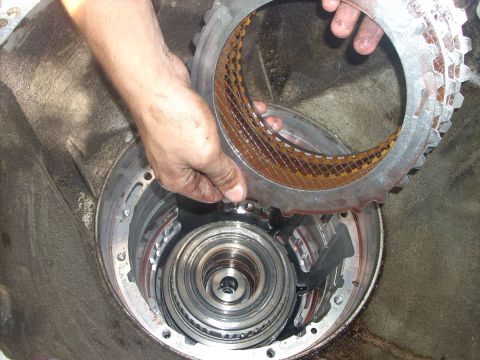
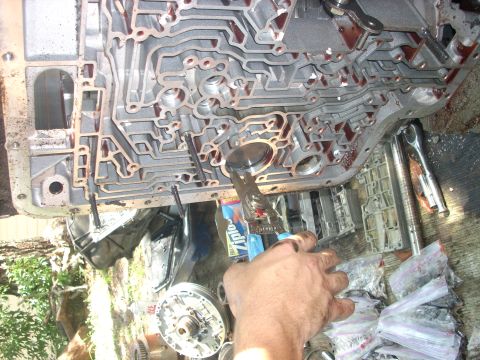
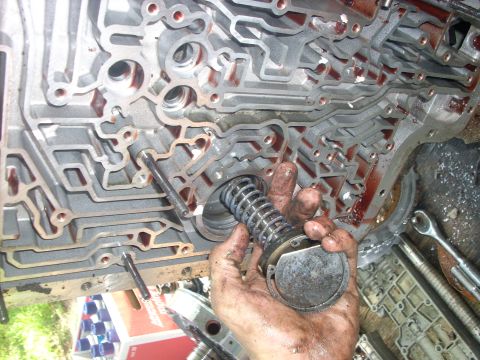
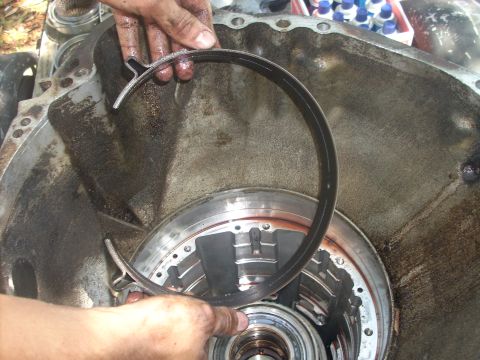
Lift out the intermediate clutch pack, then hold pressure on the OD servo cover while removing its snap ring, as it will fly out otherwise. Take out the servo and cover, then remove the OD band.
-
Step 10
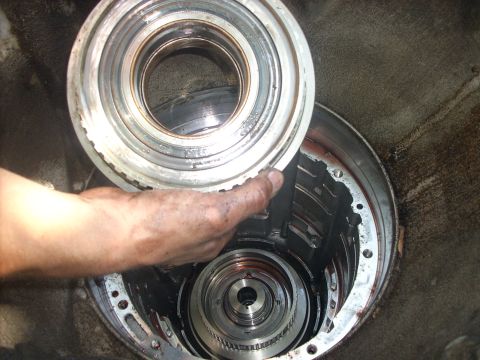
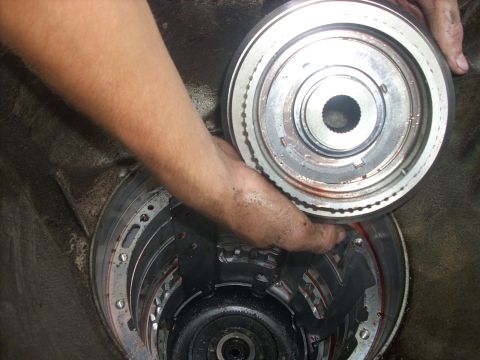
Remove the forward and direct clutch drums, which were the parts yoomooman was harvesting from this transmission. The sun shell, reverse clutches and reverse planetary come out after this, but yoomooman could not reach the reverse section because the reverse planet had exploded, and points to a write-up on thedieselgarage.com for that part of the job.
-
Step 11
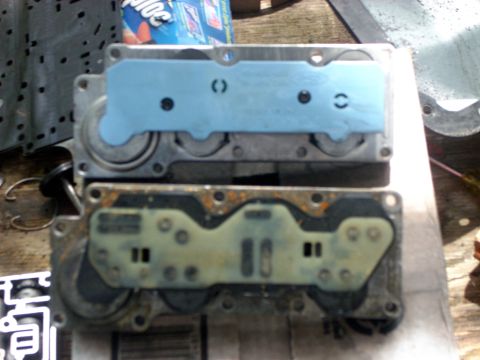
The teardown photos stop here; yoomooman reports the camera was lost because brake cleaner eats plastic cameras, and no reassembly is shown. The last photo shows the two solenoid packs, with the blue one being the newer 94+ upgraded pack and the other the old style.
Some product links go to the supplier the owner bought from. SuperMotors does not earn a commission today; if that changes, this line will say so and creators will be paid from it.