How-to
1993 Ford Bronco E4OD Punisher Valve Body Install
A Punisher valve body was installed in the E4OD automatic transmission of a 1993 Bronco, along with a new filter and pan gasket. The photos cover the pan drop and drain, the valve body swap, the refill and a break-in note, and Dmanic says the truck had been shifting loosely before the change. The album ends with a photo of the finished truck.
-
Step 1
Lay out the valve body and the paperwork supplied with it before starting. Dmanic says the truck felt loose and slipping before the change. The first valve body he received shifted firmly but with more kick than he wanted, so a second one was set up to the feel he described, and he reports about 6 months of use on it with no complaints.

-
Step 2
Unplug the negative battery terminal, which also resets the computer so it can learn the new valve body once it is in. Dmanic removed both terminals.

-
Step 3
Pull the bolts from the transmission pan, taking the front row out completely first, then dropping the side bolts down a little and sliding a container underneath to catch the fluid. Remove the rear bolts next, then work the side bolts out slowly from the front so the fluid drains from one edge instead of all sides at once.

-
Step 4
Remove the pan and pour the remaining fluid into the container. Pull the filter from the transmission with the container close, since about another ½ quart comes out of it.

-
Step 5
Pull the filter O ring out of the transmission carefully, as it sometimes stays stuck up inside. A finger is usually enough, but a hook may be needed, and care is required not to scratch the inside.

-
Step 6
Clean the pan out thoroughly while the rest of the fluid drips into the container, leaving no old gasket material behind. Clear any debris off the magnet.

-
Step 7
With the filter out, remove the fasteners holding the valve body. Dmanic counted 11 bolts and 2 nuts.

-
Step 8
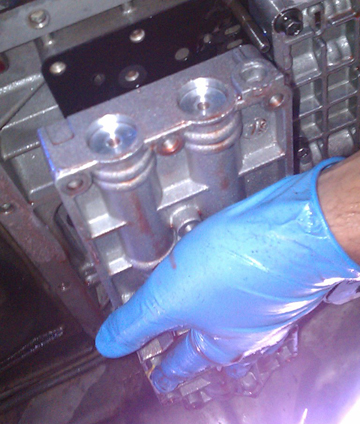
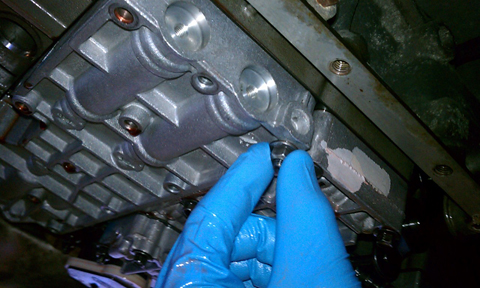
Pull the old valve body out and slide the new one into place. Dmanic did not record the torque specs and instead ran the fasteners in finger tight, then snugged them down starting from the middle and working out to both ends.
-
Step 9
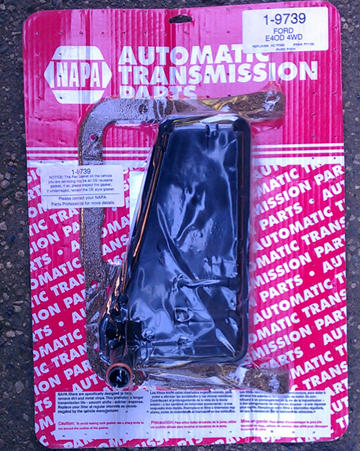
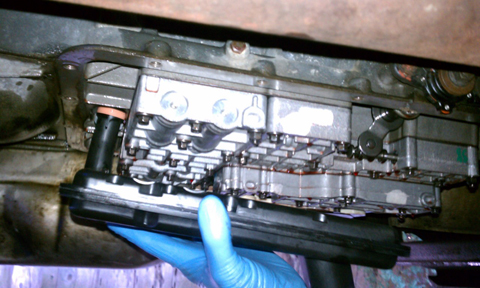
Fit the new filter and make sure it snaps in tight. Dmanic used a NAPA filter that comes with the pan gasket, choosing the long-nozzle version of the two styles offered and noting the short one appears to suit a shallower pan.
-
Step 10
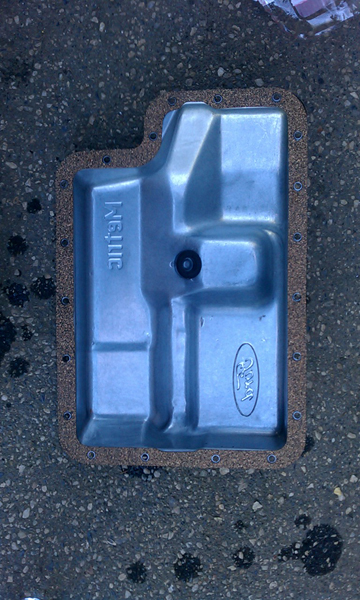
Set the gasket on the pan, line it up with a couple of bolts, and slide the pan back on. Run all the bolts in finger tight and snug them down from the middle out to the ends.
-
Step 11
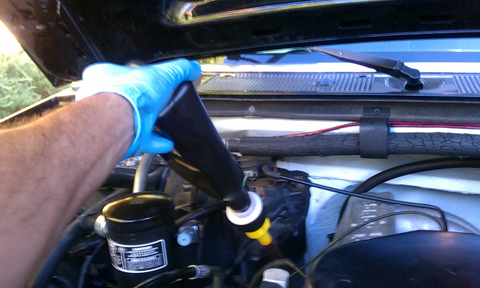
Add about 4 or 5 quarts of transmission fluid, reconnect the negative battery terminal, start the engine for a few seconds and look for leaks. Shut it off and finish filling; Dmanic's took about 8 ½ quarts without draining the torque converter.
-
Step 12
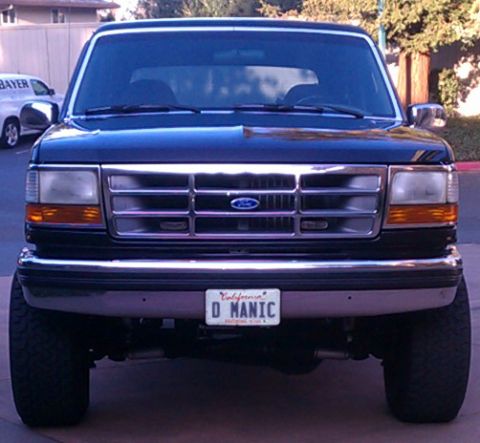
Take it easy for the first few miles while the computer relearns the shift points, and allow about 50 to 100 miles for the new valve body to be in full effect, as the supplier recommends according to Dmanic. The last photo shows the finished truck.
Some product links go to the supplier the owner bought from. SuperMotors does not earn a commission today; if that changes, this line will say so and creators will be paid from it.