How-to
1992 Ford F-150 Upper Intake Plenum Removal
Removing the upper intake plenum and throttle body on a 1992 Ford F-150 to reach the fuel injectors. The photos show the teardown from the battery disconnect to lifting the plenum off, and the spark plug wires re-routed while it was off.
-
Step 1
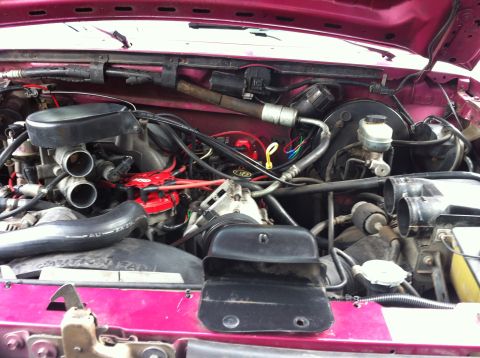
Disconnect the negative battery cable, then remove the air intake hoses and set them aside. The owner disconnected the battery because the job involves unplugging engine sensors and working around the ignition system.
-
Step 2
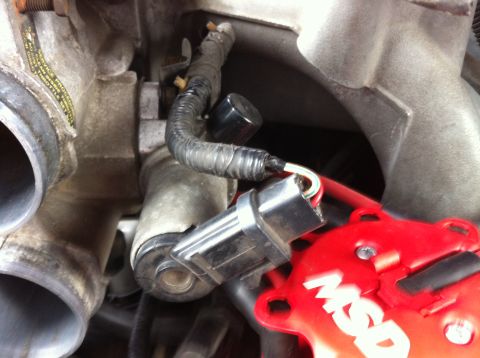
Unplug the sensors mounted to the throttle body. The IAC valve is shown; the TPS also has to be unplugged.
-
Step 3
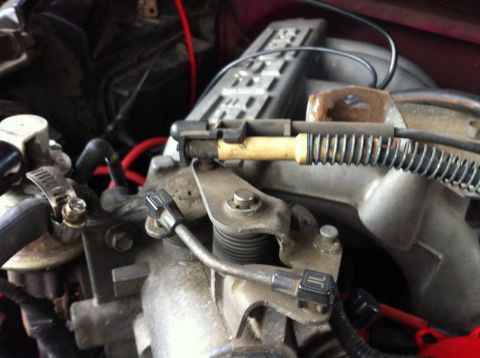
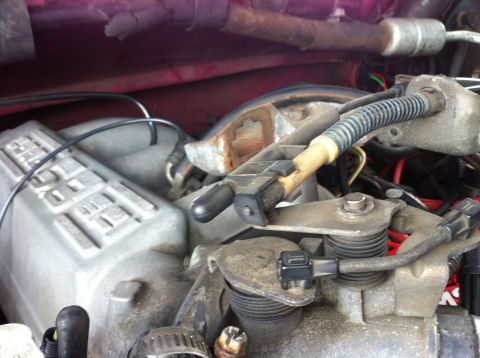
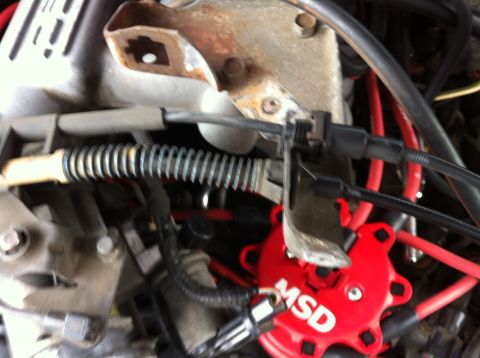
Remove the cover over the throttle cable if it is still in place, then pop the throttle and cruise cable off the ball stud. The owner used a small flat head screwdriver for this.
-
Step 4
Unbolt the bracket that holds the cables to the upper intake plenum. Fold the cables and bracket out of the way.
-
Step 5
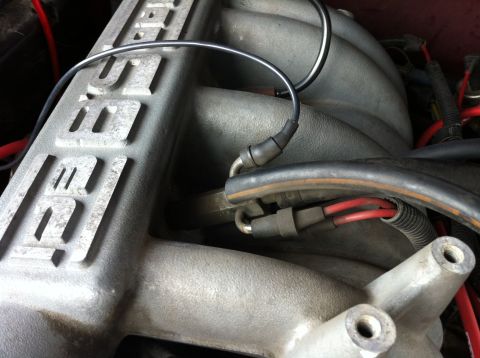
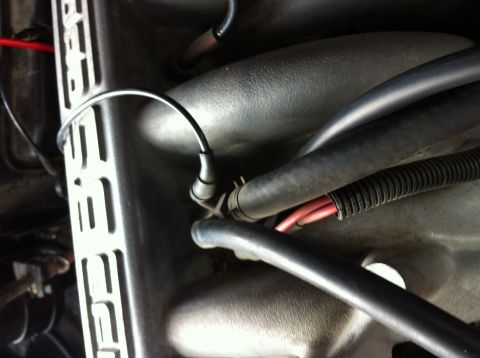
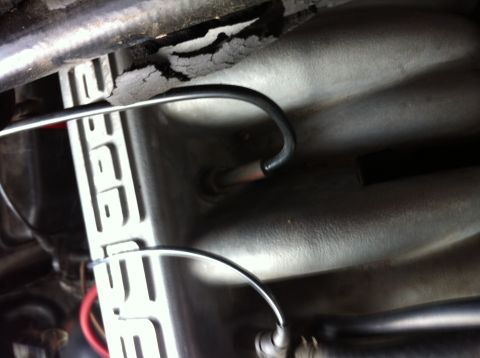
Disconnect all of the vacuum lines from the vacuum tree. Routing varies between trucks, so take reference photos first so the lines are not mixed up on reassembly.
-
Step 6
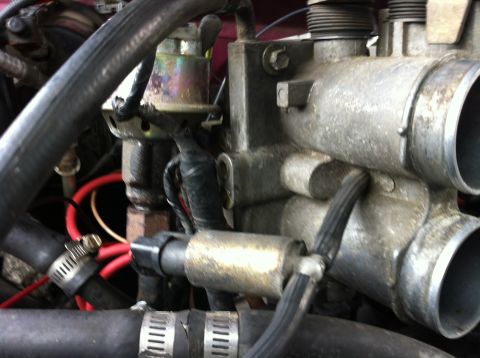
Disconnect the rubber hose running from the solenoid to the throttle body, then disconnect the two coolant lines at the throttle body, one at the top and one at the bottom. Unbolt the EGR from the throttle body rather than from the exhaust manifold.
-
Step 7
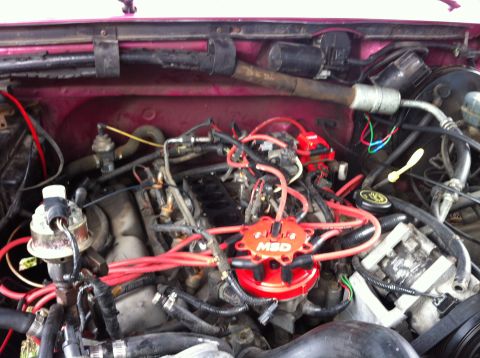
With everything disconnected, remove the 6 bolts around the perimeter where the upper plenum meets the lower; the inner bolt in the center section is a Torx T40 and sits in a tight spot, which the owner reached with a long extension. Lift the plenum and throttle body off. The owner also replaced the PCV valve while the access was open.
-
Step 8
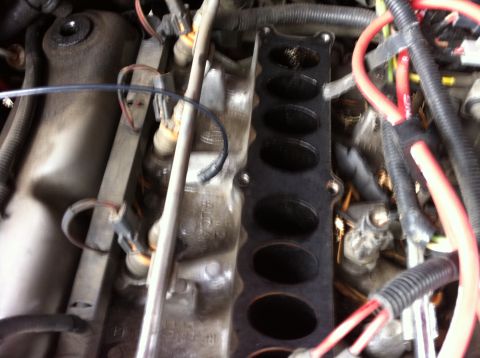
With the upper plenum off, the lower intake plenum and fuel rails are exposed. Reaching the fuel injectors was the owner's reason for removing the plenum.
-
Step 9
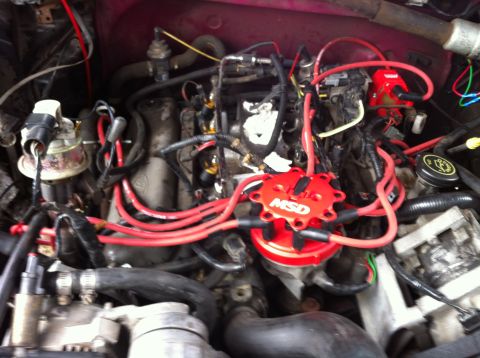
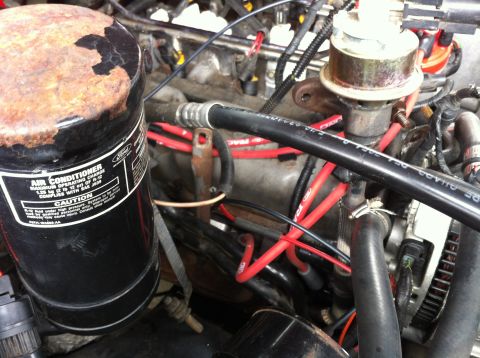
While the plenum is off, the owner re-routed the spark plug wires to reduce the chance of cross-ignition.
-
Step 10
The album ends with a second view of the engine bay after the plug wires were re-routed. No reassembly steps are shown in the photos.
Some product links go to the supplier the owner bought from. SuperMotors does not earn a commission today; if that changes, this line will say so and creators will be paid from it.