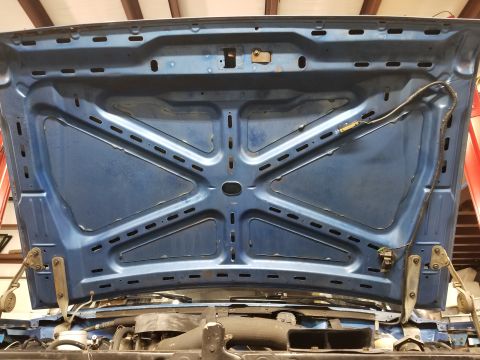
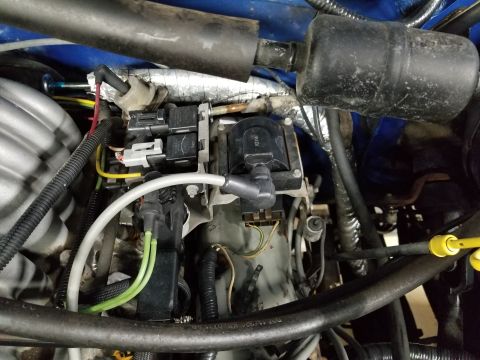
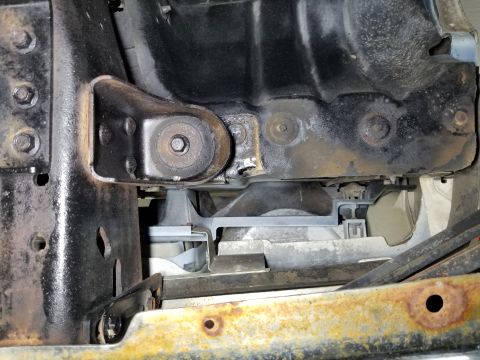
1989 Ford Bronco
Owner: mattmann 
From: Marion, AR, American Somoa (U.S.)        (Other registries in AR)
Year, Make, & Model: 1989 Ford Bronco        (Other Ford Broncos)
Avatar:
Nickname: BlueStreak
Mileage: 210000
Engine: 5.8L, smog pump gutted, EVAPS plugged
Drivetrain: C6, BW1356 manual, D44IFS 3.07 open manual locks, Ford 8.8" 3.08 open
Notes: ~3" suspension lift, 35" BFGs
Last Updated: 6/7/2020
Hits: 709
Album
Folder Hits Comments Created Updated
folder 1133008,55602/13/206/2/20
folder 2240081306/2/206/7/20
Newest Media Files
RefrigLeak.jpg
53 hits | 80.47 KB | Posted: 6/7/20

The low-pressure switch wouldn't engage at 100psi, so I swapped it for a good used one. Then I added a can of refrigerant and used the sniffer. The only consistent hot spot is the evaporator core, so that's where I think it's leaking.
IF THE IMAGE IS...
DoorRalign.jpg
95 hits | 43.3 KB | Posted: 6/7/20

I raised the back edge of the door so it's at the correct height while open. Then I moved the strike bolt down & outboard so the door is aligned when closed.
IF THE IMAGE IS TOO SMALL, click it.
LeakCheck.jpg
48 hits | 76.07 KB | Posted: 6/6/20

After rinsing the old oil off, I parked on a Right lean, and let the engine idle for about a half hour (while letting the EEC re-learn the idle). There's no sign of oil coming from the valve cover area.

I also checked cranking time cold, hot, after ...
Done.jpg
60 hits | 112.13 KB | Posted: 6/6/20

The new paint isn't entirely visible, but that wasn't the main purpose.
ScrapeHour.jpg
52 hits | 118.38 KB | Posted: 6/6/20

Whoever worked on the engine last thought the plenum gasket needed to be glued to the lower intake, so it took an hour of scraping & spraying to remove it.

In general a gasket should be lightly adhered to the REMOVABLE part (the LAST part to be inst...
Grommet.jpg
43 hits | 61.11 KB | Posted: 6/6/20

The PCV grommet tore when I removed it before sandblasting & painting the valve cover, so I had to go grab a new one locally ($10).
PlenumPaint.jpg
39 hits | 58.81 KB | Posted: 6/6/20

I soaked & scrubbed the plenum to remove the oil & some of the sludge before washing, drying, & sandblasting it. I dried it again before & after painting, belt-sanding the debossed letters, & clearcoating them. It needed new TB ($5) & plenum ($15) ga...
TB.jpg
51 hits | 66.33 KB | Posted: 6/6/20

The throttle body got sandblasted inside & out before being clearcoated. The spring for the bellcrank was not installed correctly before.
IF THE IMAGE IS TOO SMALL, click it.
RHSVCG.jpg
45 hits | 85.16 KB | Posted: 6/6/20

There's less sludge here than I expected for an engine this old - about the same as the Left valve cover. The leak was probably at the rear corner where the gasket is toasty-brown all the way across.
IF THE IMAGE IS TOO SMALL, click it.
Most Viewed Files
20200317_135350.jpg
414 hits | 83.84 KB | Posted: 3/17/20

After running the silicone vacuum lines, the hood went back on.
IF THE IMAGE IS TOO SMALL, click it.
20200306_164103.jpg
269 hits | 81.99 KB | Posted: 3/6/20

The Left pivot bushing (for the Right axle beam) was powdered. The other one was in better condition, but it also got replaced. Both sleeves required air-chiseling to remove.

[url=https://www.supermotors.net/registry/media/1036242][img]https://www.s...
20200229_111753.jpg
226 hits | 80.16 KB | Posted: 2/29/20

I turned the crank forward to 0 degrees, set a pointer wire on the distributor shaft, then turned the crank back just until the wire started to move to measure timing chain slack. 8 degrees is pretty high, which is another reason I think this engine ...
20200318_154121.jpg
209 hits | 53.92 KB | Posted: 3/18/20

The fuel pump access panel went in uneventfully (other than a bloody knuckle).
20200208_181159.jpg
173 hits | 85.74 KB | Posted: 2/13/20

RHF corner
20200305_104419.jpg
164 hits | 97.96 KB | Posted: 3/6/20

The gears are in exactly the same position, with all the slack on the driver's side, so the additional tooth showing with the new gears means the chain is tighter.
IF THE IMAGE IS TOO SMALL, click it.
20200306_160309.jpg
162 hits | 88.68 KB | Posted: 3/6/20

After Copper-Coating the new timing cover gasket on, I installed it (with a used dowel tube) & the oil pan. The oil pan corners also got some Hylomar.
IF THE IMAGE IS TOO SMALL, click it.
20200307_153946.jpg
147 hits | 87.1 KB | Posted: 3/7/20

The Right lower ball joint nut wasn't tight; not even finger-tight. And although it had been wallowing in the bore enough to wear threads into it, the bore was undamaged. I used the torch to release the old ball joints, and let the new ones in with l...
20200227_134940.jpg
146 hits | 87.19 KB | Posted: 2/27/20

Timing cover gasket details

It looks in such good condition, I don't really want to change it. But it's so old that I hate to put the engine back in when it's only a couple hundred in additional labor from this point. The parts needed are: timing co...
Maintenance & Modification Logs
This user hasn't added any log entries, yet.
About SuperMotors | Contact Us | FAQ/Help | Legal
Copyright © 1998-2022 Web Design Solutions, Inc.
All rights reserved. Duplication & reproduction is strictly prohibited.
SuperMotors.net v5.0.2 ChangeLog