How-to
1995 Ford Bronco 2.5 Inch Tuff Country Lift Install
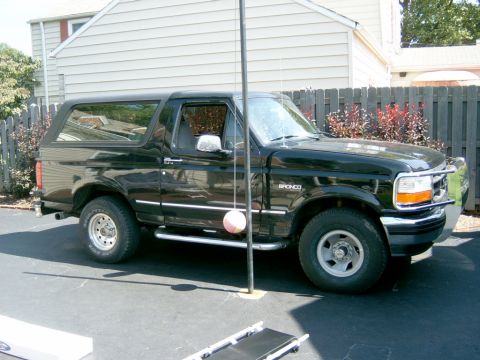
A 2.5 inch Tuff Country lift with extended radius arms goes onto a 1995 Ford Bronco, front and rear. The rear is raised with a Pro-comp add-a-leaf in place of the kit's blocks, and the front gets new coils, relocated radius arm brackets and new axle pivot drop brackets.
-
Step 1
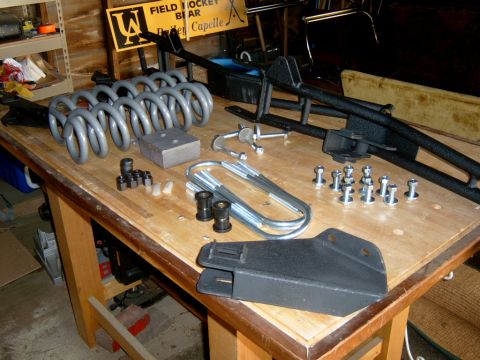
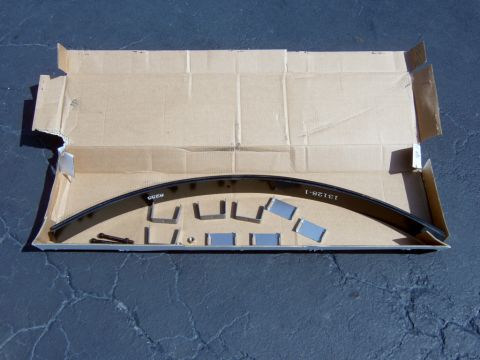
Start with a Tuff Country 2.5 inch kit with extended radius arms, which includes blocks for the rear. TRUCKY18 set those blocks aside and used a Pro-comp 2.5 inch add-a-leaf instead, and notes the front end sagged considerably before the lift.
-
Step 2
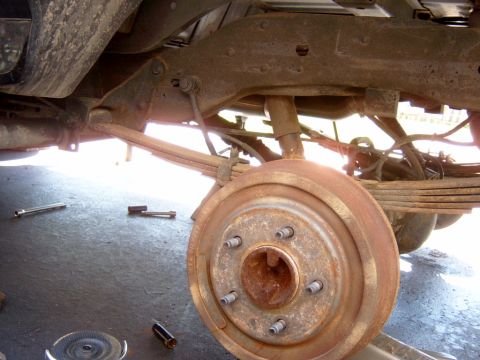
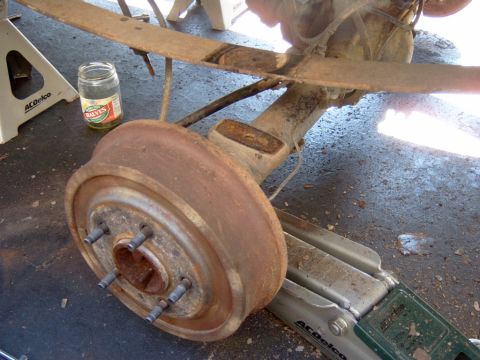
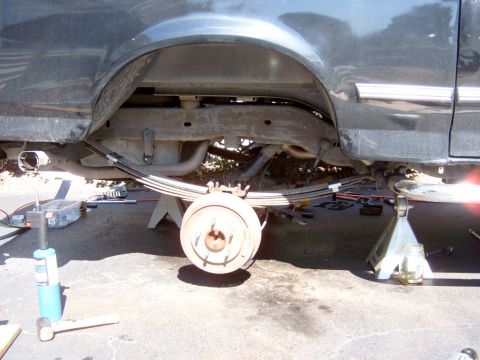
At the rear, unbolt the U-bolts, grind off the upper rivet head and drop the axle. TRUCKY18 skipped the kit instruction to remove the whole leaf pack, and freed the factory alignment clamp by pulling the bottom leaf out and the others sideways until the bracket bent and the set came off.
-
Step 3
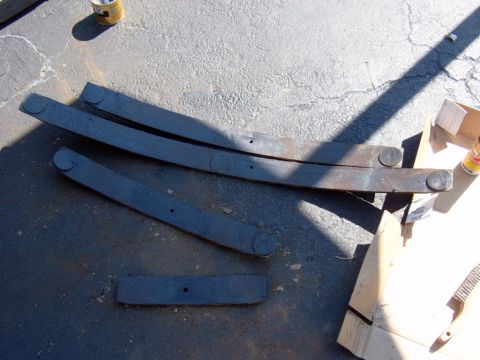
Grind the head off the rivet holding the factory alignment clamp to the second smallest leaf and remove the clamp. Clean the leaves with a wire brush, grease the plastic ends and fit them together with the add-a-leaf, which goes just under the large leaf still attached to the truck.
-
Step 4
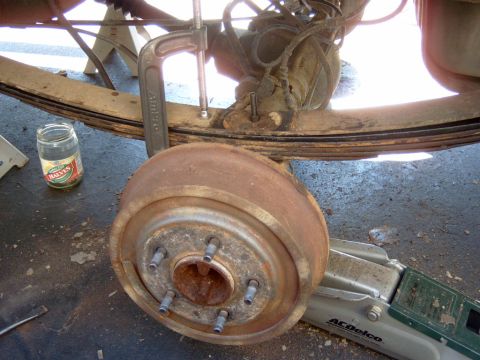
Drop the axle just far enough to get the leaves in, line everything up and compress the pack with a 9 inch C-clamp, then bolt it together with the new bolt supplied with the kit. TRUCKY18 had to clear rust and metal from inside the factory shim with an angle rotary tool and a conical bit, because the new bolt head is significantly deeper than the factory rivet.
-
Step 5
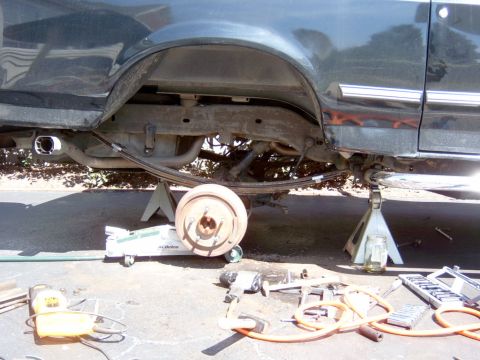
Compress the top three leaves with the 9 inch C-clamp and hold each new alignment clamp in place with a 4 inch C-clamp. Bend the tabs over with a hammer.
-
Step 6
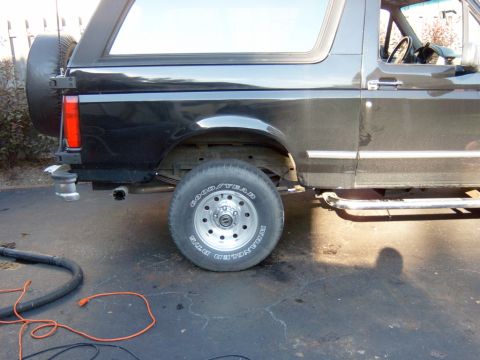
Re-bolt the U-bolts and torque them back to factory specs, then change the shock. TRUCKY18 reports the shock took nearly as long as the add-a-leaf, and was surprised by the amount of lift the rear gained.
-
Step 7
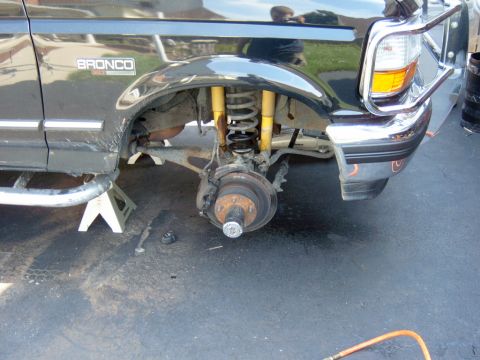
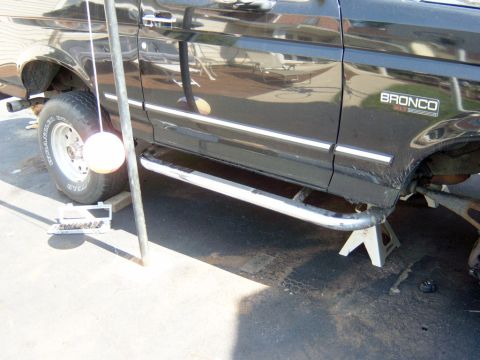
Move to the front and remove the nerf bars, which have to go to make way for the new extended radius arm brackets. TRUCKY18 notes the AutoZone front shock was already visibly worn at about 4000 miles.
-
Step 8
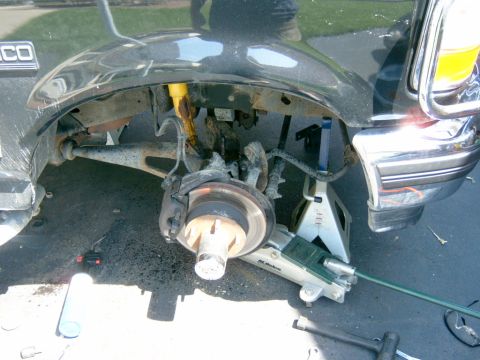
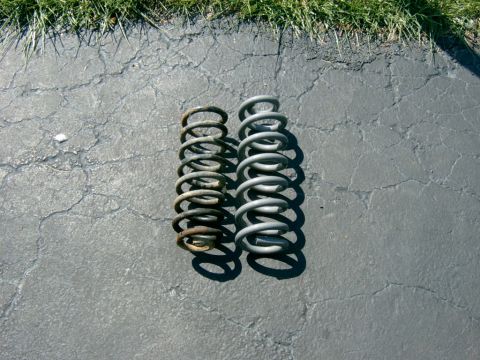
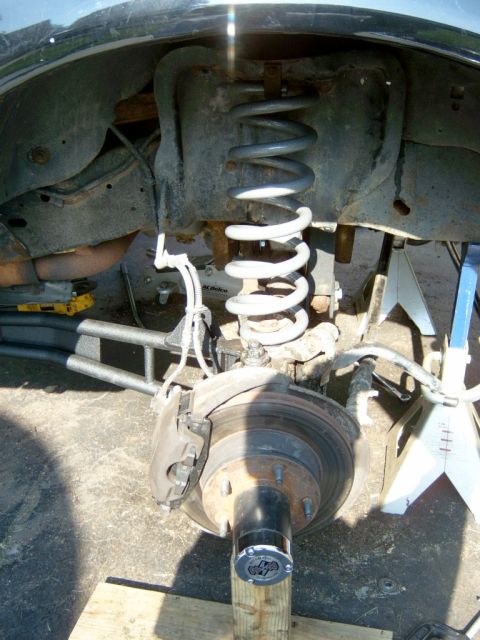
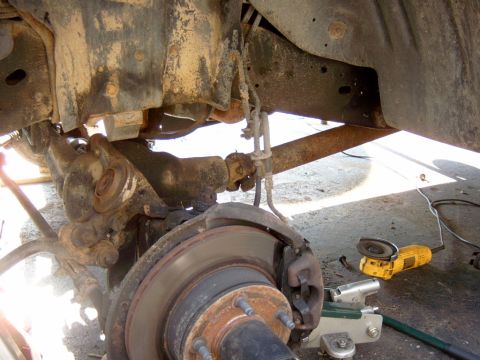
Remove the coil and coil seat to reach the large stud that holds the top of the radius arm and the lower coil retainer, then heat the bottom of the stud with a propane torch inside the TTB arm and drive it off with a 1 1/8 inch extra deep socket and an impact wrench. TRUCKY18 soaked the parts with PB Blaster for 2 days beforehand, gave up on a wrench after about an hour, and reports the old coil was worn enough to compress about 3 inches under full weight.
-
Step 9
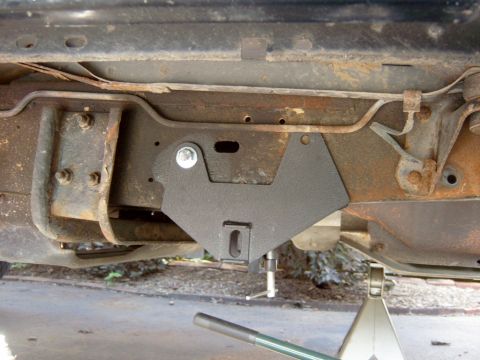
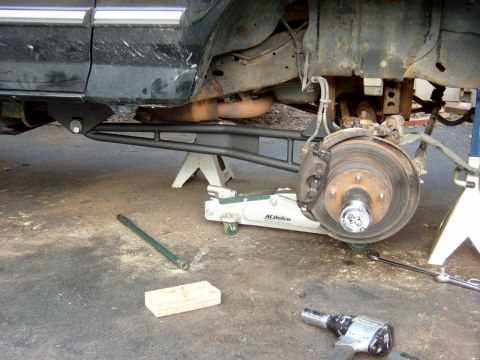
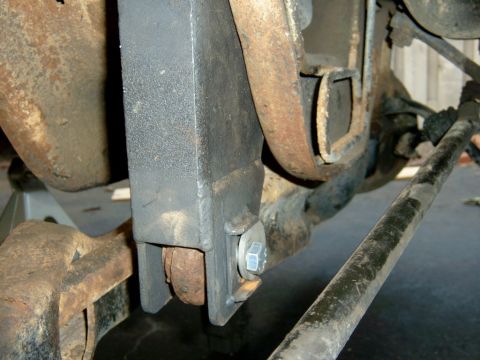
Grind the tops off the old radius arm mount rivets, remove the old mounts, measure 15 inches back and clamp the new mount in place. Hold the brake line up clear of the bracket with a small plastic D clip.
-
Step 10
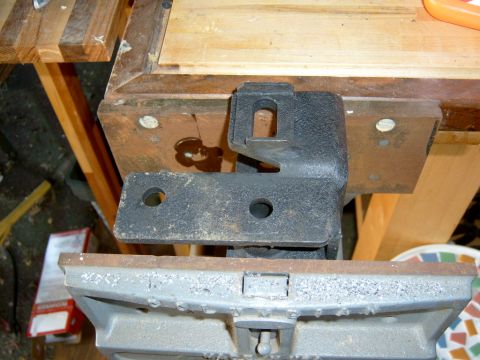
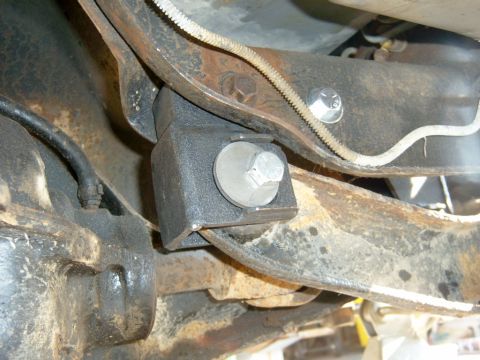
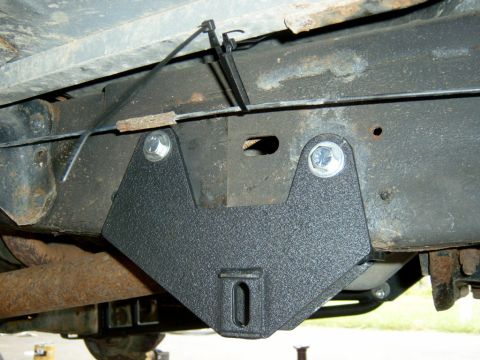
Reassemble the front with the new radius arms, whose pivots use a greaseable bolt in a poly bushing with a cam adjusting bolt in place of the Ford style bushing; TRUCKY18 reports plenty of slack left in the factory brake lines. Unbolt the 4 bolts holding each old axle pivot bracket and fit the new drop bracket, reusing the old pivot arm hole and bolt and drilling a new 1/2 inch hole for the grade 5 bolt that came with the kit.
-
Step 11
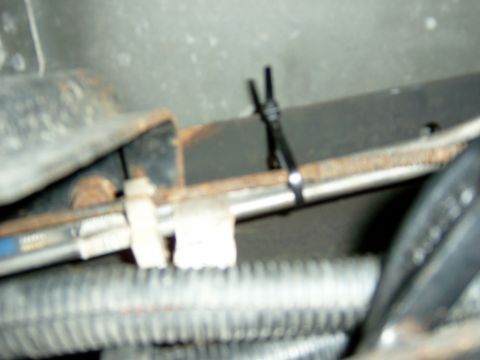
Strip the driver's side the same way, then unbolt the fuel line holder from the frame and zip tie it, along with the parking brake wire, clear of the drill bit. With the new bracket on, drill 2 new holes and move the fuel line holder up toward the engine, bending it slightly so it clears the top of the frame and the fuel lines do not rub the kick-down on the transmission.
-
Step 12
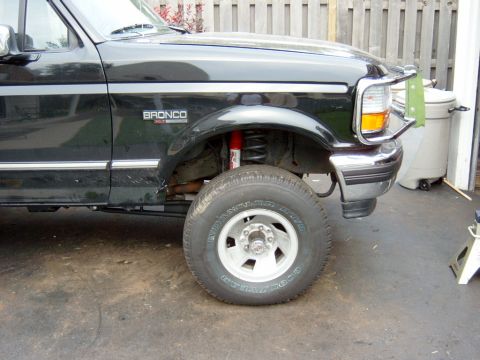
The photos end with the Bronco reassembled and back on the ground, with the last 2 shocks still to be mounted and an alignment still to be done. TRUCKY18 netted 5.5 inches of lift, more than expected, because the front had been sagging so much.
Some product links go to the supplier the owner bought from. SuperMotors does not earn a commission today; if that changes, this line will say so and creators will be paid from it.