How-to
1986 Ford Bronco Remanufactured Saginaw Pump and Fluid Flush
A worn Saginaw power steering pump on a 1986 Ford Bronco is diagnosed by shaft play and replaced with a remanufactured Cardone unit. The pulley and mounting bracket are transferred to the new pump on the bench, new low pressure hose is fitted, and the system is flushed with a clear hose and drain pan.
-
Step 1
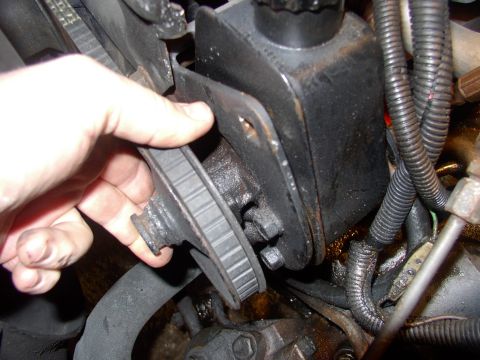
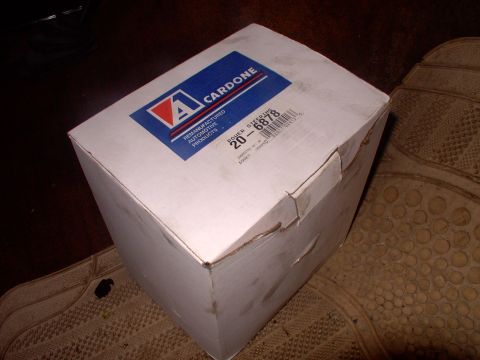
Grab the power steering pump pulley and check for in and out movement on the shaft. Sixlitre chased a belt squeal for about 6 months until it turned into metal on metal bearing noise, then found the Saginaw pulley moved in and out a good 3/16", and sourced a cheap remanufactured Cardone Saginaw listed for a 78 Ford Econoline van as the replacement.
-
Step 2
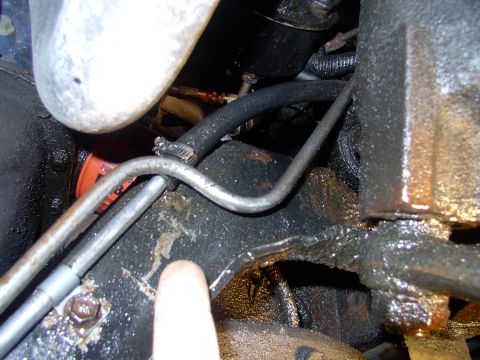
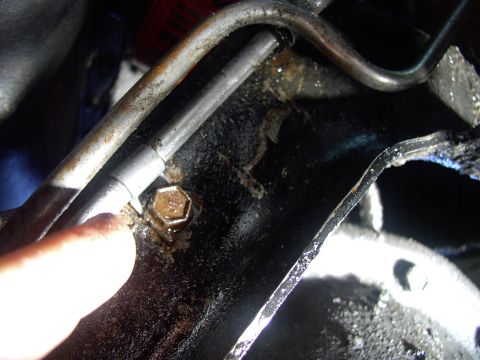
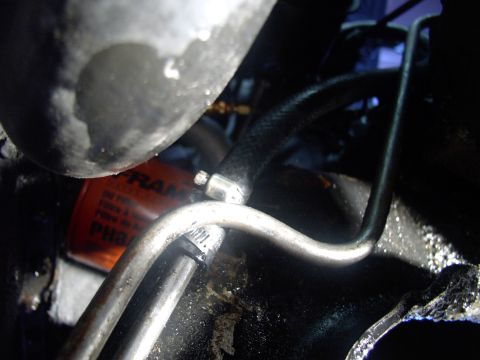
Undo the hose clamp on the low pressure return line. Slack off the half inch cooler pipe retaining clamp bolt to make the hoses easier to pull off and refit, and remember to re-tighten it later.
-
Step 3
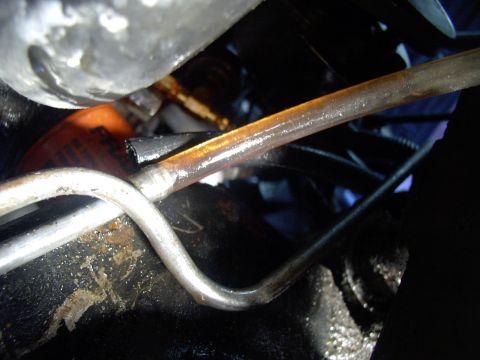
Attach a clear hose to the cooler and drape the free end into a drain pan so the old fluid can be flushed out. Sixlitre flushed the fluid even though it looked clean, expecting filings somewhere in the system.
-
Step 4
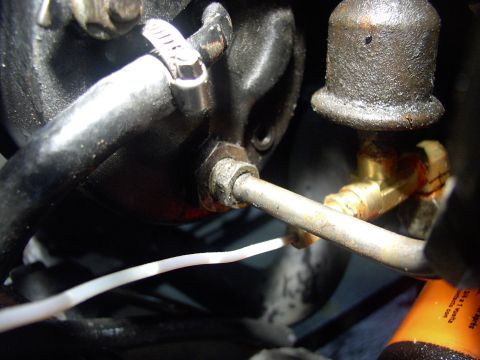
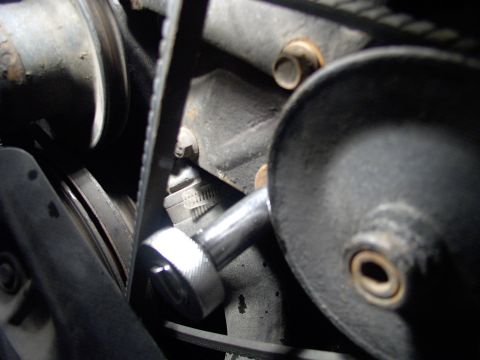
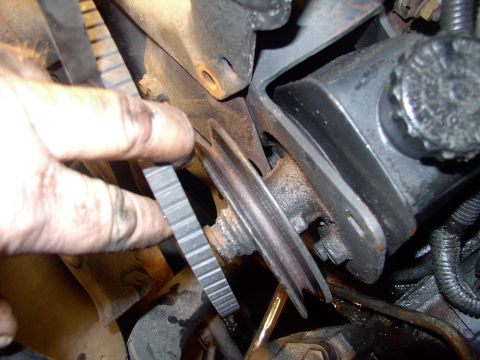
Crack the high pressure hose fitting loose before any mounting bolts are slackened, while the pump is still held steady. Then loosen and remove the two mounting bolts, take the belt off and lift the pump out. It leaks and spills fluid as it comes out.
-
Step 5
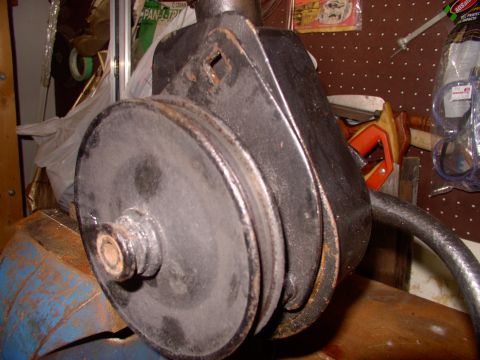
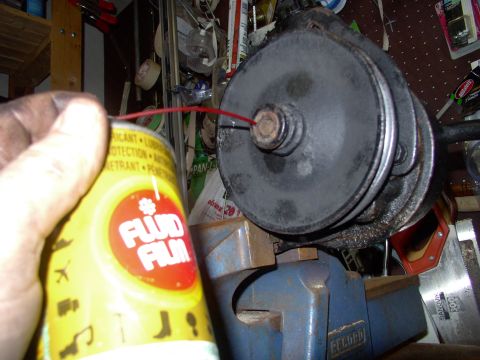
Clamp the pump in a vise to work on it. Put a little penetrating oil on the shaft to help the pulley come off.
-
Step 6
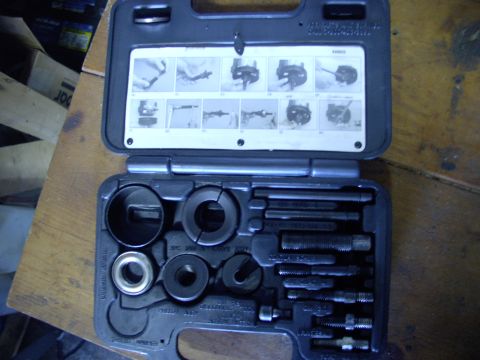
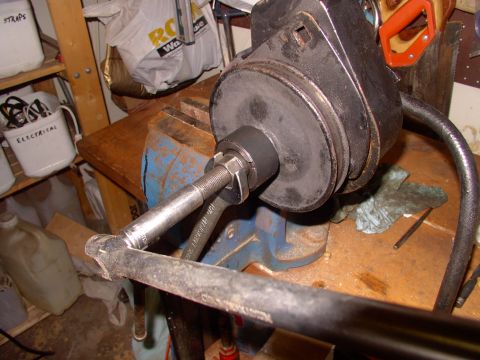
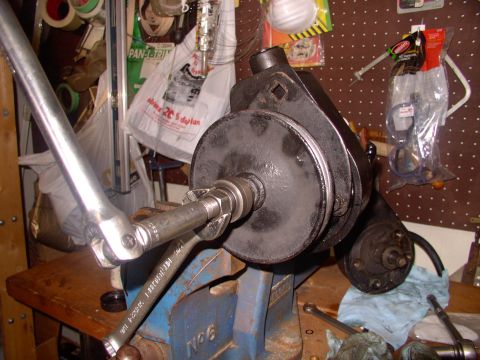
Use a power steering pulley puller tool kit to pull the pulley without damaging the pump. Sixlitre borrowed the kit from a local jobber and turned it with a two foot flex bar rather than a ratchet.
-
Step 7
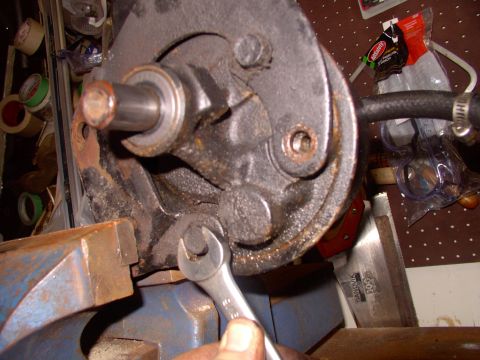
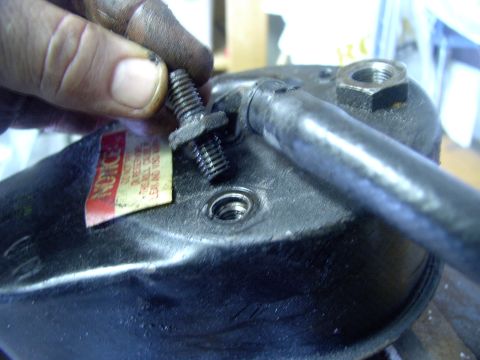
Undo the bolts and stud holding the bracket and transfer the bracket onto the remanufactured Saginaw. Sixlitre's pump carried one stud on the back that holds the 78 van bracket on with a nut.
-
Step 8
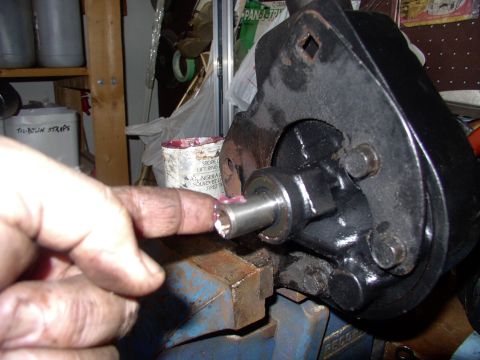
Put a little synthetic grease on the new pump shaft so the pulley slides on. Press the pulley on with the same puller kit, tightening only until it contacts the shaft snout, and stop at that point.
-
Step 9
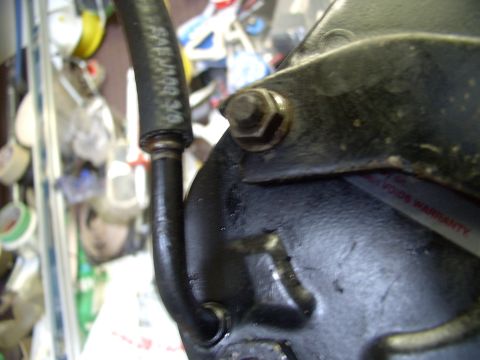
Fit the new low pressure hose while the pump is still on the bench and easy to reach. Sixlitre used two opposed hose clamps on the joint to ensure no leaks.
-
Step 10
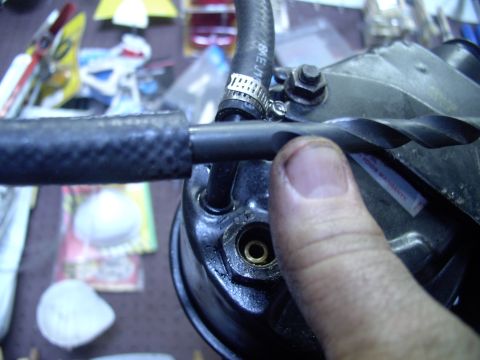
With the clear hose already running from the low pressure return pipe of the cooler into the drain pan, push a drill bit into the new low pressure hose on the pump to block it. The bit pulls back out easily once enough fluid has been cycled through to flush the system.
-
Step 11
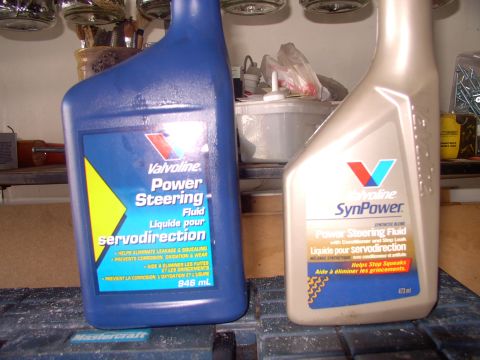
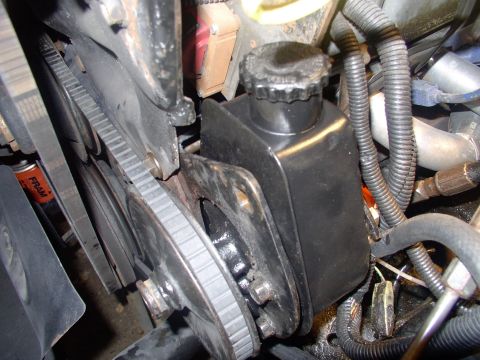
Bolt the new pump up in place and fill it with fluid ready to flush through. Sixlitre had been running the synthetic fluid and switched back to the thicker regular fluid, expecting that to cure a very slow, almost non-leak.
-
Step 12
Once the flushing is done, remove the clear hose and fit the new hose onto the cooler pipe with two opposed hose clamps. The photos end here.
Some product links go to the supplier the owner bought from. SuperMotors does not earn a commission today; if that changes, this line will say so and creators will be paid from it.