Home/
Registry/
Ford/
Bronco/
1987-1991/
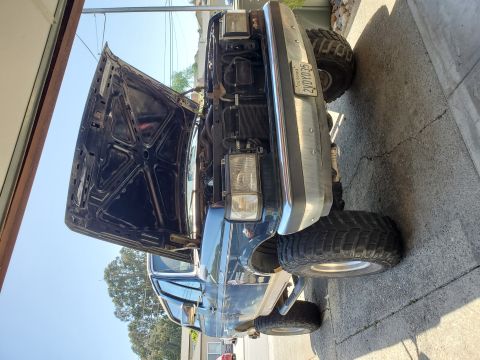
1991 Ford Bronco/
Photo
supermotors.net/registry/media/503387
Specialty Top Co. convertible top install instructions, page 1,…

Page 1 of Specialty Top Co. installation instructions for a 1980-1991 Ford Bronco convertible top, Part #334-31X, listing tools required, installation tips, and initial steps with Figure 1 showing body aluminum clip placement.
SPECIALTY TOP INSTALLATION INSTRUCTIONS CO. BRONCO 1980-1991 PART #334-31X Thank you for purchasing Specialtys Convertible Top for your Bronco. It has been designed for great fit and long wear. Please read and follow, precisely, all installation instructions pro- vided when installing top. Failure to do so may result in a poor fitting top and could place oc- cupants in a potentially hazardous situation. ' TOOLS REQUIRED: 3/8 WRENCH HAIVIMER Step 2. Rear Body Aluminum. To install the body alumi- 1/2" WRENCH ~ PLIERS num you will need a 1/2" wrench or socket, a 3/8" wrench 2-7/16" WRENCHES RATCHET HANDLE or socket, an electric drill with a 5/32" bit, a flat blade ELECTRIC DRILL 1/2" SOCKET . screwdriver, and the ratchet handle. For installation see 5/32" DRILL BIT 3/8" SOCKET to Figure 2 on page #3. First install the rear body alumi 1/8" DRILL BIT 7/16" SOCKET num (item #1). The rear body aluminum is the one with #2 PHILLIPS SCREWDRIVER RUBBING ALCOHOL the notch that closely matches the notch at the rear end of FLAT BLADE SCREWDRIVER the vehicle. Install the body aluminum with the black foam 6' TAPE MEASURE ' weatherstrip out and the bolt and wingnut on the notched CENTER PUNCH end at the rear. See figure 2. Put the first bolt (Item #2) INSTALLATION TIPS through the washer (item #3) then through the large pre punched hole in body aluminum and into the rear threaded hole in body. Make sure the notch in rear body aluminum closely aligns with notch in the rear of body. Do not fully tighten bolt. Install the second bolt (Item#2) through the washer (item #3) and through the hole in body aluminum and into the body aluminum clip installed in step 1. Do not fully tighten bolt. Now carefully slip nylon spacer (item #15) under rear body aluminum making sure to align it with the prepunched small hole in the Before you begin installing this top, here are a few tips to make installation easier. This top should be installed where the temperature is above 72 degrees Fahrenheit. Below this temperature, the top may contract making it difficult to install. It is normal for a top to contract and wrinkle when stored in the shipping carton. The top will relax and wrin .kles will disappear within a few days of installation as fabric . adjusts to shape of mounting hardware. INSTALLATION PROCEDURES: Refer to page 6 to assure that all parts are included in your kit. Refer to diagrams on pages 3, 4, 5, 7, and 8 for help when installing top and hardware. Step 1. Body Aluminum Clips. If you have the clips that came with the vehicle already in place then you can use those clips and go to step 2 To Install the body aluminum you will need to use the body aluminum clips. Item #5. To install the clips, carefully put the clip in the square hole and push it until it clips into place over the round hole. " Install three clips on both sides as seen in Figure 1. Pg 1 334-310
Is this accurate? Sign in to help verify it.
Comments
More from this build


No comments yet.