Home/
Registry/
Ford/
Bronco/
1987-1991/
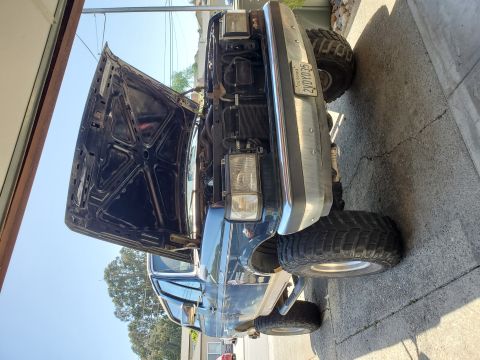
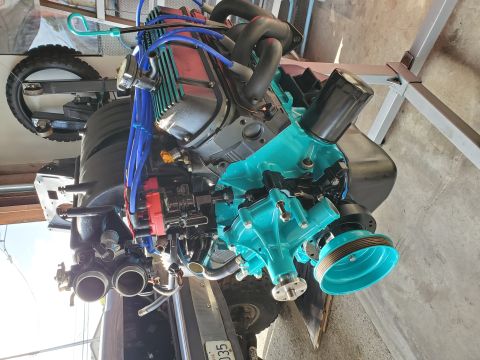
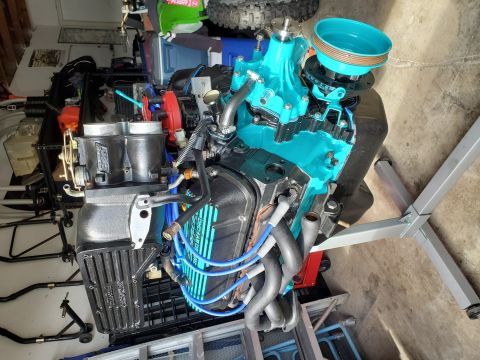
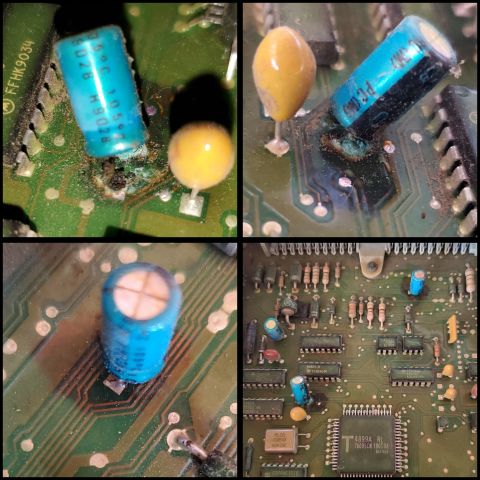
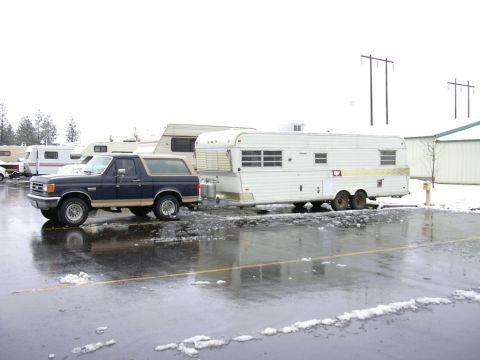
1991 Ford Bronco/
Photo
supermotors.net/registry/media/503395
Instruction manual page 9 for tailgate aluminum and soft top bow…

Page 9 of a soft top installation manual (document 334-310) covering tailgate aluminum assembly, weatherstrip installation, and installing bows into bow mounts, with references to figures on pages 5 and 7.
Step 6 Tailgate Aluminum Assembly. For help refer to Figure 5 on page 5 To put together the tailgate aluminum you will need the straight blade screwdriver, the phillips screwdriver and the 3/8" wrench or the 3/8" socket and the ratchet. First slide the short or right tailgate piece, (item #22) onto the long or left tailgate piece, (item #21). Make sure that the "J" channels line up and that the the hooked channels line up. See Figure 5. Then install the 3 bolts, (item # ,7) through the tailgate angle and the hooked channel from the bottom. Then secure, using the 3/8" wrench or socket and the flat blade screwdriver, with the 3 nylon locknuts, (item #14) see figure 5. Then using the phillips screwdriver, install the 3 sheet metal screws, (item #6) though the "J" channel and the tailgate angle. The heads of the screws should come out under the hooked channel. Note: if you have access to a rivet gun or hand riveter you can install rivets through the holes where the bolts and nuts and screws 90. Step 7 Weatherstrip installation. Install the weatherstrip, (item #17) over the hooked channel on the the tailgate alumi- num. See figure 5A. Make sure that the round rubber part of the weatherstrip goes down. The weatherstrip should go from end to end over the hooked channel. Press the weatherstrip trim piece over the hooked channel and then squeeze it together to hold it tight. Note: for a even more secure fit you can apply a good quality auto trim adhesive to the hooked channel and the weatherstrip and then apply the weatherstrip. Step 8 Install the Tailgate aluminum. To install the tailgate aluminum you may need to have some pliers. First un screw the wingnuts on either side of the rear body aluminum. Make sure the tailgate is closed when installing the tailgate aluminum. Place the two large pre-punched holes in the tailgate aluminum over the two bolts in the rear body aluminum, on top of the large jam nuts and the two weatherstrip sections on the rear body aluminum. See figure 5B or 2A. Make sure the "J" channel is facing out towards the rear of the vehicle. See Figure 8. Now press the tailgate aluminum down and tighten the wingnuts on both sides. Note: You may need to use pliers to tighten the wingnuts. Be careful with the tailgate aluminum if you leave it on with the tailgate open as leaning on it or pulling on it could bend it or break it. It is best to remove it if you are going to leave the top down for an extended period of time. Do not climb on it or sit on it as this may bend or break it. In general, with the top down, it would be best to remove the tailgate aluminum. Step 9 Install bows into bow mount. For help refer to figure 6 on page 5 and figures 7, 7-F and 7-G on page 7. To install the bows you will need the two 7/16" wrenches, or the the 7/16" wrench and the 7/16" socket and ratchet. Install the bow release brackets, (item # 12) into bow mounts, (item 8) installed earlier in step 4, using one 1/4 hex bolt, (item 11) and one 1/4" locknut, (item #13). Install in the rear holes of the bow brackets and in the single offset hole in the bow release brackets. Note: this item must be able to pivot so do not overtighten the locknuts. Also the bolts must go through from the inside with the nuts on the outside. Tighten using the two 7/16" wrenches or the 7/16" wrench and the 7/16" socket. Next slide one fabric bow sleeve, (item #18) onto each of the rear bow halves, (item #19 L & R). Note: the rear bow is the bow with the straight ends. The bow sleeves keep the metal tube from damaging the plastic windows. Assemble the two halves by sliding the one with the sleeve into the one without. Place the rear bow, (item #19) into the bow release brackets, (item #12) installed earlier. Place the bottom of the bow with the hole into the center of the 3 holes in the bow release bracket. Secure to the release bracket with one bolt, (item #6) and one locknut, (item #13). Note: as before these must pivot so do not overtighten. Furthermore due to the slight differences in the bows it may be necessary to bend the bottom of the bows in out slightly to keep the center of the bow together or to get it to fit into the bracket. Also the holes in the bow release bracket are for tension adjustment on the top when the bow is in the locked position figure 7-F. If your top is too loose move the bow forward to the top of the 3 holes in the release bracket, if it is too tight move it to the rear bottom hole of the release bracket. Next slide the last two fabric bow sleeves, (item 18) onto the two halves of the front bow, (item 20 L & R.) Note: the front bow has a hooked end and the large holes punched at the top, which is not used, must face forward. See figure 6. Secure the front bow to the front set of holes in the bow mount, (item #8) using the hex bolts (item #11) and the locknuts, (item #13) see figure 6. Note: as before these must pivot so do not overtighten. Furthermore due to the slight differences in the bows it may be necessary to bend the bottom of the bows in or out slightly to keep the center of the bow together or to get it to fit into the bracket. You are now done with the hardware installa- tion. Pg 9 334-310
Is this accurate? Sign in to help verify it.
Comments
More from this build


No comments yet.