Green illustrated diagram of a Jeep-style 4x4 body, frame and pa…

Paintable early Bronco line drawings
1. Click the image (to get the ORIGINAL size) before saving it. Open the image using MSPaint (or other image editing software), then Save As a 16-color BMP with a custom name (eg., 74eBline.BMP). Change the original GIF attributes to Read-Only.
2. Select each uncut fender (using white transparent background) and either install or delete them. Then delete any other unneeded parts.
3. Install or delete the hitch receiver, step bar, & pitman arm to the frame. Install the tire carriers on the bodies & copy/paste the spare so they match, or delete them. Swap to the fuel door & rotate the rear side markers for '77.
4. Select the body tub (both if your mouse has a tilt-wheel) and lower it straight down onto the frame, adjusting the body lift height.
5. Install or delete the cage, door/insert, door mirror, & top. To see the interior, paint the windows white (transparent) before moving them.
6. Paint your tire size & any smaller black; paint larger sizes white & erase their numbers. Copy the wheel & place a Paste of it directly below the rear axle bumpstop on the frame (each view), adjusting height. Paint the lock knob black, then red, then light gray to eliminate it. Paste the fronts directly below the coil spring, adjusting height to match the rears.
7. Add t-case shifter(s), driveshafts, radius arms, steering & suspension links at appropriate angles, and any other mods.
8. Crop & then Save the customized image. If you want more colors, save it as a 256-color or 16-bit BMP. Saving as a JPG or GIF (or any compressed filetype) will blur the colors and prevent them from being changed again. Once the image is saved with more colors, you can blend your own and paint it.
There are gaps in certain black lines so that paint will fill each area to try various color schemes. But MSPaint actually makes it easy to add flames/pinstriping/splashes/stripes if you want, so spend a little time playing with it.
To restore a damaged or deleted part, open the read-only GIF in another Paint instance, and copy the required section; then paste it into the editable drawing and paint to match.
The front & rear views aren't easily editable.
http://classicbroncos.com/forums/showthread.php?t=176111
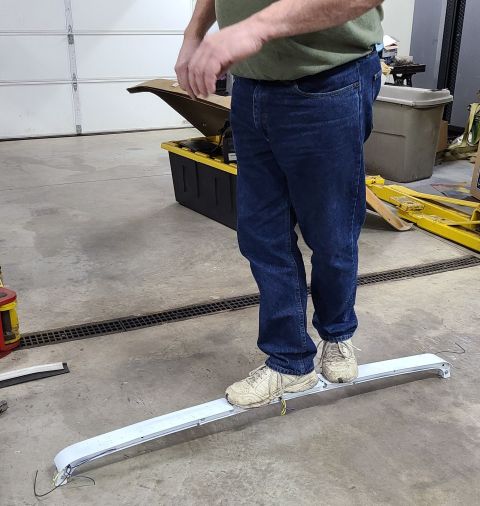
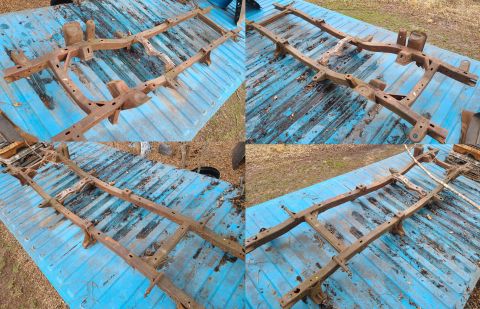
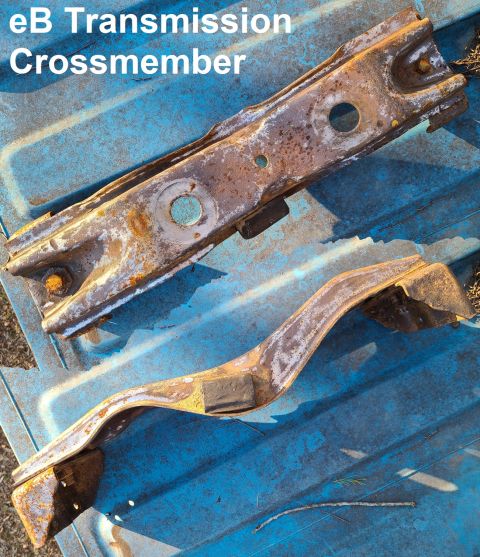
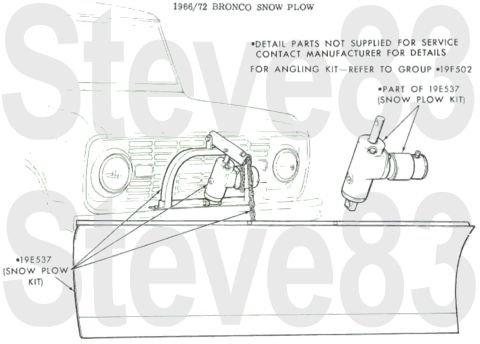
Here's an example:
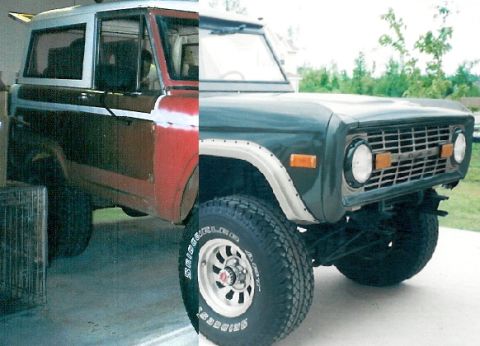
'66-70 don't have the 4 notches in the headlight rings for access to the adjusting screws.
See also: .
.  .
. 
Is this accurate? Sign in to help verify it.
Comments
More from this build
No comments yet.