Home/
Registry/
Ford/
Bronco/
1980–1986/
“That dirty old truck”/
Overhead Console & Dual Visors
supermotors.net/registry/2742/22468
Album section
Overhead Console & Dual Visors
From 1983 Ford Bronco “That dirty old truck” — documented by Steve83.
71 photos
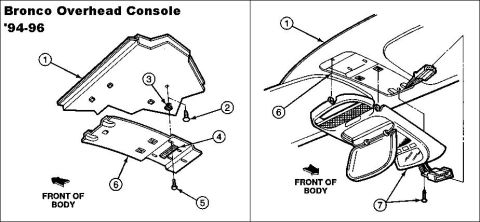
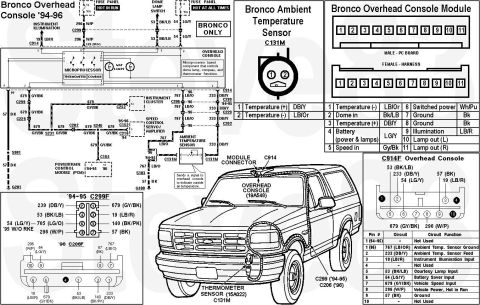
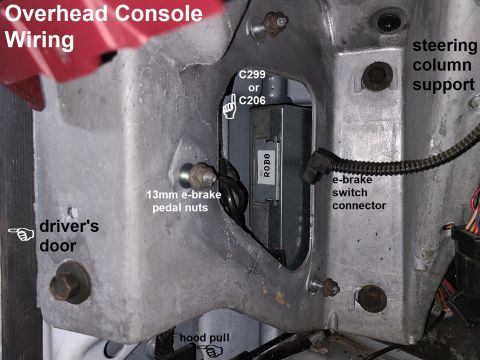
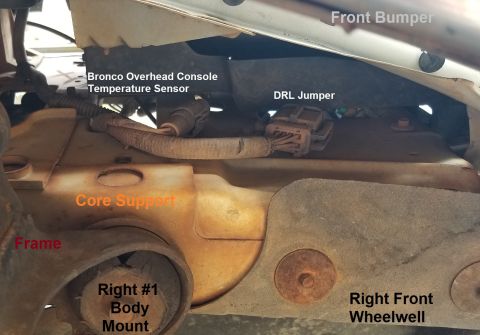
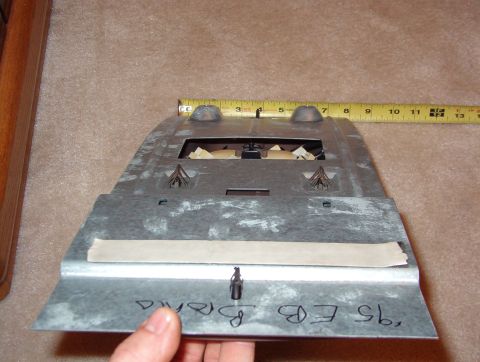
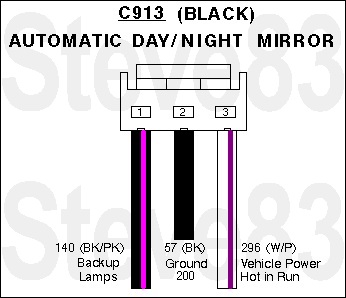
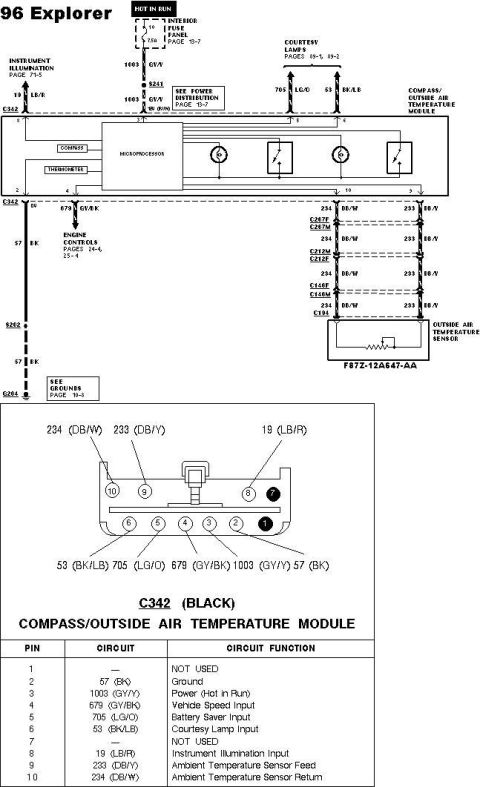
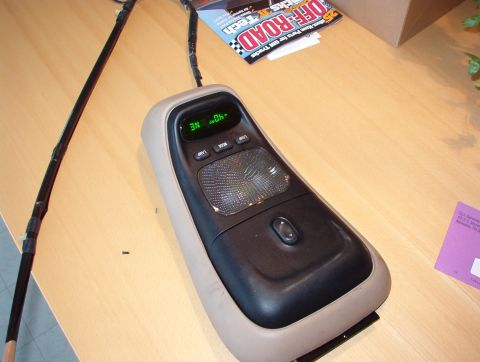
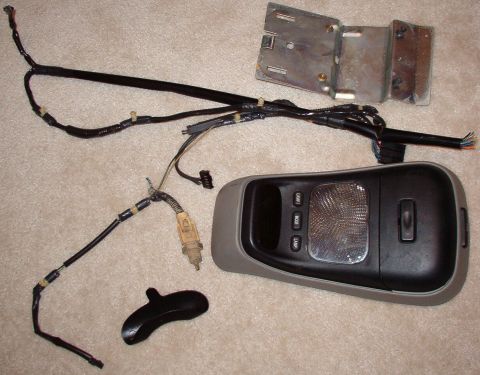
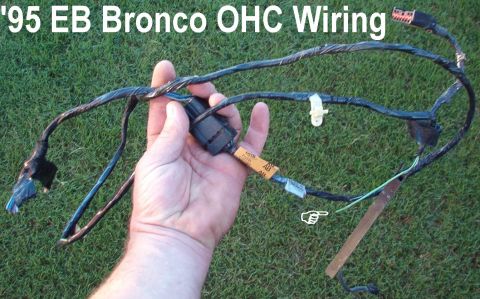
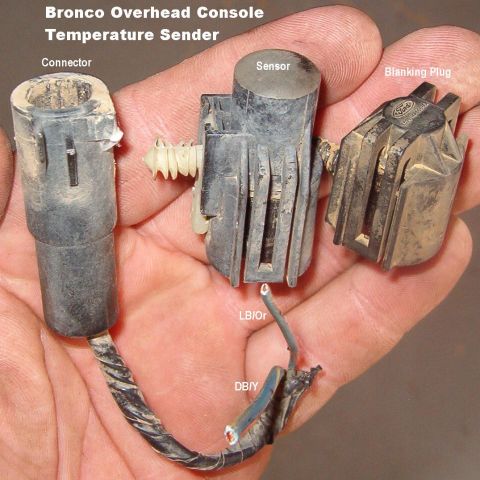
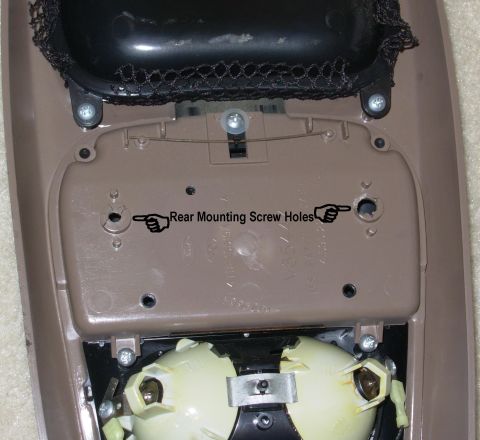
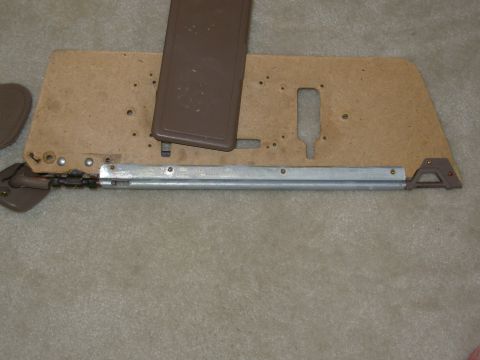
![1983 Ford Bronco - '94-96 Bronco Overhead Console Temperature Sensor, and '92-97 F-series/Bronco DRL [url=https://www.supermotors.net/registry/media/1142326]…](https://www.supermotors.net/thumb/933122-480.jpg)

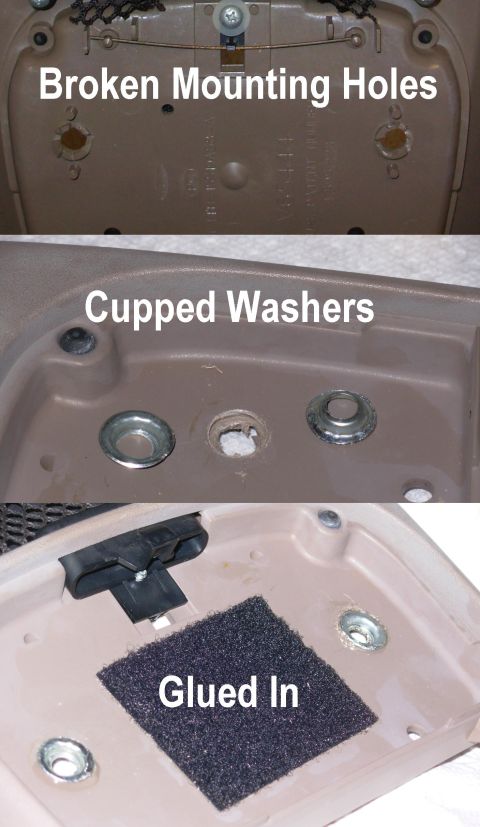
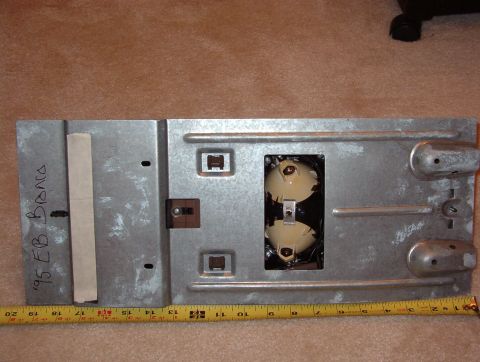
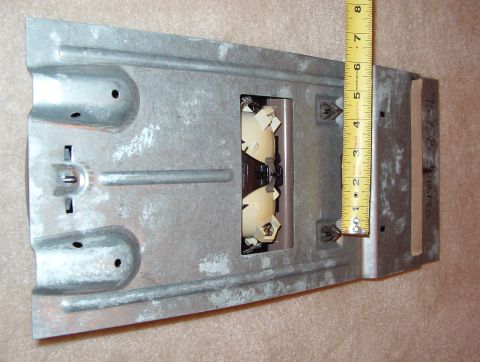
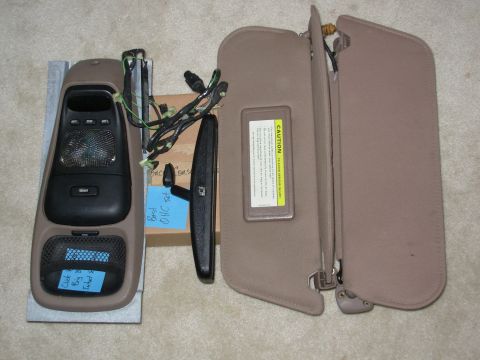
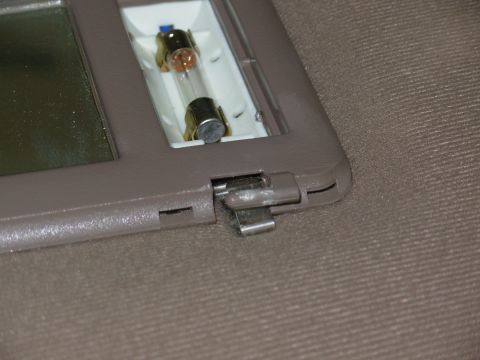
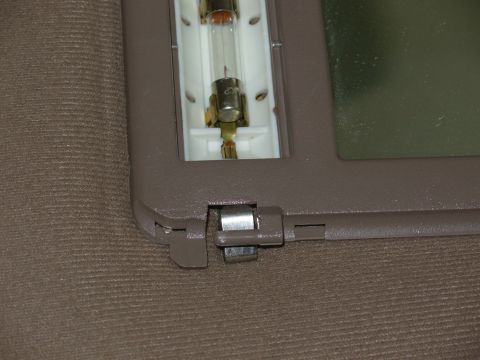
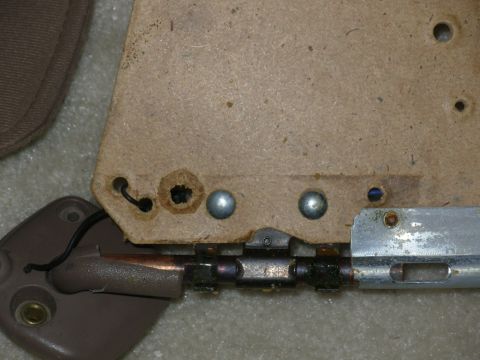
![1983 Ford Bronco - Reinforcing Washers glued into broken & drilled holes. See also: [url=http://www.supermotors.net/registry/media/848710] http://www.supermot…](https://www.supermotors.net/thumb/853869-480.jpg)
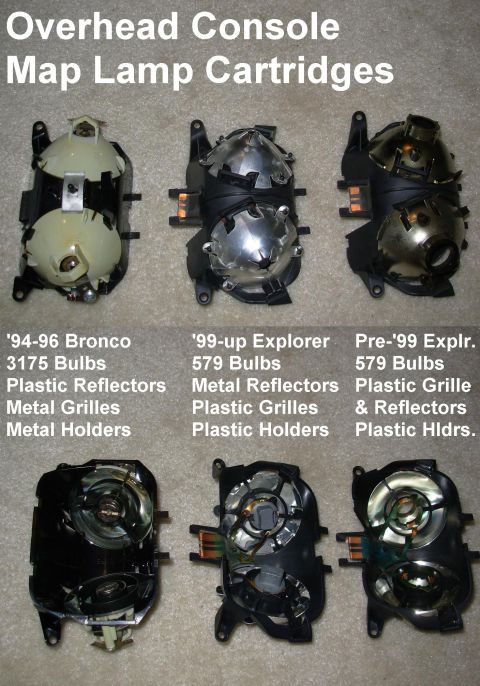


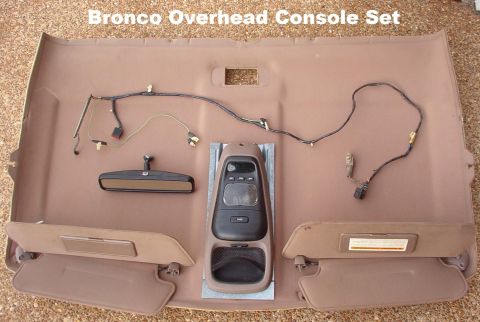
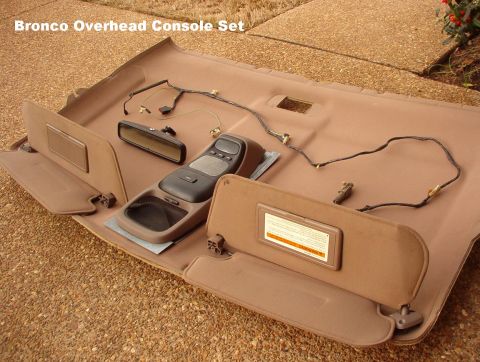
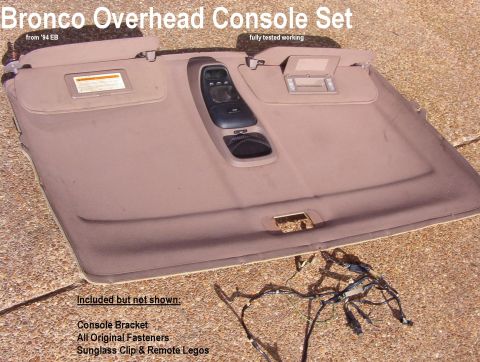
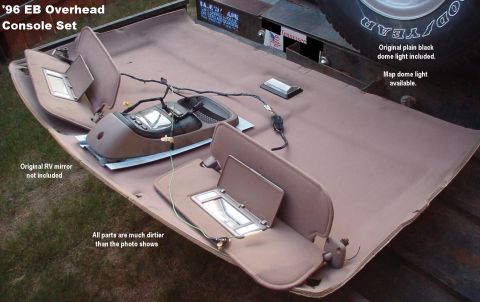
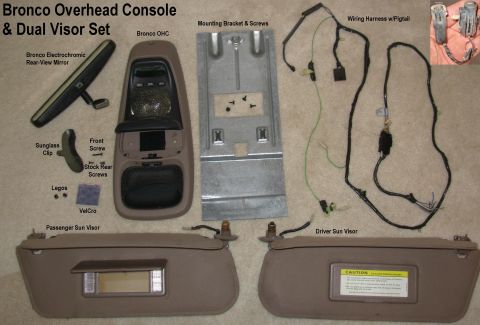
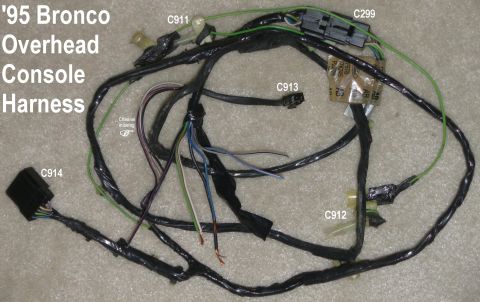
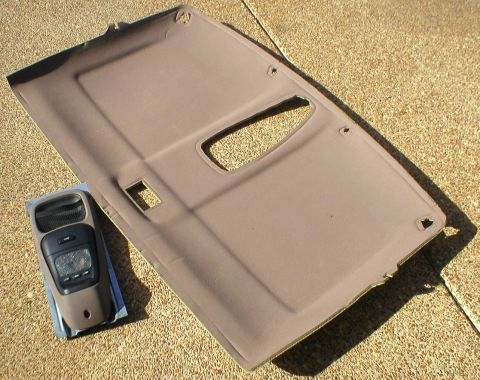
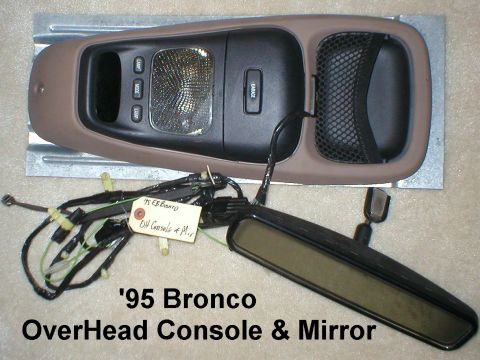
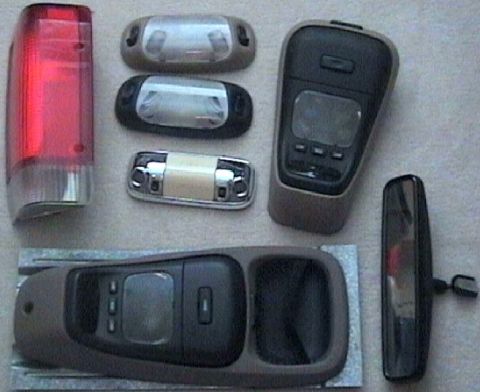
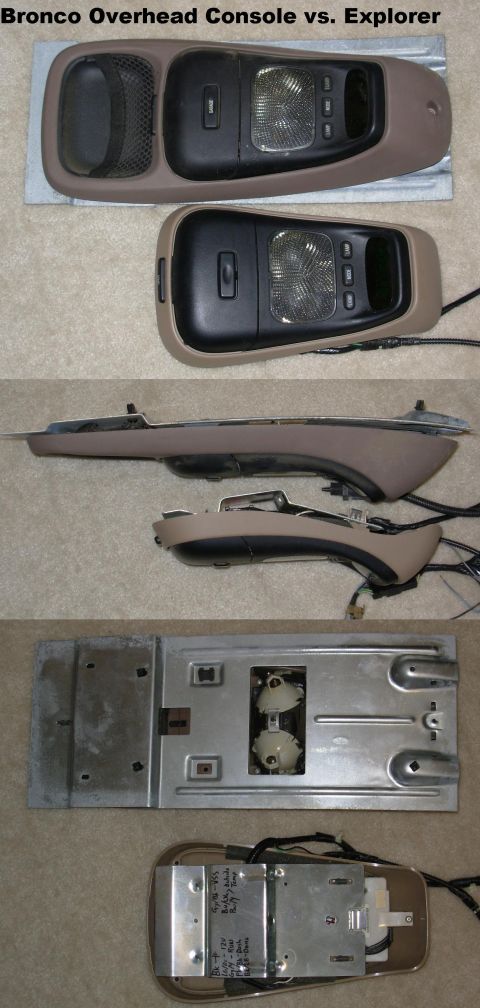
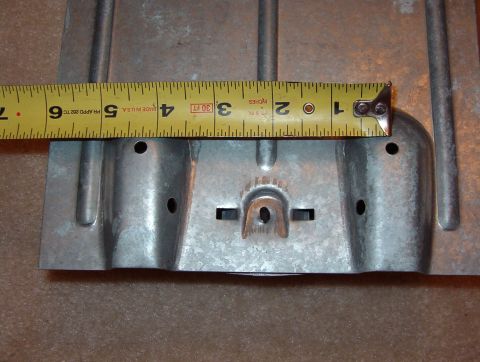
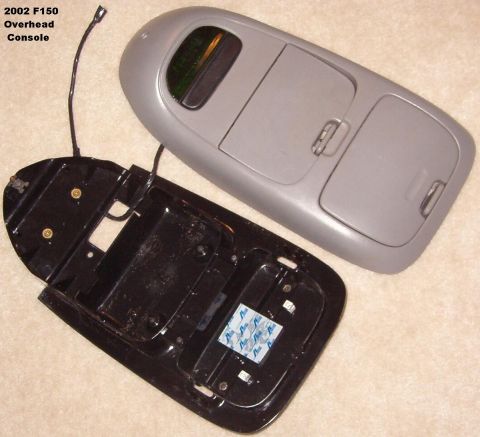
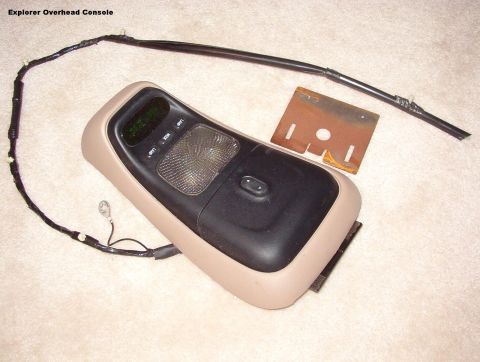
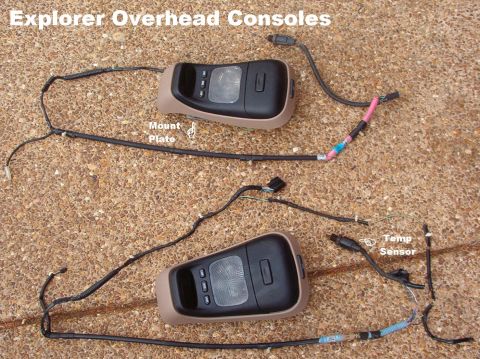
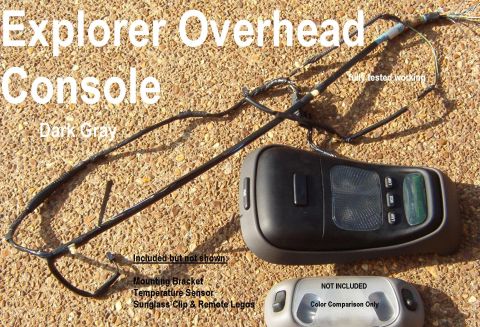
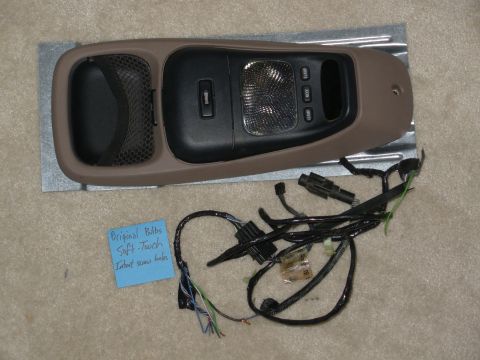
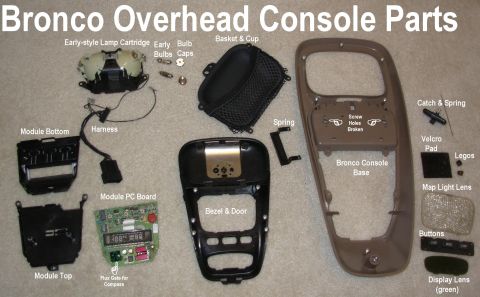
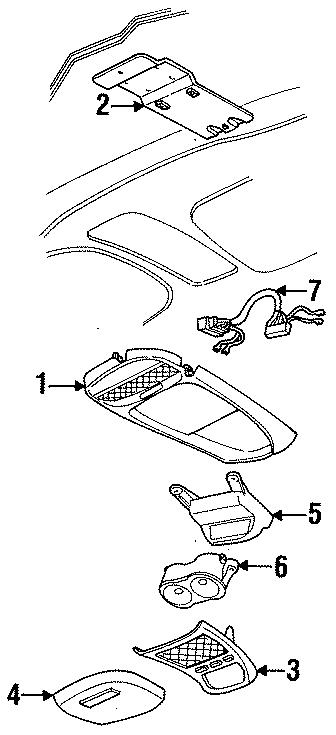
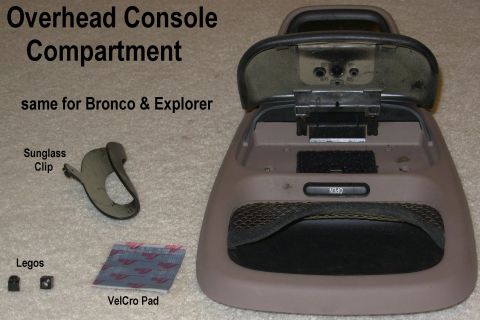
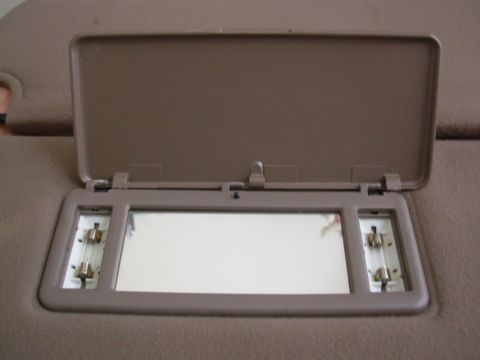
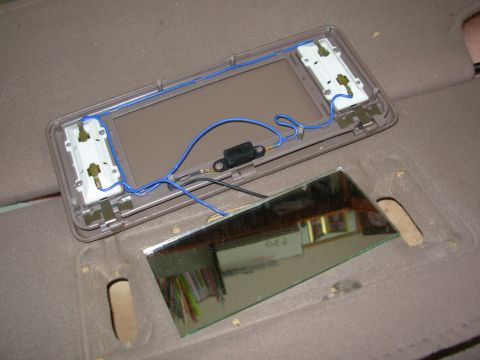
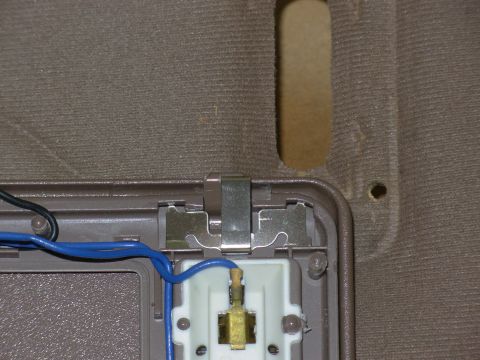
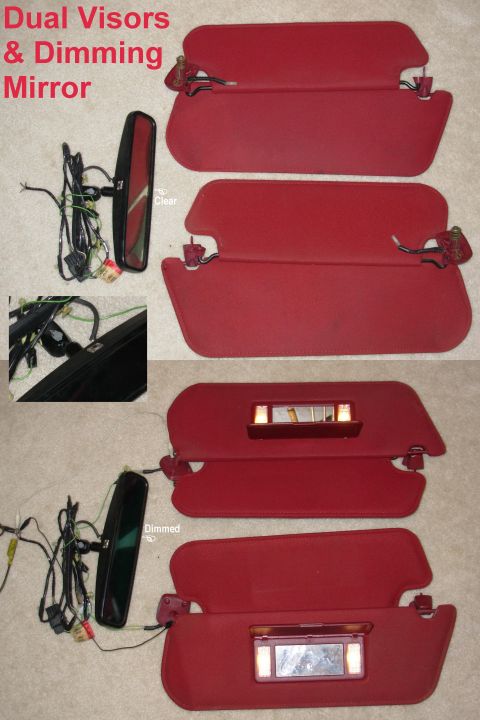
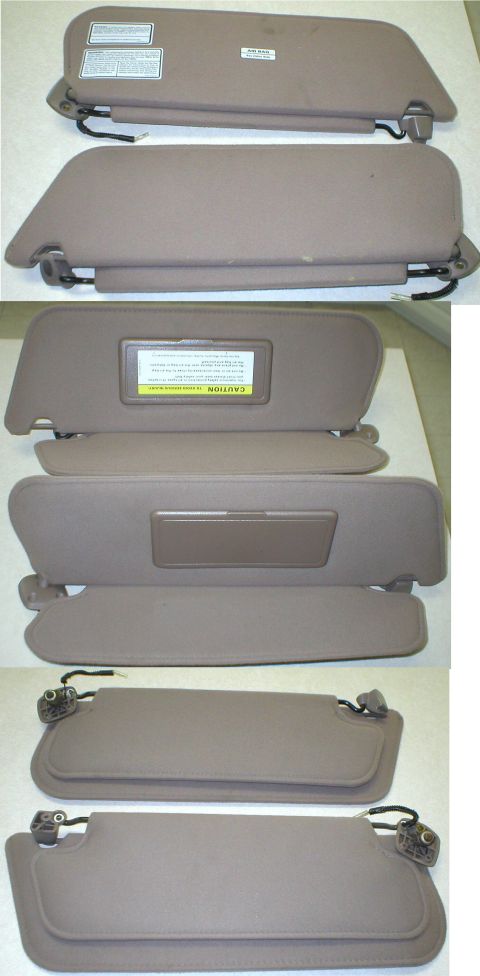
![1983 Ford Bronco - [url=http://www.supermotors.net/registry/media/795850] http://www.supermotors.net/getfile/795850/thumbnail/consoleset.jpg If you're looking…](https://www.supermotors.net/thumb/795847-480.jpg)
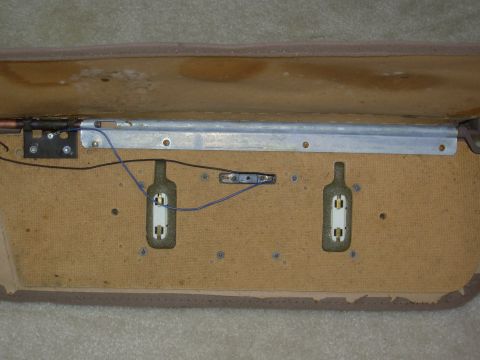
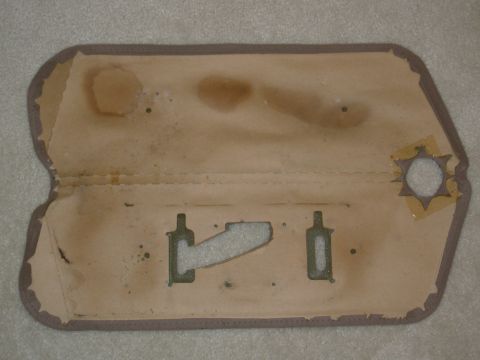
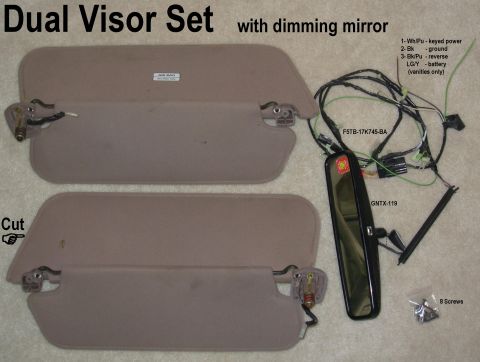

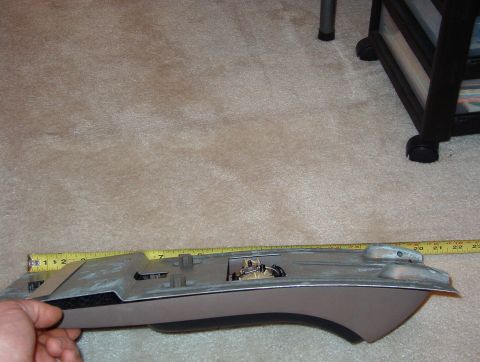
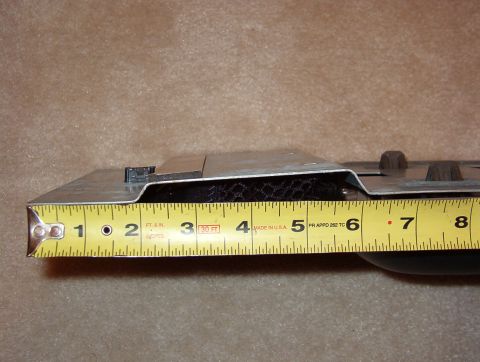
![1983 Ford Bronco - SOLD Visor shelf (aftermarket) fits '80-96 F-Series & Bronco Mounting brackets: [url=http://www.supermotors.net/registry/media/291276] http…](https://www.supermotors.net/thumb/75983-480.jpg)