Home/
Registry/
Ford/
Mustang/
1964–1973/
1967 Mustang/
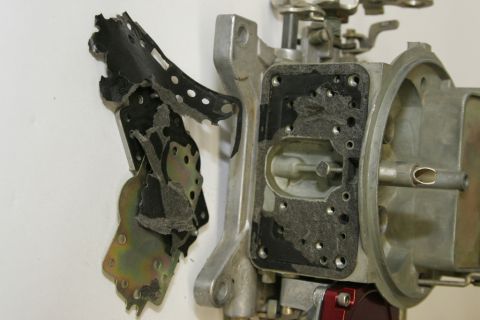
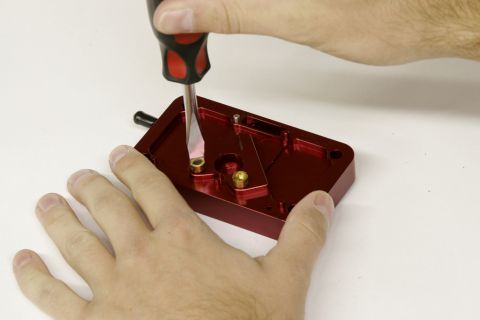
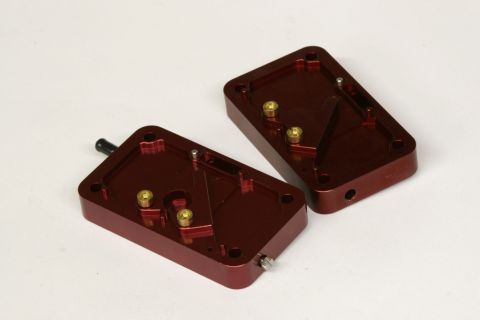
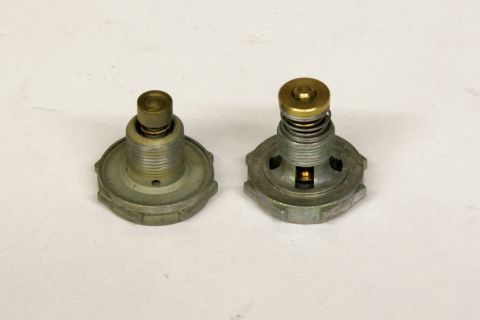
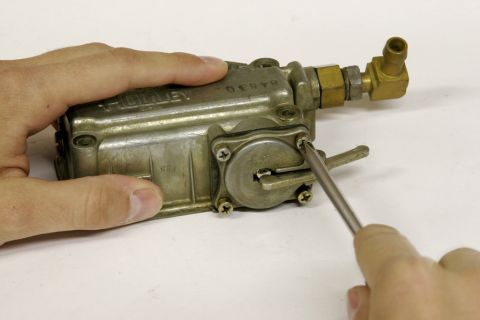
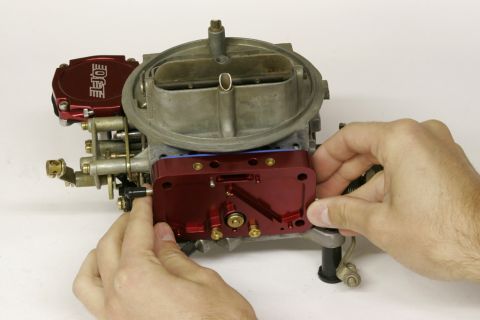
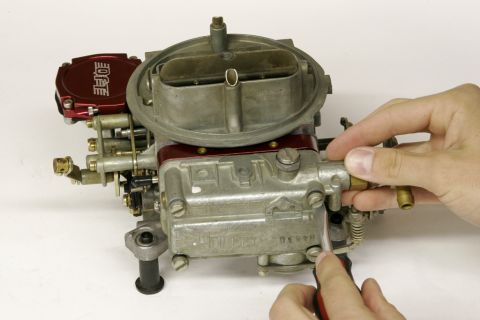
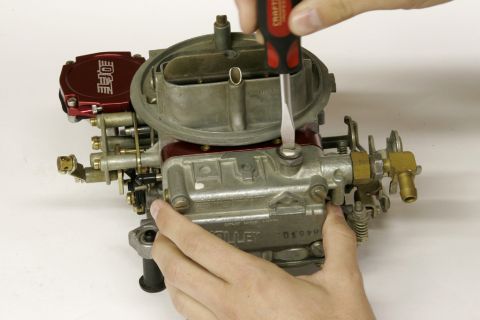
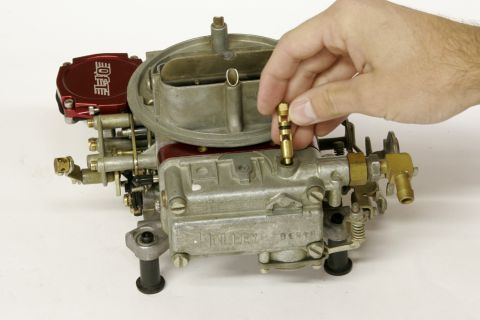
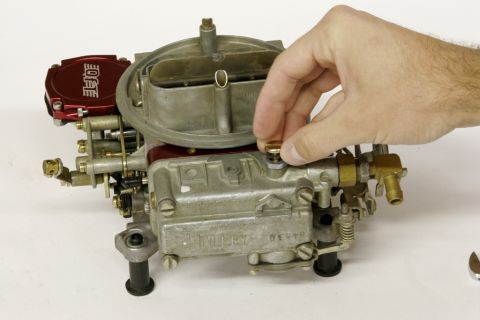
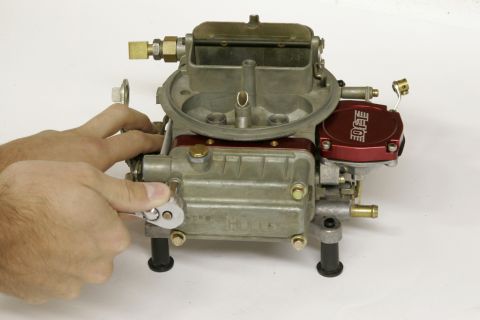
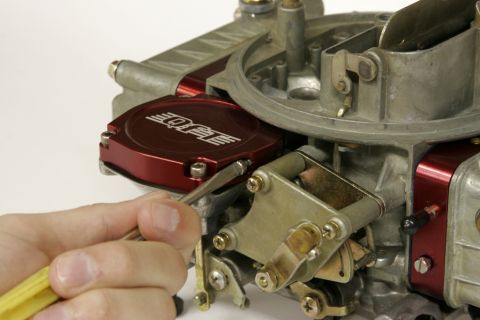
QuickFuel Technology Holley 4-barrel rebuild kit
supermotors.net/registry/16163/54606
Album section
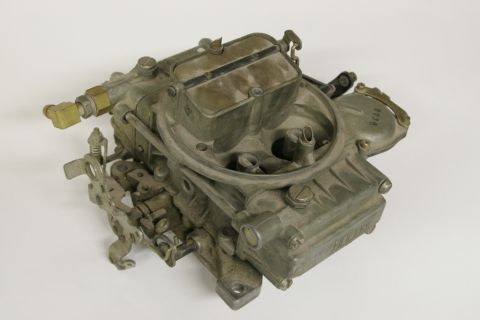
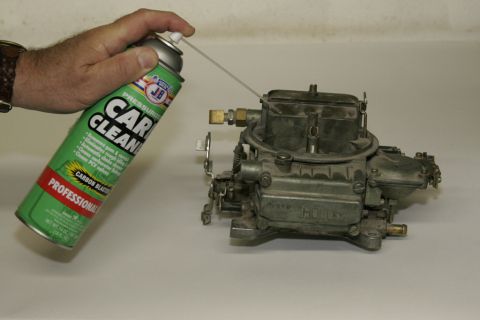
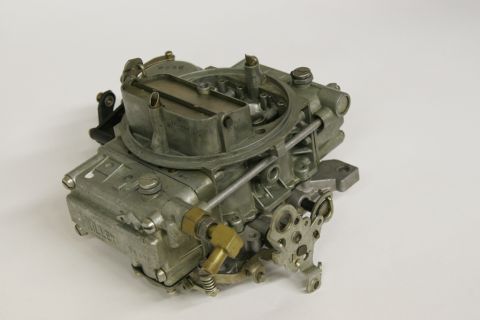
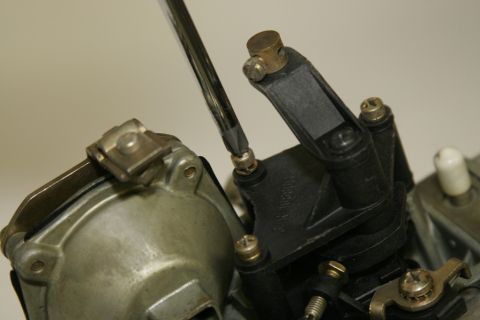
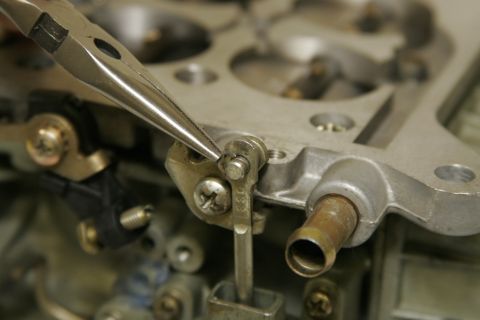
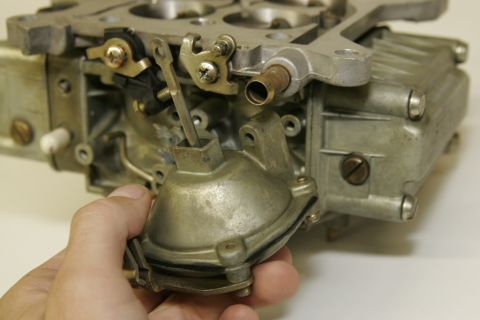
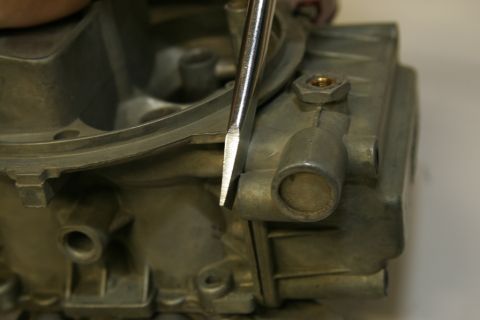
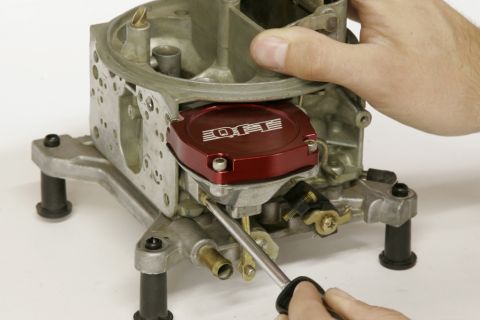
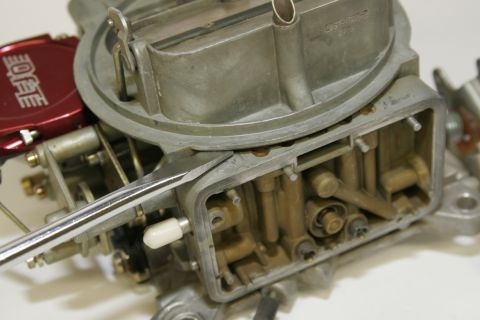
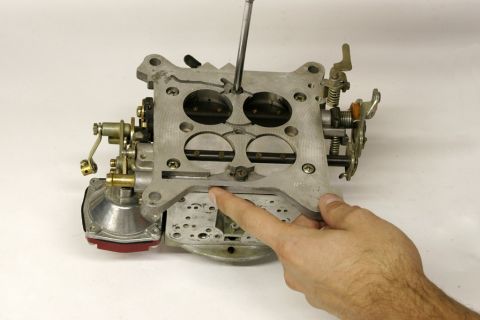
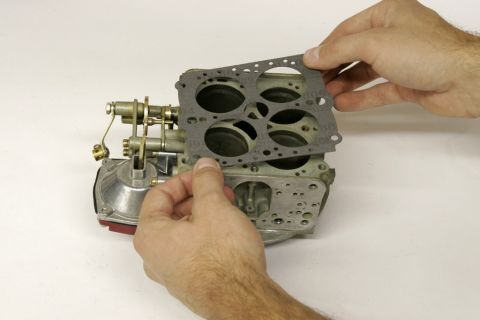
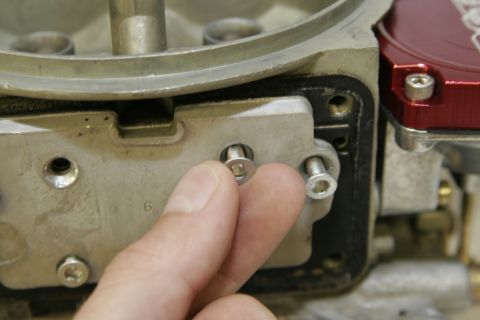
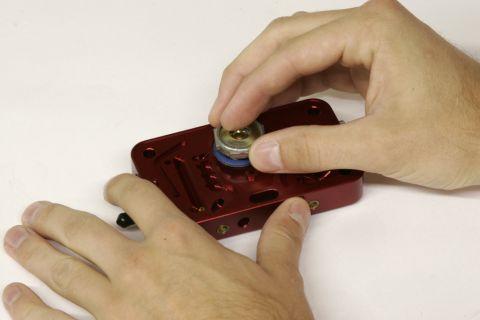
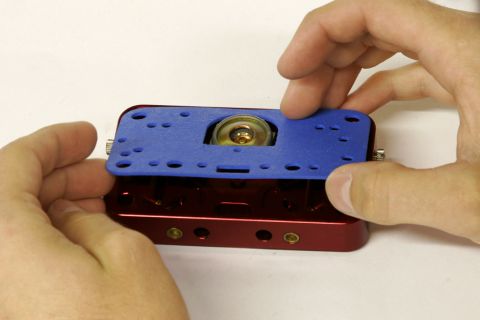
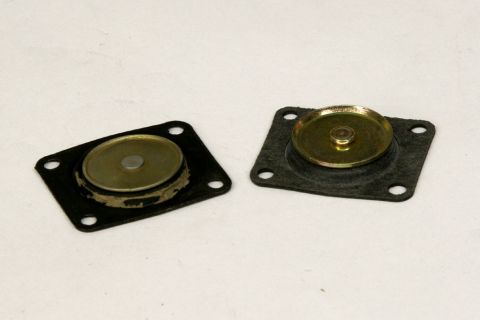
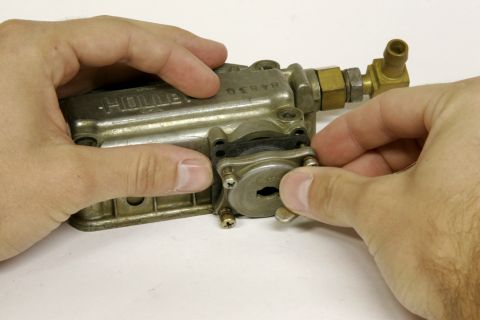
QuickFuel Technology Holley 4-barrel rebuild kit
From 1967 Ford Mustang — documented by SuperMotors.
29 photos