SuperMotors SuperMotors SUPERMOTORS Search: try “orange Bronco on 35s”
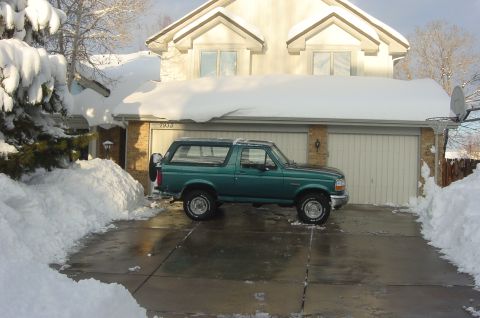
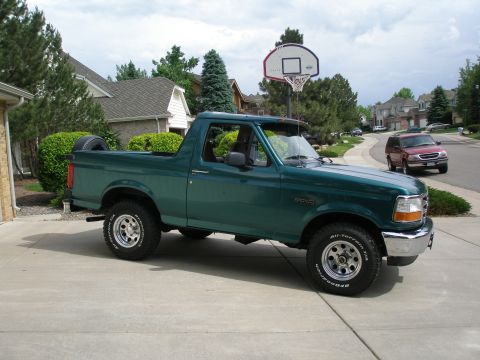
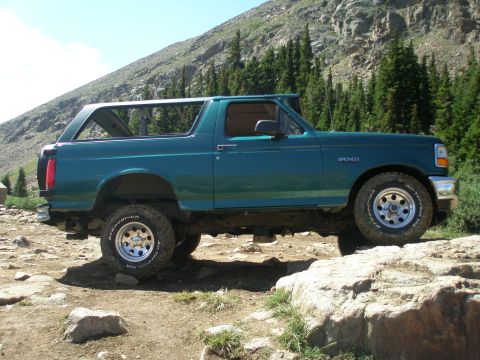
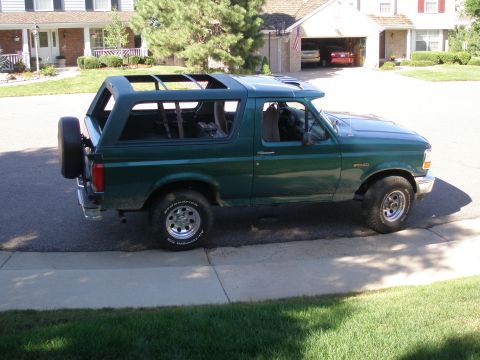
Teal green Ford Bronco SUV parked on a driveway

“FLYTIRE”1996 Ford Bronco

documented by RicardoJM 45 photos documented since 1 years documented ♡ Follow this build

The story

The only brand new car I have ever bought for me. This was my daily driver and fly fishing rig until about 2002, since then it has been occasionally driven. Bronco was purchased May 10, 2006. · RicardoJM

Photos
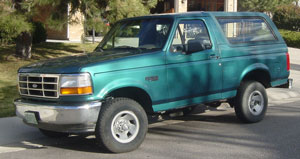
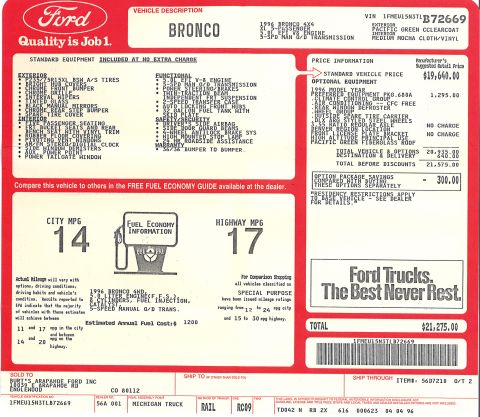
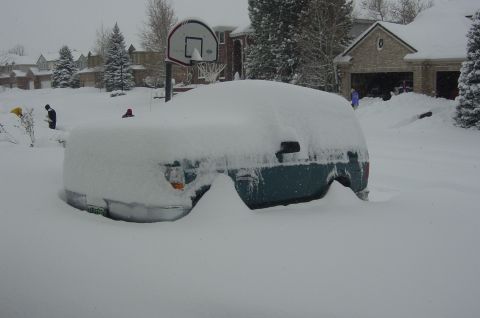
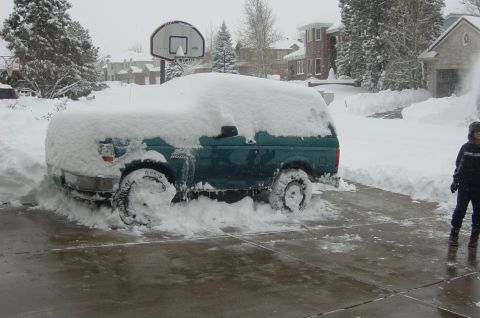
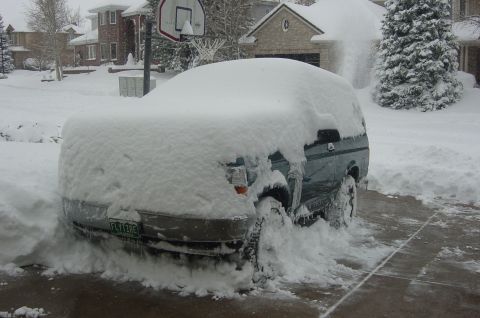
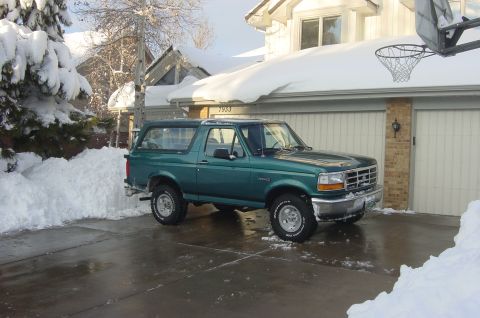
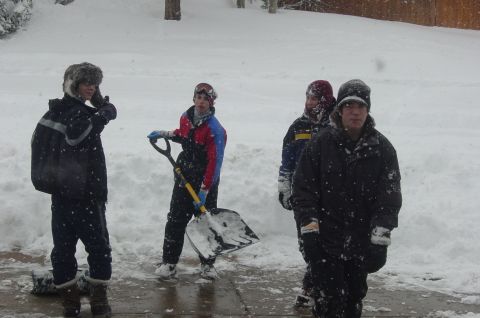
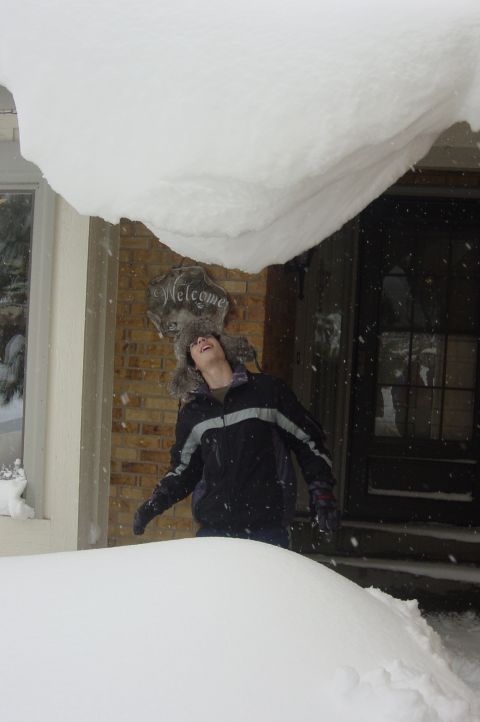
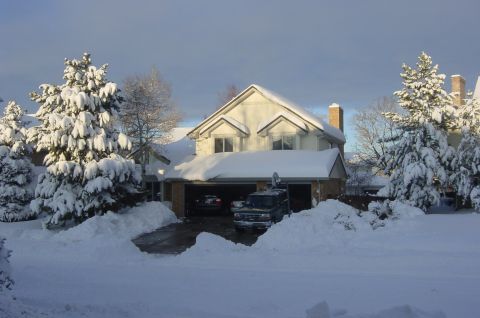
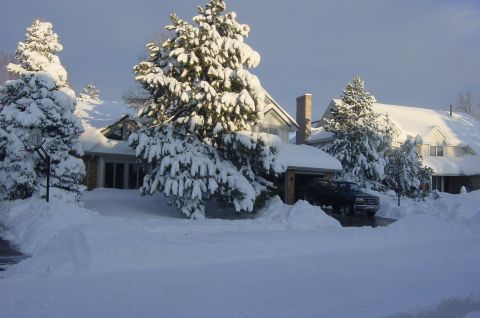
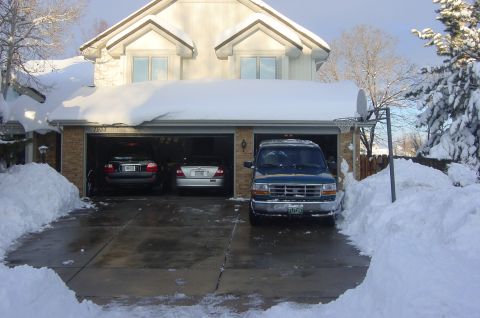
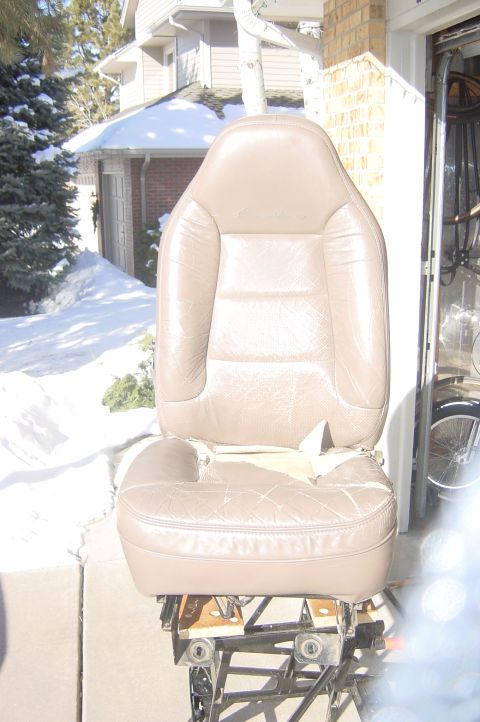
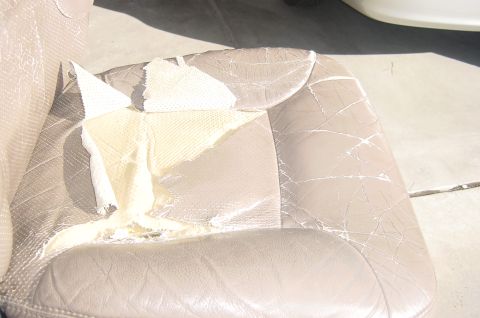
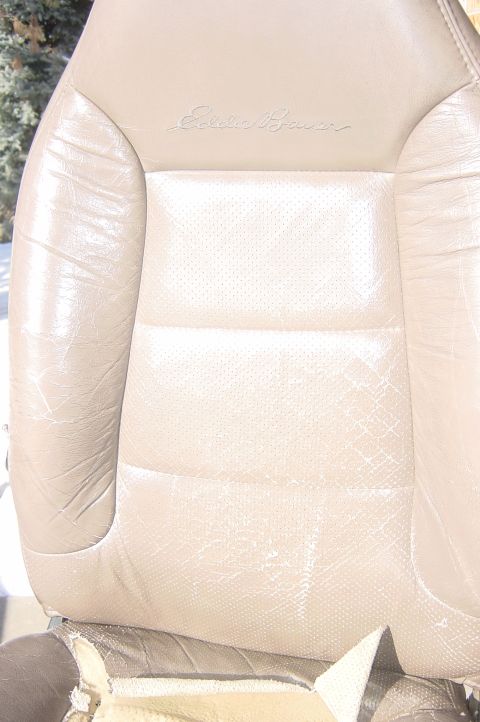
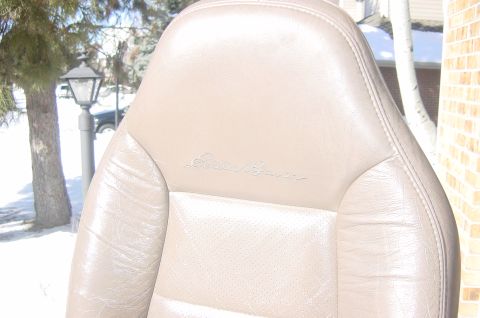
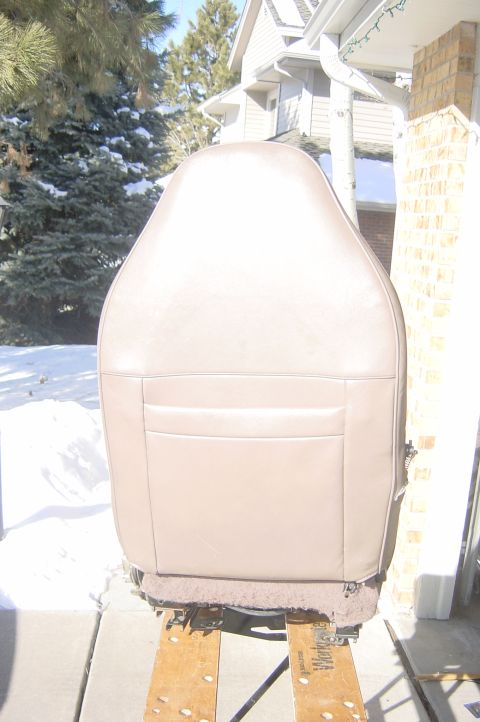
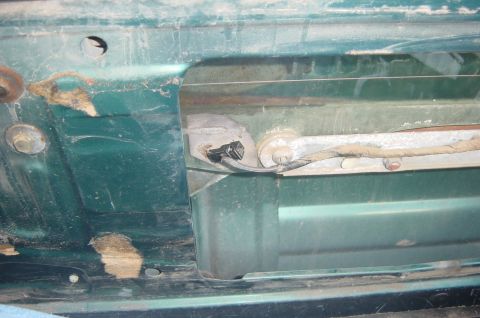
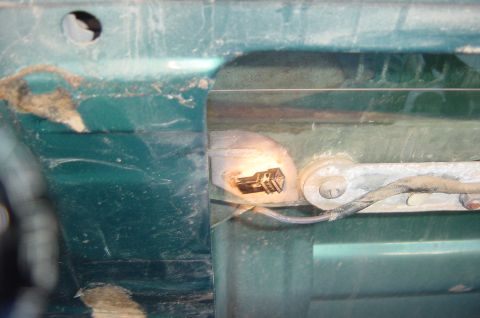
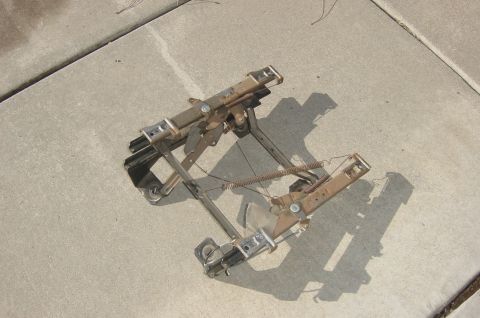
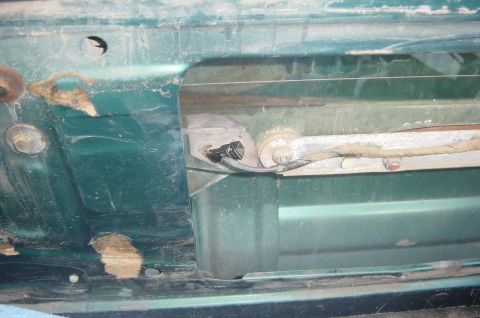
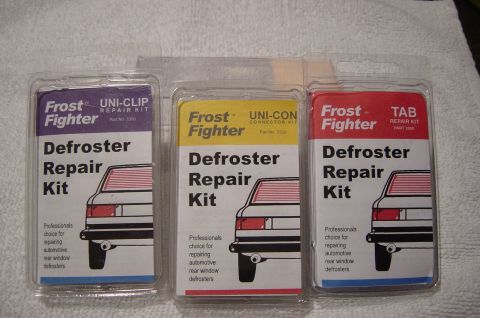
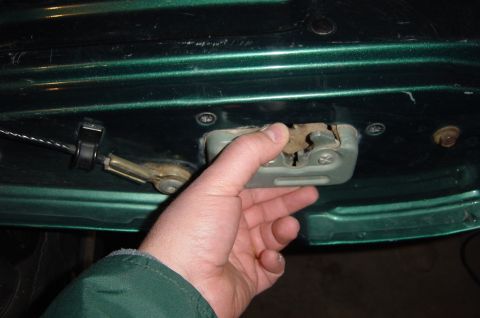
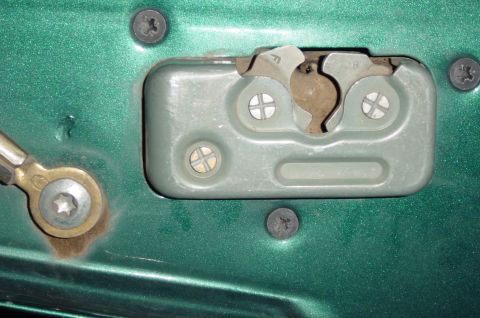
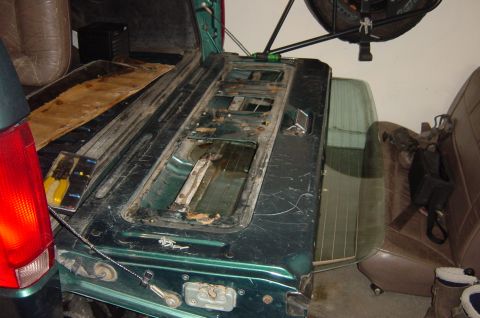
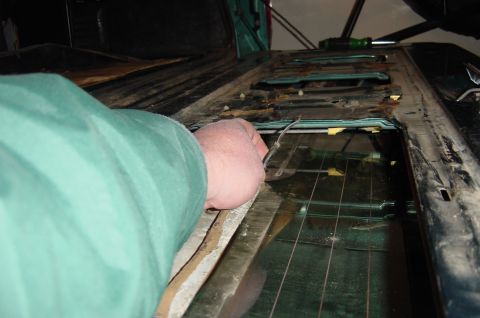
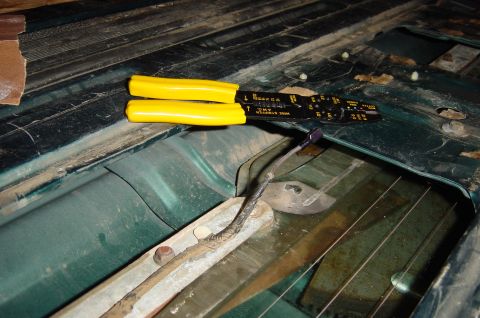
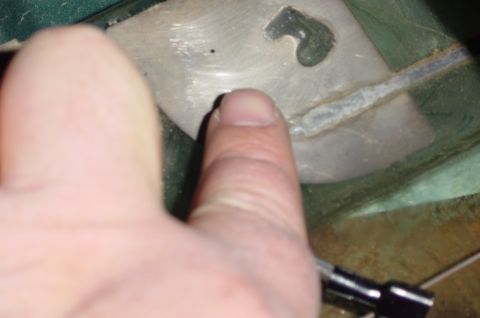
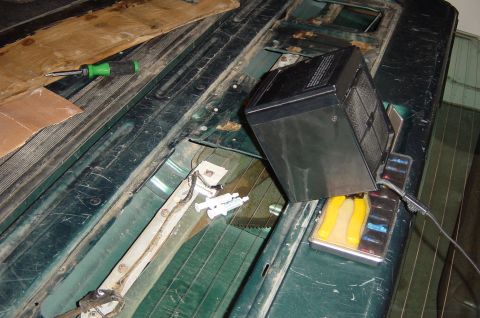
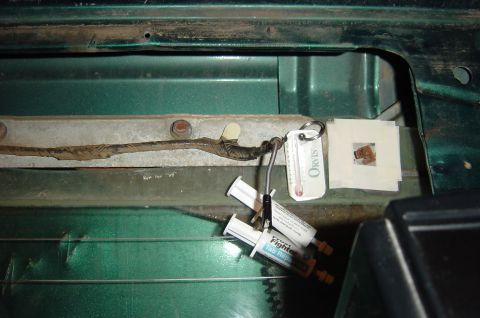
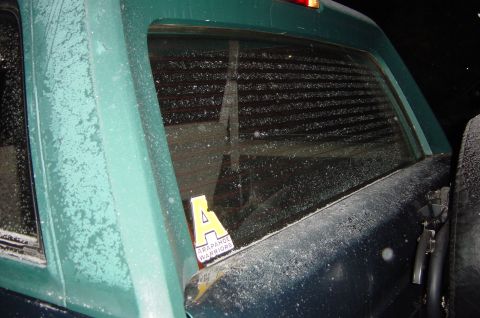
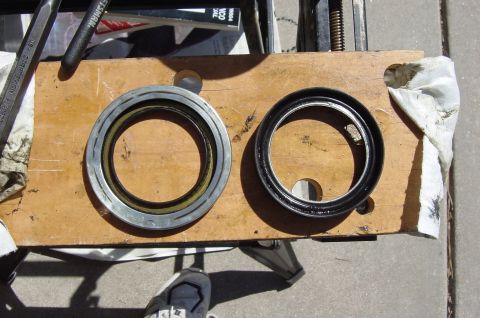
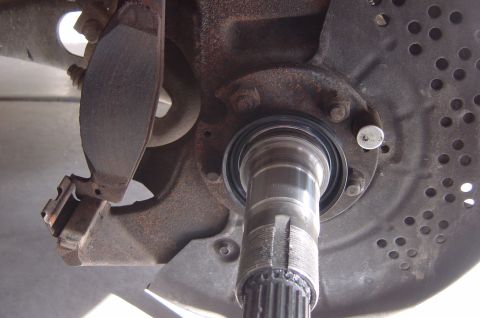
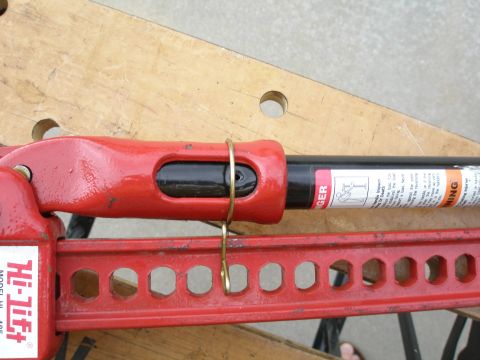
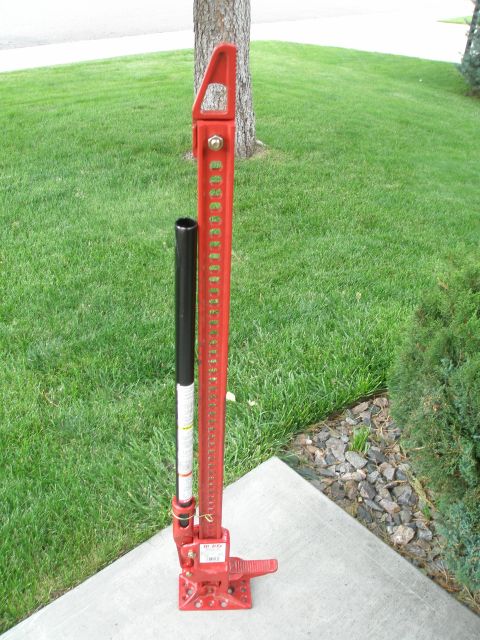
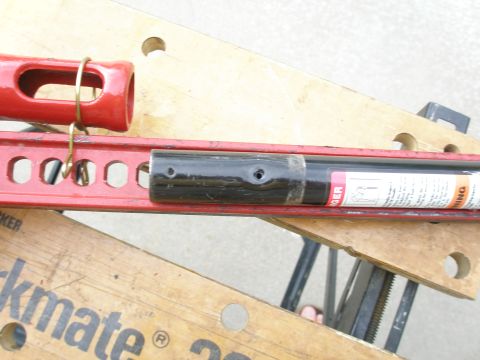
Teal green Ford Bronco SUV parked on a driveway 1996 Ford Bronco: The original window sticker. 1996 Ford Bronco: Before shoveling the drive. 1996 Ford Bronco: Bit better after 2 hours of shoveling. 1996 Ford Bronco: It snowed a bunch since pulling into the drive yesterday about 2:30 pm. 1996 Ford Bronco: Snow all cleared Bronco's look good in snow. 1996 Ford Bronco: My most used Daily Driver - no riding today. Four people in winter clothing shoveling snow during a snowfall 1996 Ford Bronco: The front porch, watch out HutHut it's gonna fall. 1996 Ford Bronco: All clear, and the sun is shining. 1996 Ford Bronco: There is snow everywhere. 1996 Ford Bronco: Cleanest driveway in the neighborhood. 1996 Ford Bronco: Ready to go riding. 1996 Ford Bronco: This is the driver side seat, overall view. 1996 Ford Bronco: The seat bottom panel is badly torn. Picture doesn't really show it, but the leather is really cracked on the back area. 1996 Ford Bronco: The EB stiching is still in top notch shape. 1996 Ford Bronco: The back of the seat is in great shape. 1996 Ford Bronco: The wire is broken right at the plug. 1996 Ford Bronco: Another picture of the break, with a flashlight highlighting the connector, 1996 Ford Bronco: The brackets for the driver's side. 1996 Ford Bronco: The original problem, knowing what I know now the fix is easy, but... 1996 Ford Bronco: I used the Uni-Clip and Uni-con kits, re-used my old tab. 1996 Ford Bronco: Closing the latch on the drivers side, just push down on both till they click. 1996 Ford Bronco: Drivers side latches are closed, now the window can be operated. 1996 Ford Bronco: The window is out, giving access to the area needing repair. 1996 Ford Bronco: The new clip needs to go on the end of this wire 1996 Ford Bronco: After stripping the wire, the clip gets crimped on to the end. 1996 Ford Bronco: The area where the tab attaches to the window is lightly sanded to prepare it for epoxying the tab. Take care… 1996 Ford Bronco: The old tab is sanded to shiny copper. The epoxy will bond the prepped surfaces of the tab and glass. 1996 Ford Bronco: A space heater is used to warm up the repair area, same set up is used while the epoxy cures. Thermometer rea… 1996 Ford Bronco: Area where tab will be epoxied is masked off, warmed up and ready for repair. 1996 Ford Bronco: Repair is good, the defroster lines are clearing. 1996 Ford Bronco: The one on the left shows signs of the where the rubber part of the seal rubbed on the metal making the squea… 1996 Ford Bronco: This is how I put the rubber part of the seal on. Notice the metal band faces out towards the wheel versus in… 1996 Ford Bronco: Mickey Thompson Classics w/ 31" BFG AT/KO 1996 Ford Bronco: This is the handle in the jack. 1996 Ford Bronco: This is the handle out of the jack. 1996 Ford Bronco: My new to me Hi-Lift jack
Albums · 11

How the owner organised this build. Open an album for every photo in it.
The peanut gallery

No comments yet. Be the first to add to the record.

Spotted in the wild

Seen this vehicle at a show or on the trail? Add your shot. The owner approves it onto the record.