How-to
1973 Ford Bronco Explorer 5.0 and 4R70W Swap: Wiring and Fitment
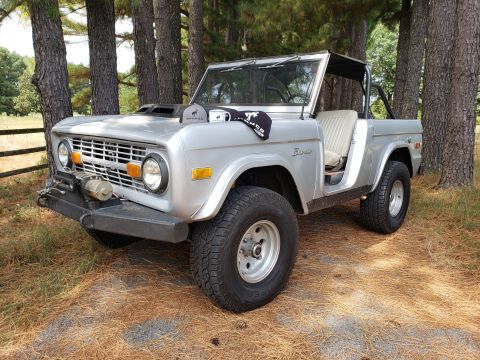
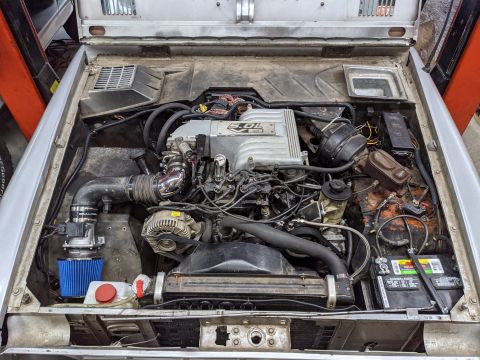
muddybronco replaced the 302 and C6 in a 1973 Ford Bronco with an Explorer 5.0 and a 4R70W transmission. The photos cover the shifter and shift linkage, a new fuel pump and filters, the Explorer engine bay harness cut down and rewired into the Bronco, and the intake, throttle and clearance work. The engine and transmission installation itself is not photographed.
-
Step 1
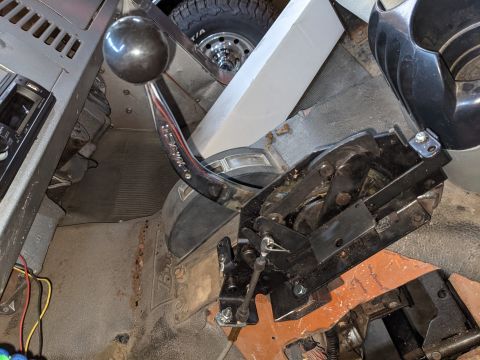
Fit a shifter that matches the new transmission. muddybronco used a Hurst Pro-Matic shifter from Craigslist whose PRND21 pattern matches the 4R70W because overdrive is locked out with a dash button, and patched the large hole left by the old 3-speed floor shifter after using it to fabricate the NP205 linkage.
-
Step 2
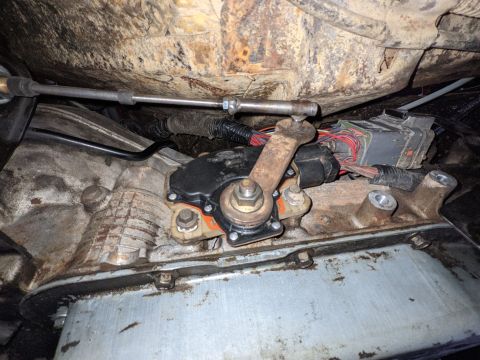
Mount the Hurst shift cable to the transmission lever and to the stock 4R70W cable bracket. muddybronco welded the end of the stock Bronco carburetor linkage to a nut that fit the cable to make the connection at the lever.
-
Step 3
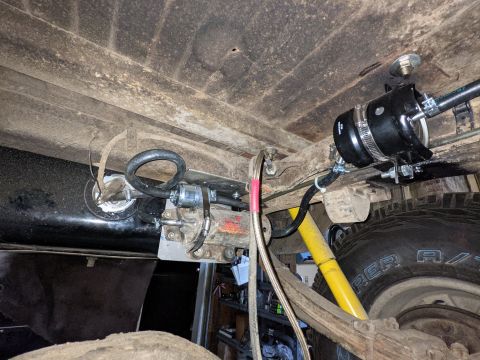
Mount a Bosch 69100 fuel pump low so it feeds off the carburetor style sending unit, with a WIX 33270 150 micron screen before the pump and a GKI GF3896 10 micron filter after it. muddybronco chose the GF3896 because it is a 95 Ford Probe filter with 5/16 inch barbs and its own mounting bracket, adapted the pump inlet with a Dorman 800-945 fitting and the outlet with an M10x1.0 to 5/16 inch barb fitting, and mounted the pump to an aluminum plate using an OEM rubber isolated frame pump mount from a late 80s Bronco.
-
Step 4
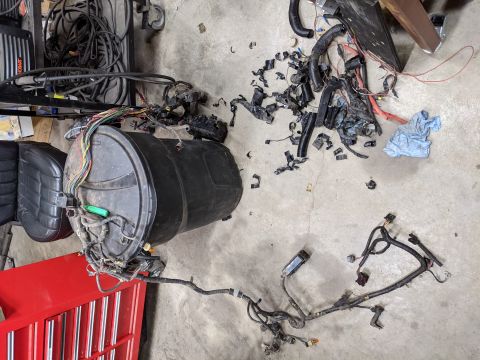
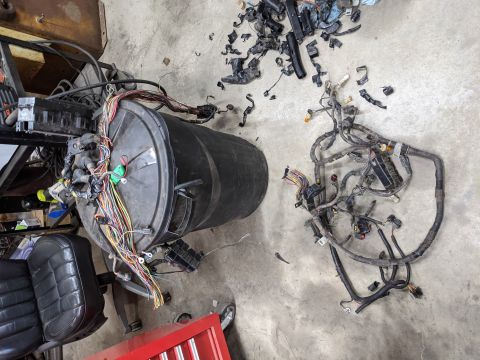
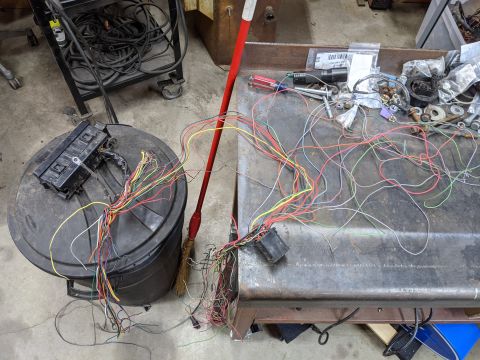
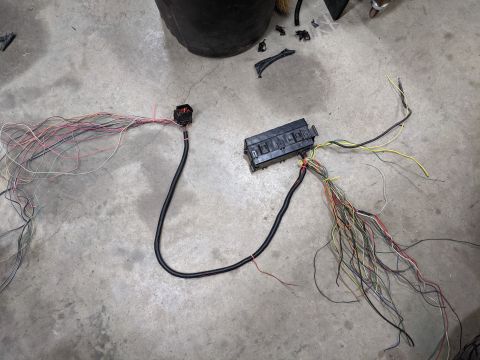
Pull the full engine bay harness from the Explorer, peel back the tape, and cut the main harness just past the relay box behind the driver headlight. Cut off the 3 firewall connectors, then discard the wires that are now cut at both ends.
-
Step 5
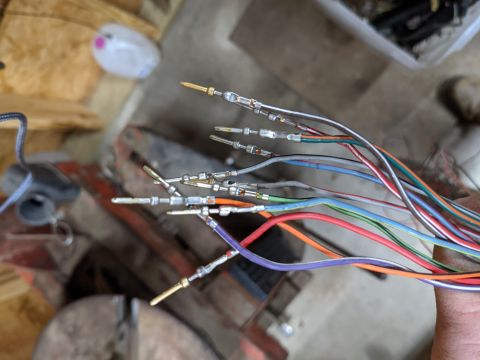
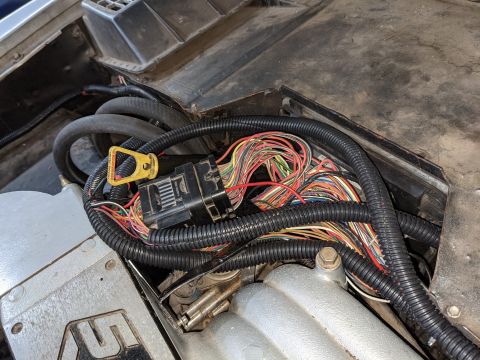
Depopulate C115, the large connector that ties the harness to the back of the engine, by removing the red separators with small needle nose pliers and gently prying each wire tab with a tiny flathead screwdriver. muddybronco removed rather than cut the unneeded wires so any one of them could go back in, kept the 7 factory circuits running from the power distribution box to C115 in split loom to avoid splicing, and left 17 wires at C115 that must be spliced, 3 of them grounds.
-
Step 6
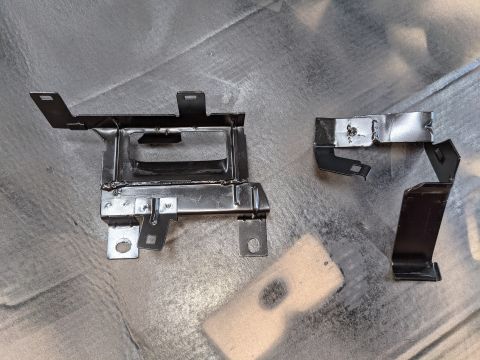
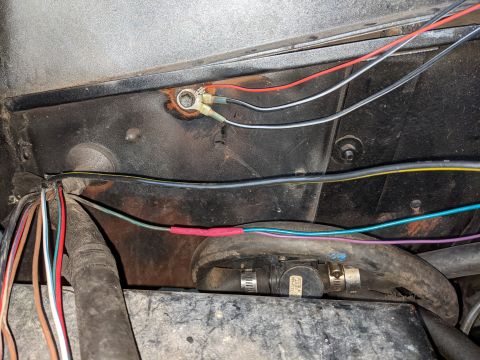
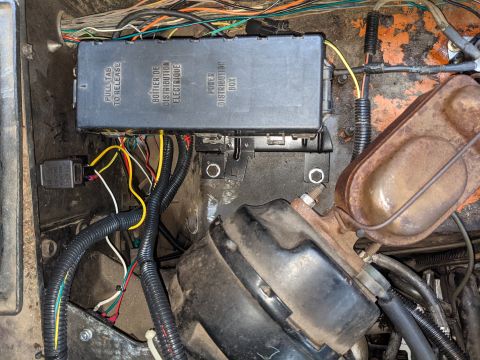
Cut and reweld the power distribution box bracket backwards so the box mounts downward and sits over the bracket, and cut up the C115 bracket and weld it to the EGR heat shield so C115 mounts to the engine instead of the firewall. Land the 3 C115 grounds on the old voltage regulator ground, cleaned bare with a wire wheel and coated in silicone grease, and take RUN power from the voltage regulator green/red wire to feed C115 and the relay added later.
-
Step 7
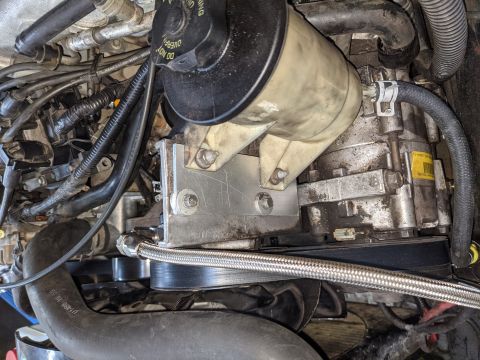
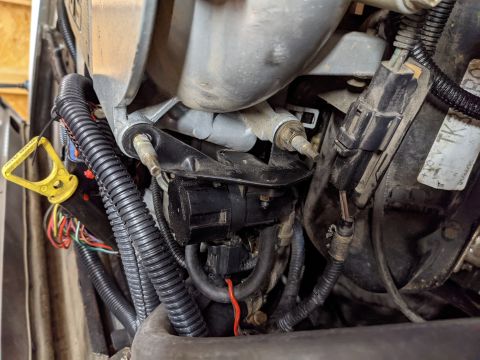
Clear the two parts that foul the new engine. muddybronco moved the power steering reservoir down and back with a piece of broken aluminum yard stick and notched its cap for the last bit of clearance, and flipped the EGR solenoid bracket 180 degrees to drop it well out of the way.
-
Step 8
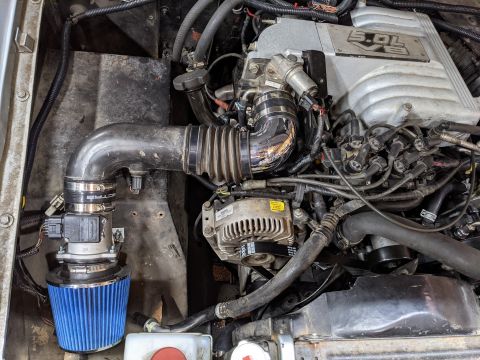
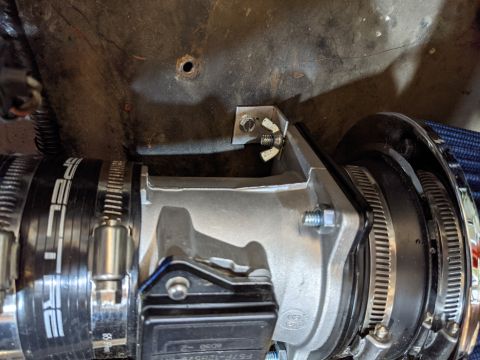
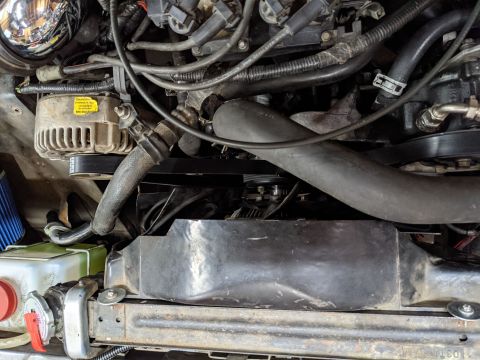
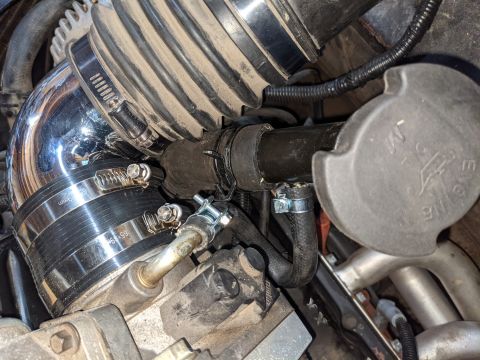
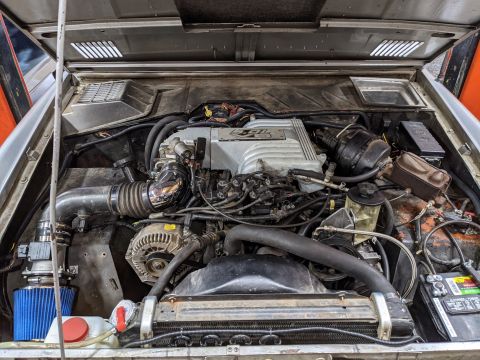
Take the MAF out of the airbox and mount it to the fender, warming a 3 inch Spectre intake boot with a heat gun to slide it over the MAF and air tube, then connect the air tube to the throttle body with a second boot and a 3 inch elbow. The air filter came with a plate and gasket that bolt straight to the MAF, listed on eBay as an air intake adapter MAF ranger 4.0 for about $20, and the stock wiring reaches both the MAF and the IAT sensor; muddybronco reports the fan still sits almost completely outside the shroud and is unresolved at this point.
-
Step 9
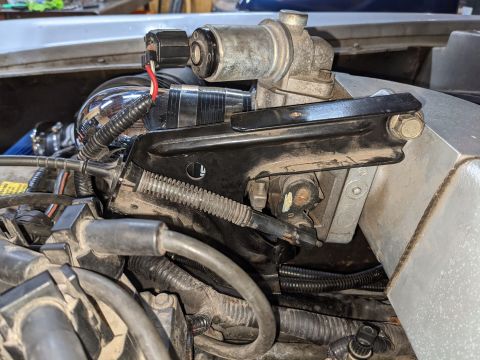
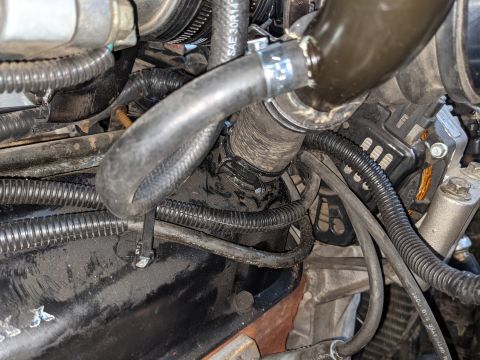
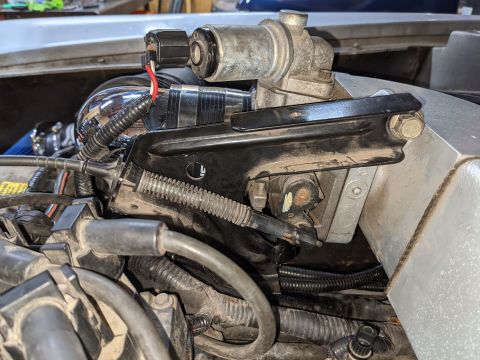
Clock the Explorer throttle cable bracket downward by cutting off the lower mounting ear, cutting out a section, and welding it back together so the cable stops pointing into the hood. Route the oil filler clear of the intake tube with a bent radiator hose, which muddybronco took from a Buick 3.8 lower radiator hose measuring 1 9/32 inch, a Gates 22373, and remove the A/C lines rather than keep them for future use.
-
Step 10
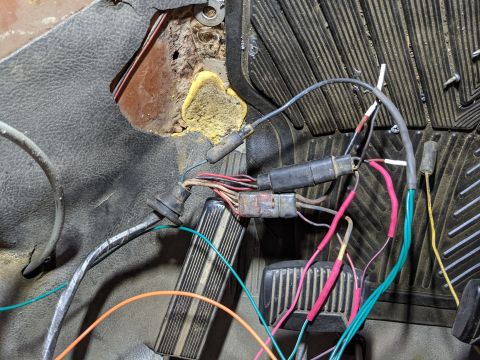
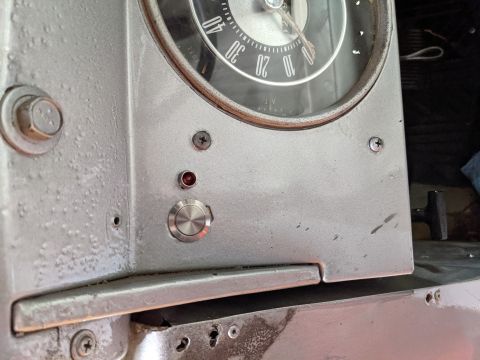
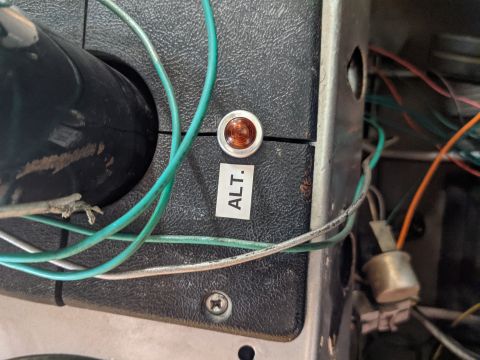
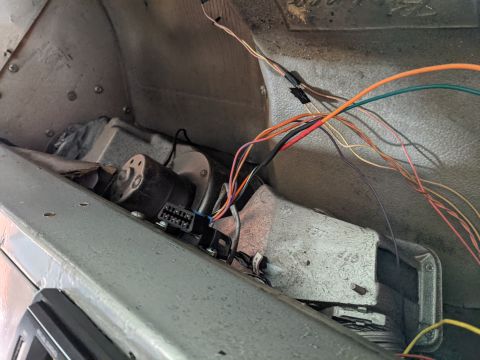
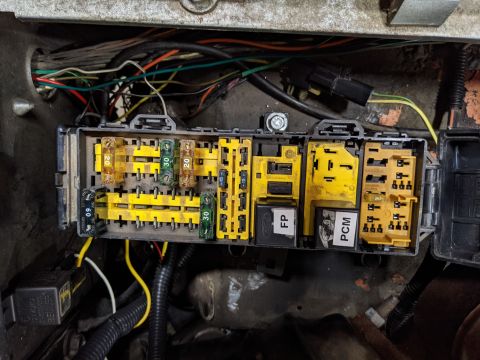
Reuse the three original engine bay connectors inside the cab: the 4-pin square connector for the black/red reverse light wire and the red/blue START wire, the 3-pin red C218 for the green/white oil pressure gauge wire and the red/white temperature gauge wire, and the single pin connector for RUN power to the alternator light, overdrive switch and overdrive cancel LED. Fit the overdrive cancel switch and LED in the existing hole, use a bulb rather than an LED for the alternator charge light with a 470 ohm resistor in parallel in case the bulb burns out, and mount the OBD2 port on 3 wires from C115 plus power and ground; muddybronco notes the cancel LED glows faintly even when off and left the check engine light and tachometer wires unconnected.
-
Step 11
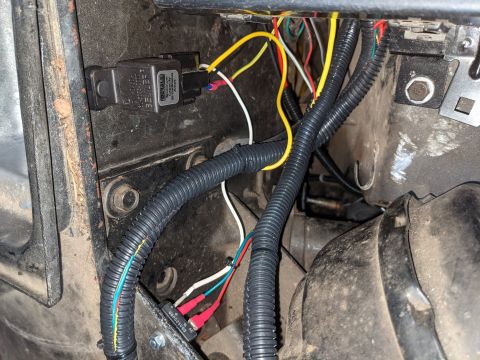
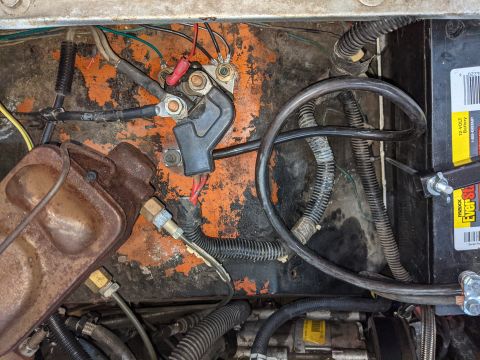
Create the RUN/START circuit the Bronco never had from the factory using a bridge rectifier and a relay, with the diodes keeping the RUN circuit from activating the START circuit and the reverse; only the red/light green wire feeding the PCM relay and the ignition coils through C115 needs it. Strip the paint under the Explorer starter solenoid so its coil grounds through its case, and ground the fuel pump, PCM relay, RUN/START relay and the OBD2 port to the same mounting stud, which muddybronco did rather than trust the old Bronco body for grounding.
-
Step 12
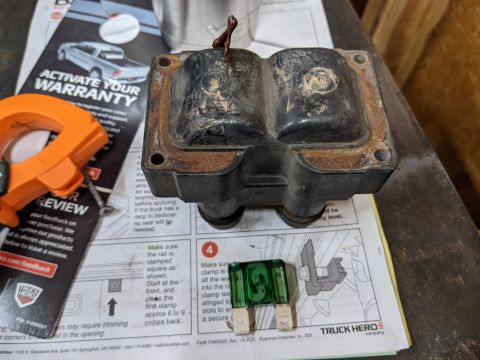
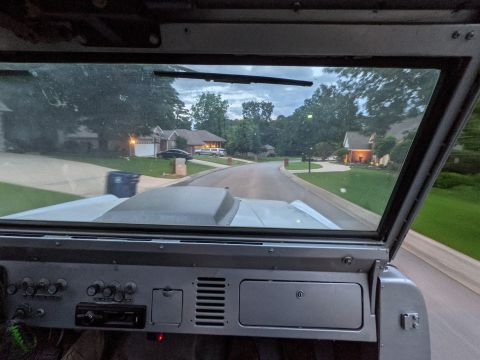
Check throttle travel after the bracket modification, which muddybronco measured at 88 percent of wide open and could bring back to 100 percent by spacing the cable about 1/8 inch out from the bracket. During shift linkage adjustment a coil pack failed and spit its guts out the bottom after the key had been on for about an hour, so swap the coil and the fuse before the test drive; muddybronco notes it would have made sense to paint the engine bay before dropping the 5.0 in, and reports the truck pulls far harder than it did with the 302 and C6. The photos end here with the test drive, so no further assembly is documented.
Some product links go to the supplier the owner bought from. SuperMotors does not earn a commission today; if that changes, this line will say so and creators will be paid from it.