Home/
Registry/
Ford/
Ranchero/
1977-1979/
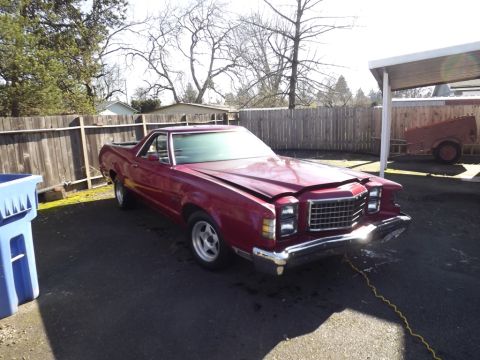
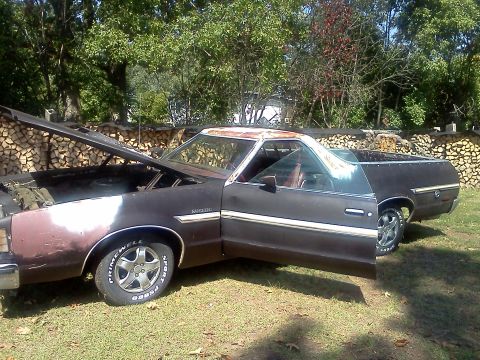
1979 Ford Ranchero/
Photo
supermotors.net/registry/media/1145927
Ford C6 Transmission Shift Kit Install: Separator Plate, Servo & Band Adjustment
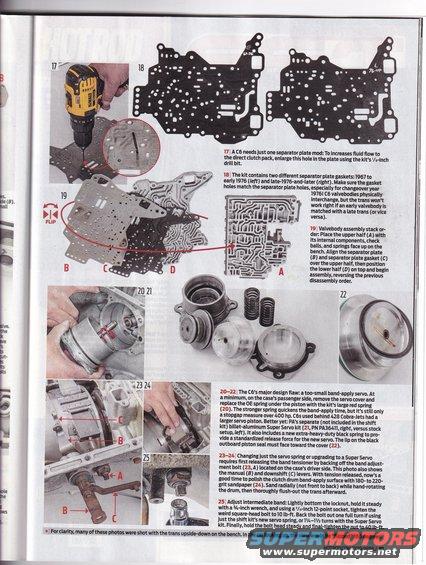
Step-by-step C6 automatic transmission rebuild article with numbered photos covering separator plate, valve body and servo work.
This is page 81 of the April 2019 issue of Hot Rod magazine, part of a step-by-step service article covering the rebuild/shift-kit upgrade of a Ford C6 automatic transmission. Steps 17–25 are shown with photos and captions. Step 17 describes the single separator plate modification for a C6: drilling out a specified hole with the kit's 1/8-inch bit to increase fluid flow to the direct clutch pack. Step 18 explains the two separator plate gaskets included in the kit—1967 to early 1976 vs. late-1976-and-later—and warns that early and late valvebodies physically interchange but must not be mismatched. Step 19 gives the valvebody assembly stack order (upper half, separator plate, gasket, lower half). Steps 20–22 address the C6's undersized band-apply servo, describing replacement of the OE spring with the kit's large red spring, and the optional PA (Performance Automatic) billet-aluminum Super Servo kit, PN PA36411, with its black heavy-duty spring and seal orientation notes. Steps 23–24 cover releasing band tension via the adjustment bolt and polishing the clutch drum band surface with 180–220-grit sandpaper. Step 25 gives intermediate band adjustment specs: tighten the square-head bolt to 10 lb-ft, back off one turn (shift kit spring) or 1 1/4–1 1/2 turns (Super Servo), then torque the locknut to 40 lb-ft.
Is this accurate? Sign in to help verify it.
Frequently asked questions
- What separator plate modification does a C6 need for a shift kit?
- Just one: enlarge the hole in the separator plate using the kit's 1/8-inch drill bit to increase fluid flow to the direct clutch pack.
- Which separator plate gasket do I use for my C6?
- The kit contains two gaskets: one for 1967 to early 1976 and one for late-1976-and-later. Make sure the gasket holes match the separator plate holes, especially for the 1976 changeover year—early and late valvebodies physically interchange but won't work right if mismatched.
- What is the C6 intermediate band adjustment procedure and torque spec?
- Lightly bottom the locknut, hold it with a 3/4-inch wrench, tighten the square-head bolt to 10 lb-ft with a 3/8-inch 12-point socket, then back the bolt out one full turn (shift kit servo spring) or 1 1/4–1 1/2 turns (Super Servo kit), and final-tighten the nut to 40 lb-ft.
- What is the fix for the C6's too-small band-apply servo?
- At minimum, replace the OE spring under the servo piston with the kit's large red spring. Better yet, install PA's separate billet-aluminum Super Servo kit, PN PA36411, which includes an extra-heavy-duty black spring; the lip on the black outboard piston seal must face toward the cover.
- How should the clutch drum band-apply surface be polished?
- With band tension released, sand with 180- to 220-grit sandpaper radially (not front to back) while hand-rotating the drum, then thoroughly flush out the trans afterward.
Comments
More from this build

No comments yet.