Home/
Registry/
Ford/
Bronco/
1980–1986/
“That dirty old truck”/
Side Mirrors
supermotors.net/registry/2742/12641
Album section
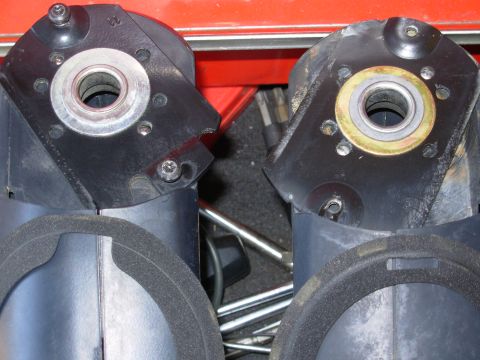
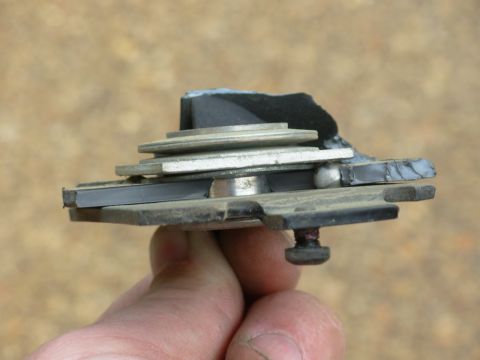
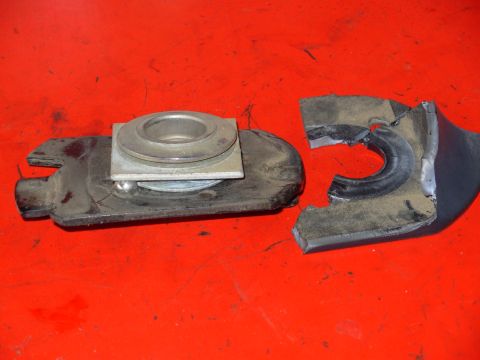
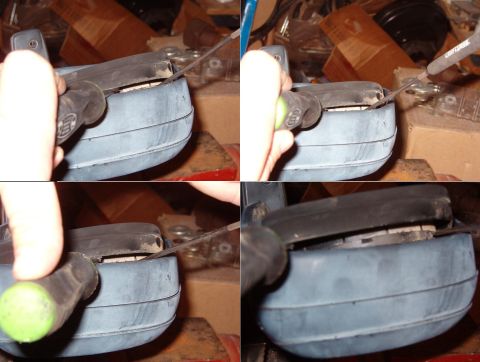
Side Mirrors
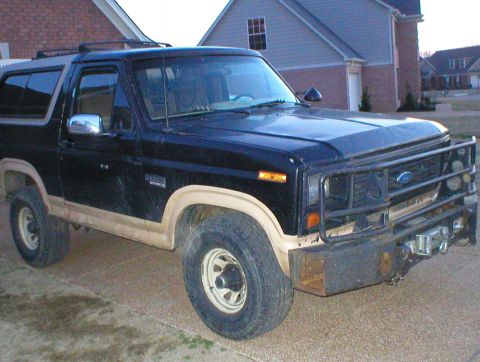
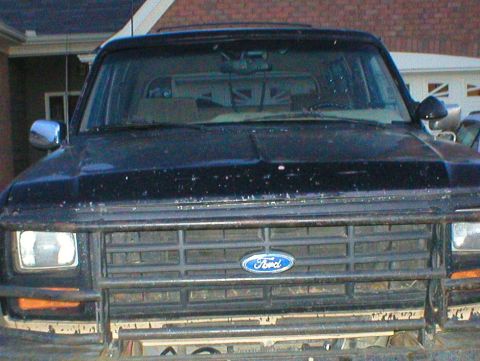
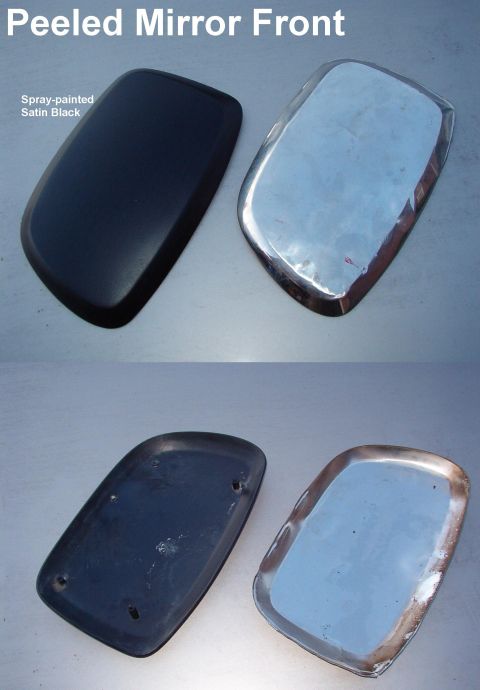
From 1983 Ford Bronco “That dirty old truck” — documented by Steve83.
83 photos
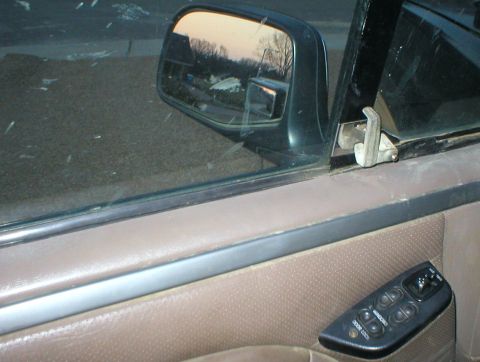


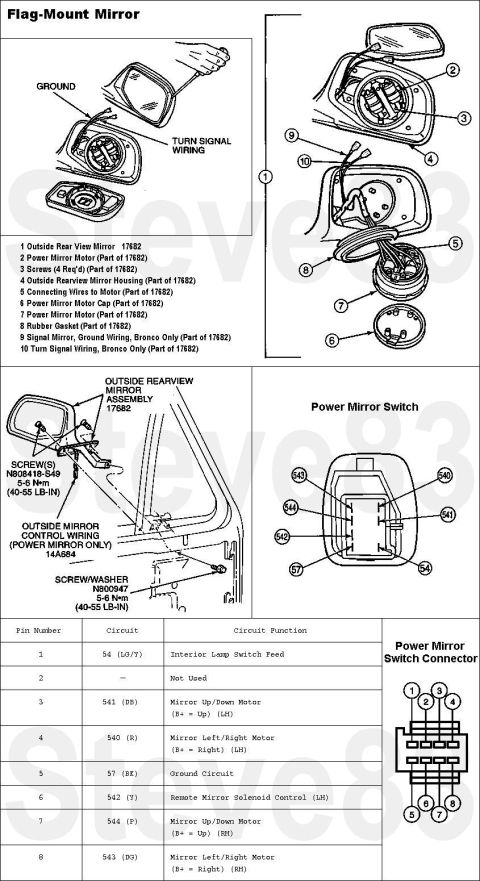
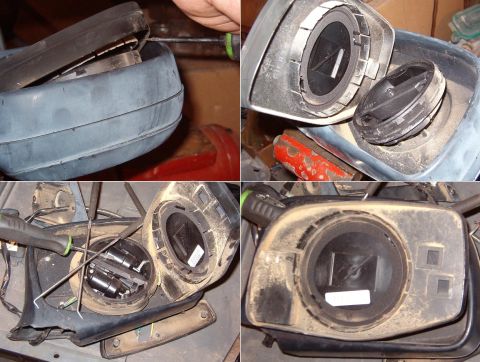
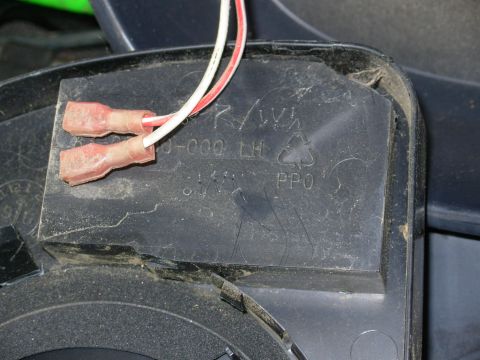
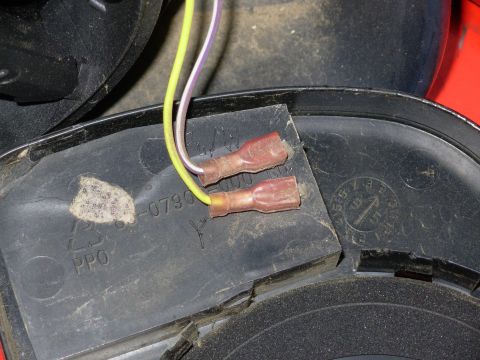
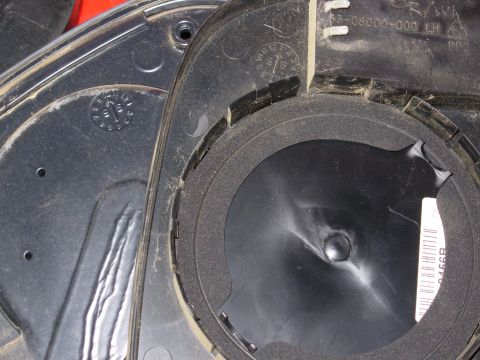
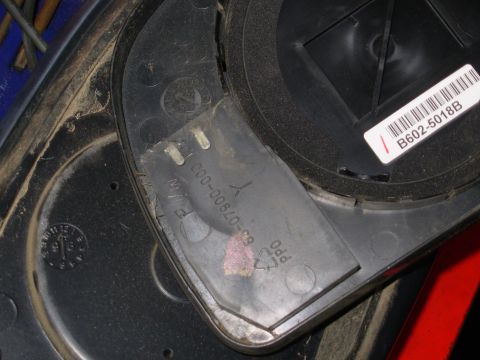
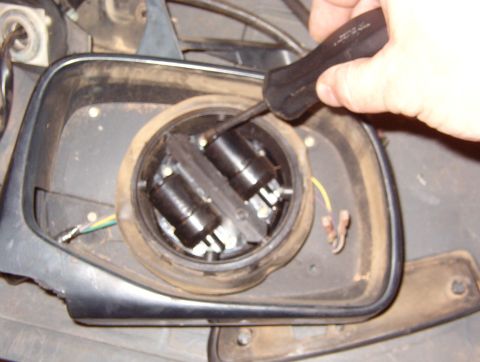
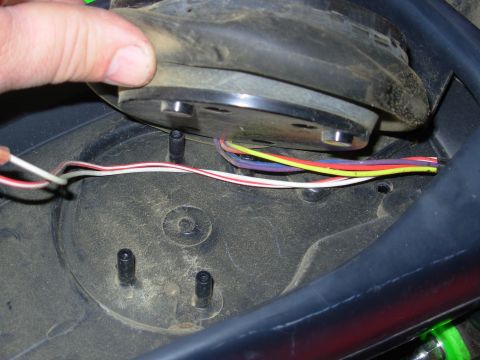
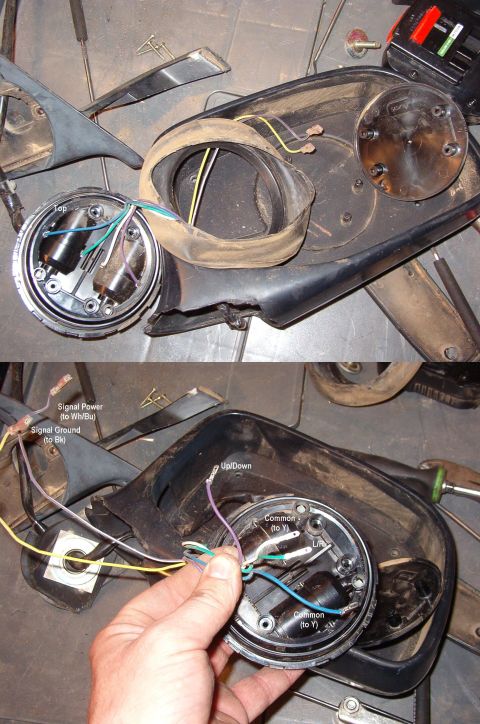
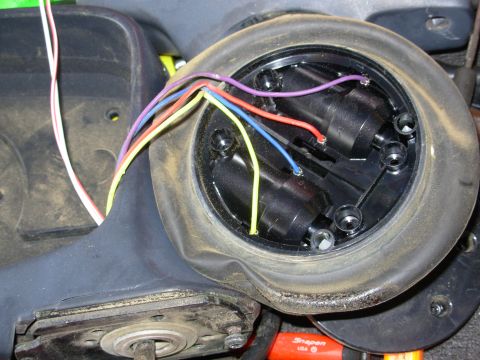
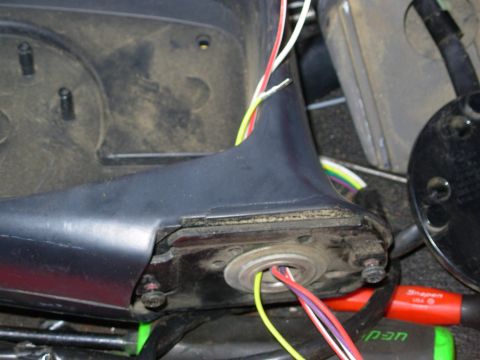
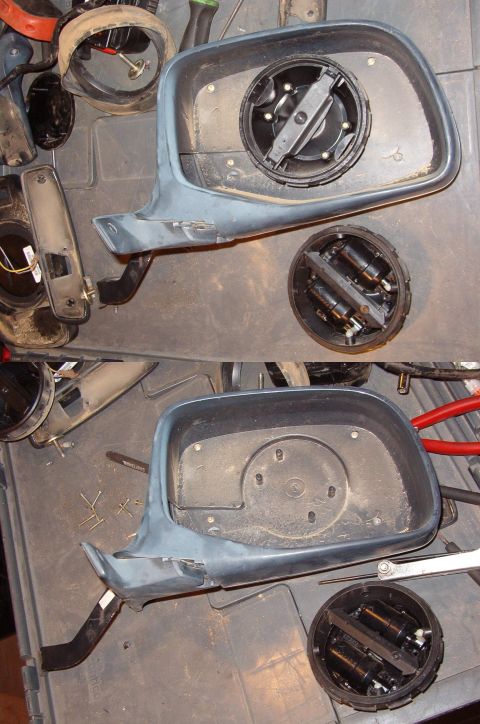
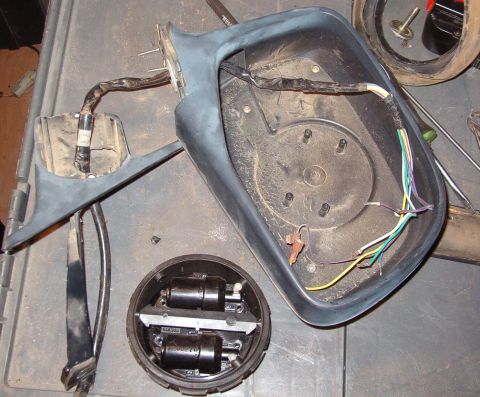
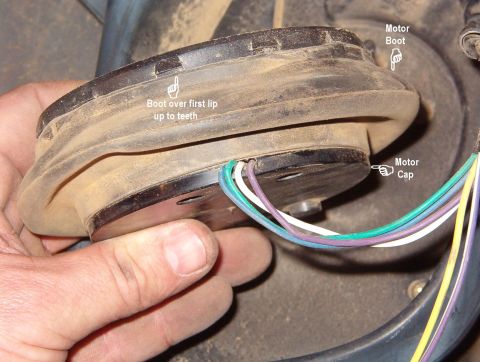
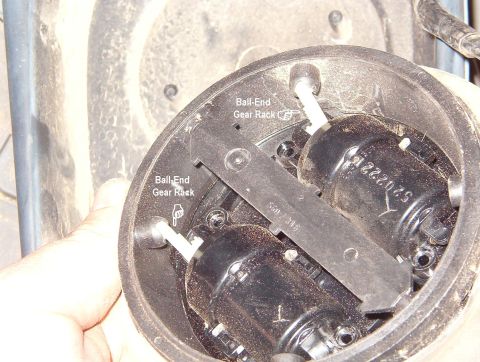
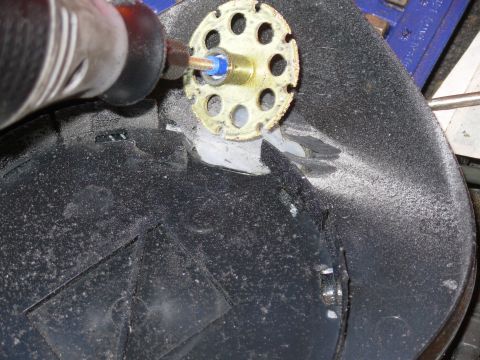
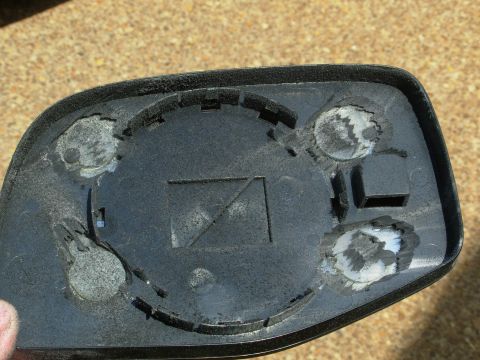
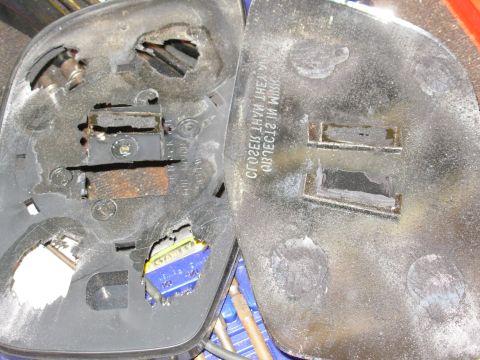

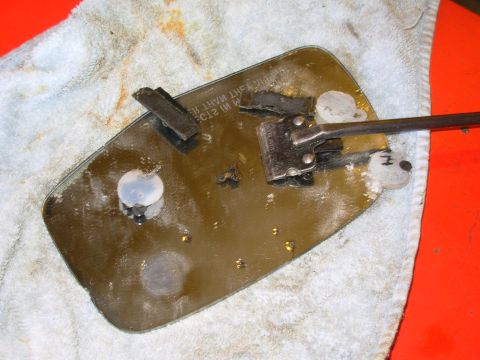
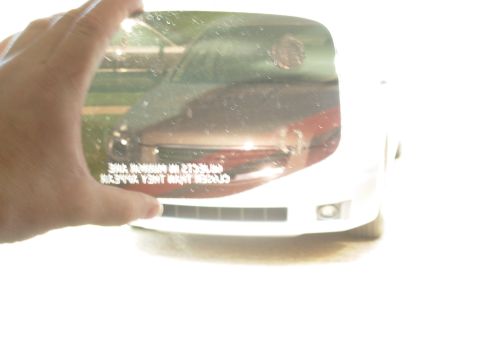
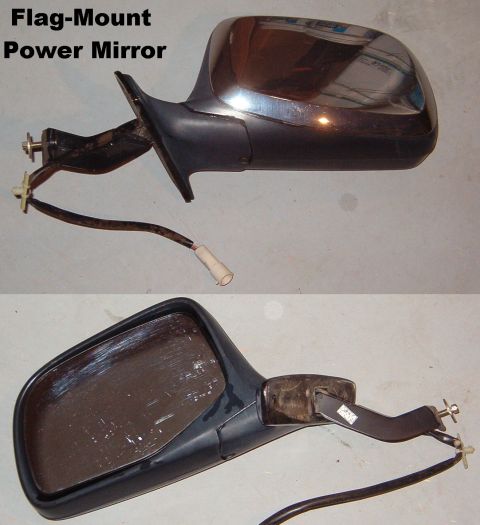
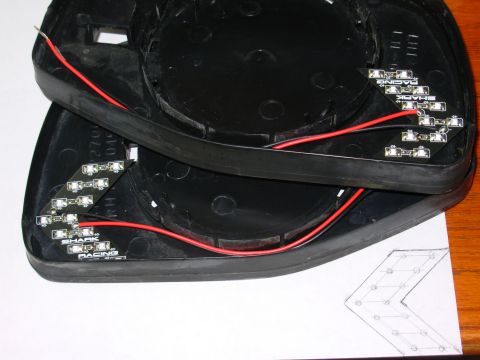
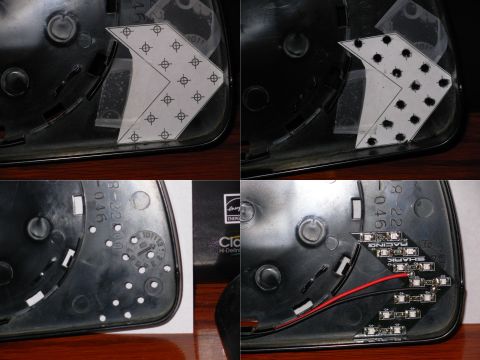
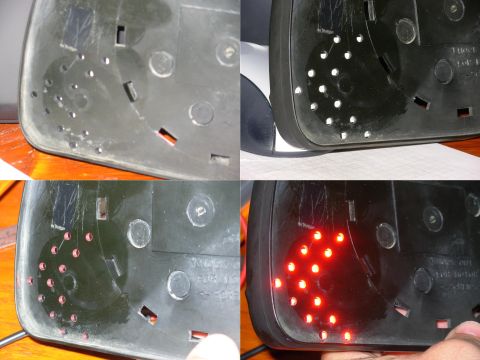
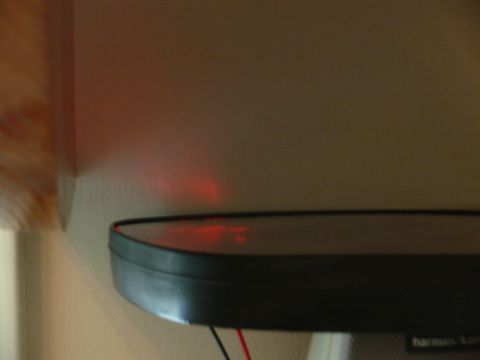
![1983 Ford Bronco - '92-96 Power Mirror Circuit [url=https://www.supermotors.net/registry/media/1143929] https://www.supermotors.net/getfile/1143929/thumbnail/…](https://www.supermotors.net/thumb/72382-480.jpg)
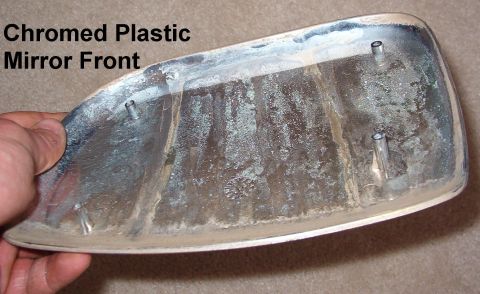
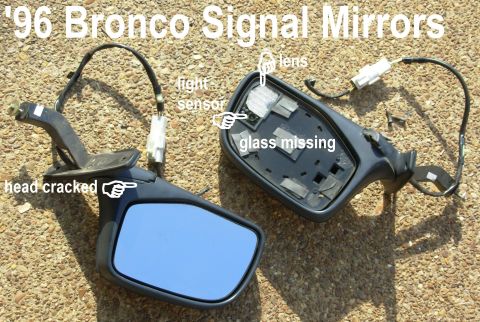
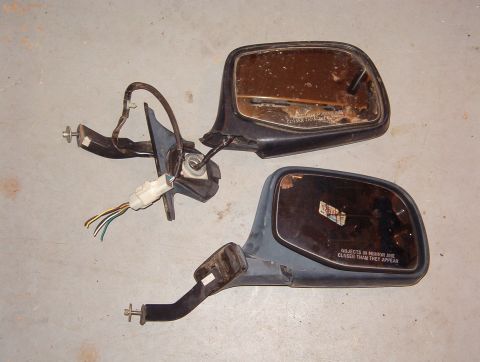
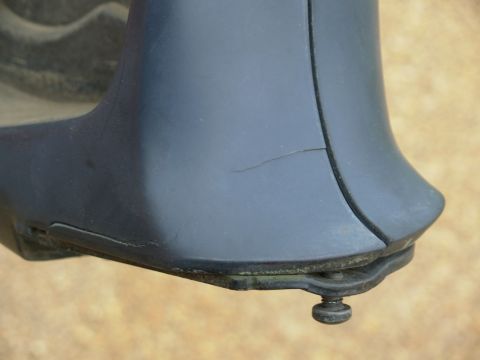
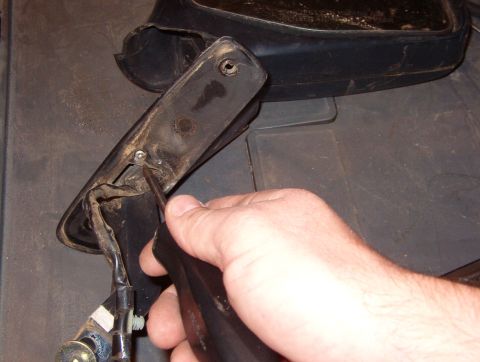
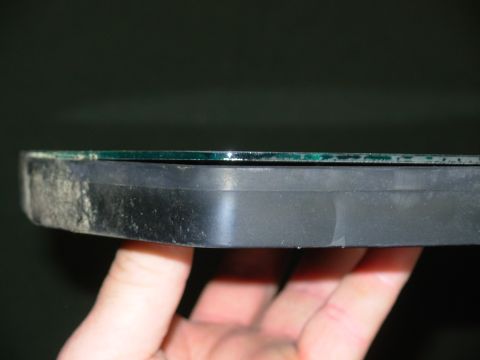
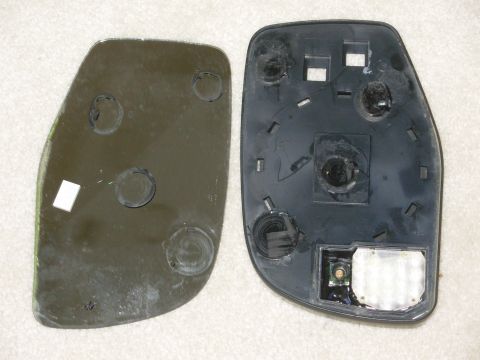
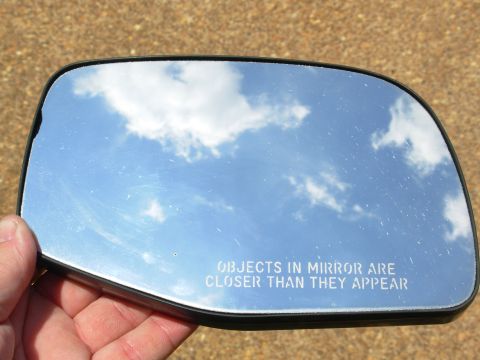
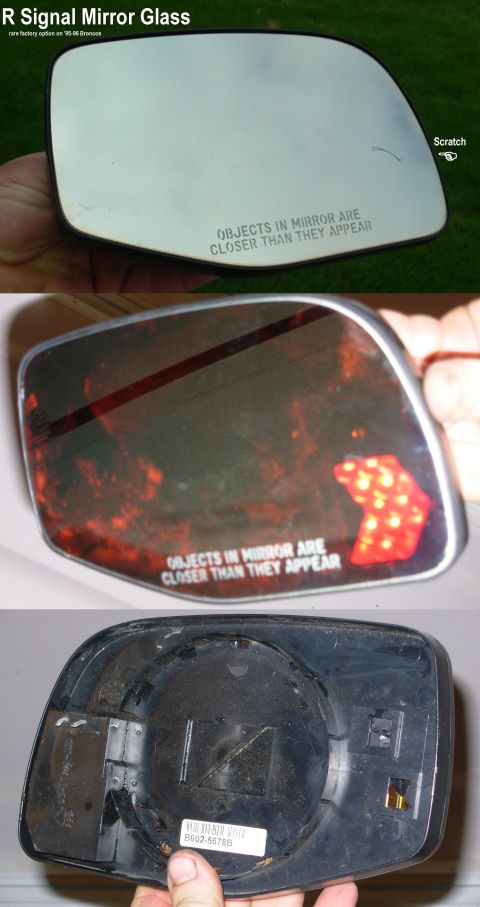
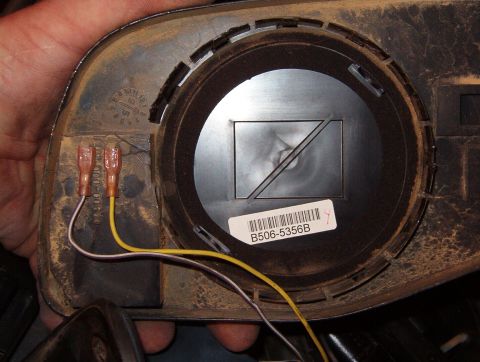
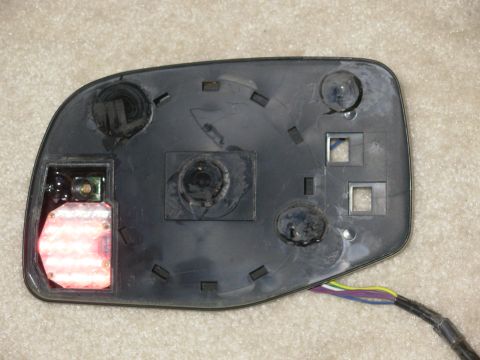
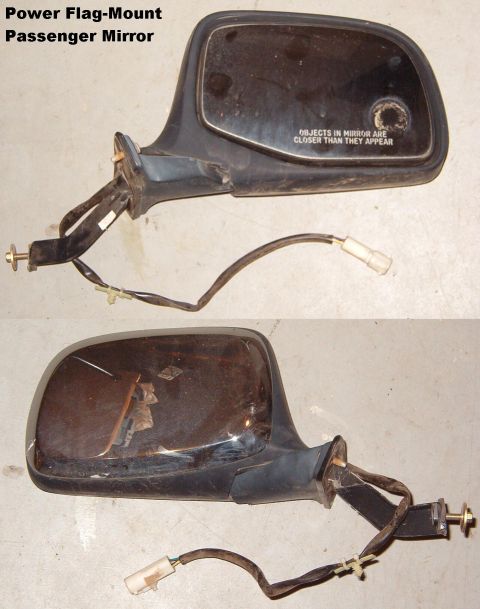
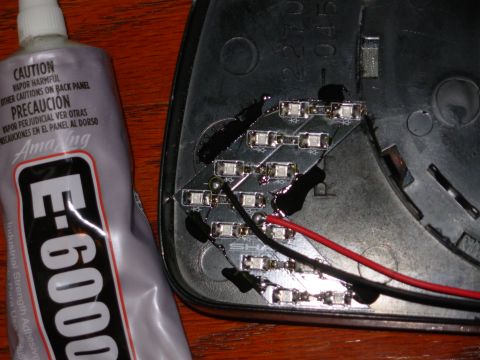
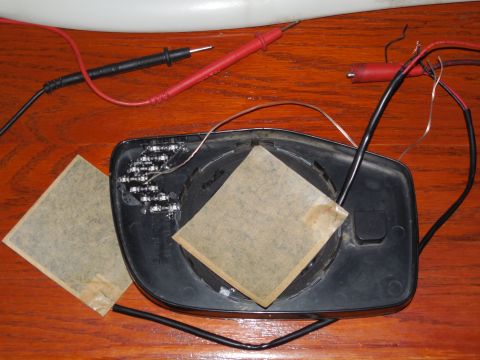
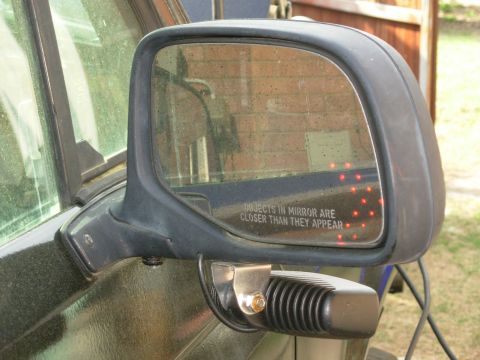
![1983 Ford Bronco - [url=http://fullsizebronco.com/forum/showthread.php?t=107662]SOLD Rare '96 Bronco Signal Mirrors The only differences between these & norma…](https://www.supermotors.net/thumb/577127-480.jpg)
Album section
From 1983 Ford Bronco “That dirty old truck” — documented by Steve83.