How-to
1996 Ford Bronco Adjustable Camber and Caster Bushing Install
Adjustable camber and caster bushings were reset on a 1996 Ford Bronco front axle to correct bad camber after an 8 lug TTB swap. The bushings were removed, indexed to new letter positions worked out from an alignment printout, and driven back in.
-
Step 1
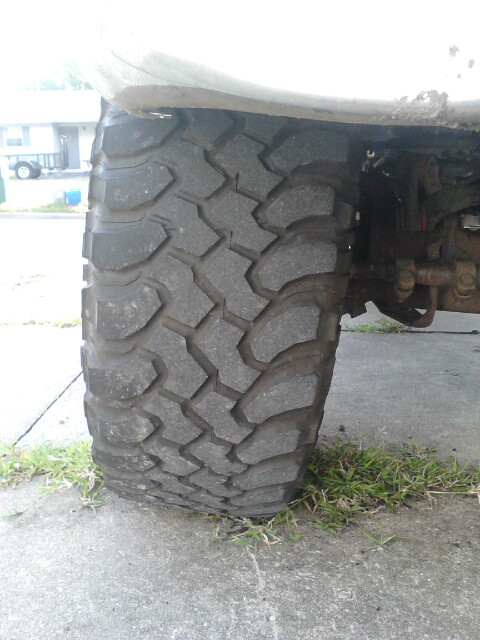
Install the bushing set at neutral, 0 degree camber and 0 degree caster, then have the truck aligned so the toe is set correctly and ask the shop for the before alignment handout. Kingfish999 used 3.2 degree bushings, whose neutral position is N over GH, and suggests a large washer between the nut and the bushing to protect the letters on top of the bushing from the nut.
-
Step 2
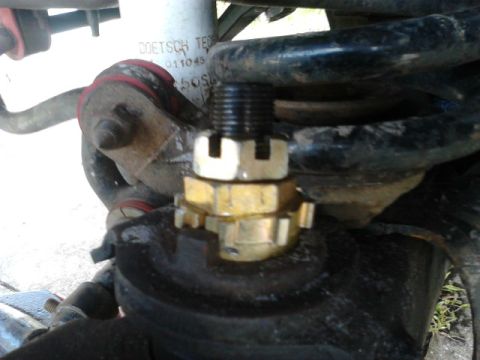
Jack the wheel up, secure it properly, and take the tire off. Remove the cotter pin that keeps the ball joint nut from vibrating loose, then take the nut off.
-
Step 3
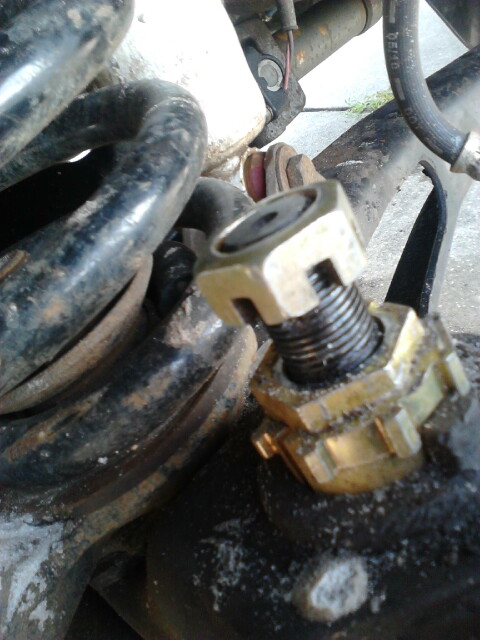
Thread the nut back on upside down and bring it flush with the top of the ball joint stud to protect the threads from damage.
-
Step 4
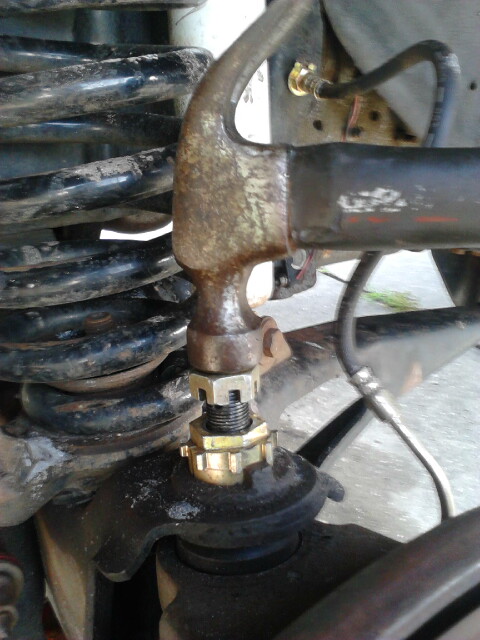
Hit the ball joint straight down with a hammer until the stud will go no further and the bushing stops coming up. Kingfish999 uses this method instead of driving the bushing up with a chisel, which breaks the small tabs off the bushing, and notes a bushing that has been in place a long time may still need channellocks or a hammer and chisel.
-
Step 5
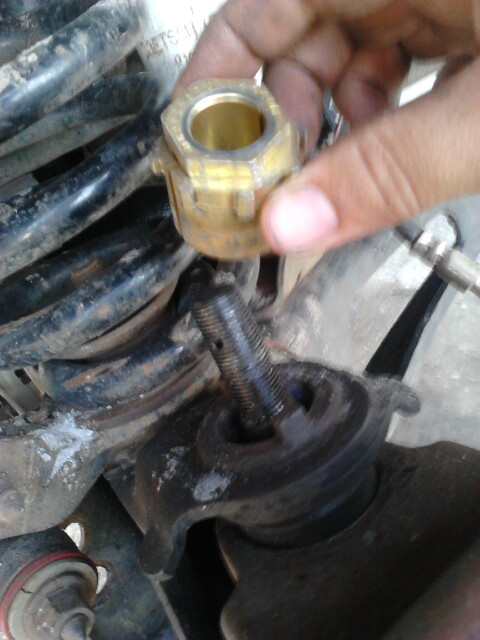
Take the bushing all the way off.
-
Step 6
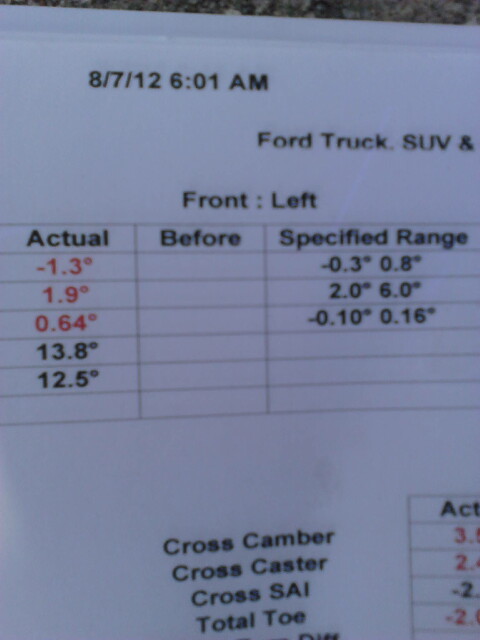
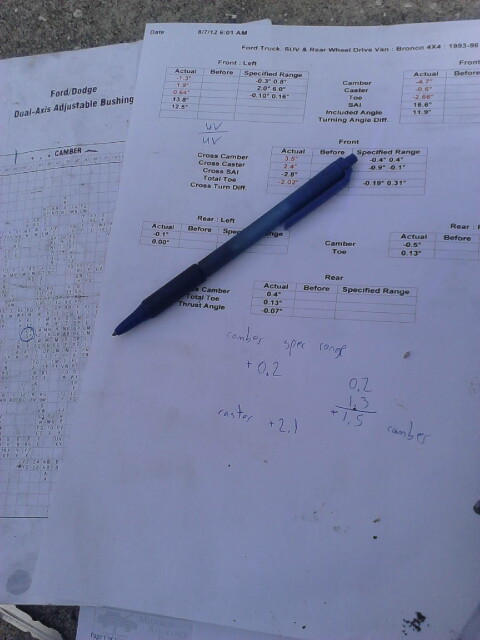
Read the camber and caster figures off the before alignment handout and work out how much each has to change, aiming for roughly positive 0.2 or 0.3 degree camber and positive 4.0 degree caster. Kingfish999 started on the left wheel with -1.3 degree camber and 1.9 degree caster, needing about 1.5 degrees more camber and 2.1 degrees more caster, which rounds to 2.0.
-
Step 7
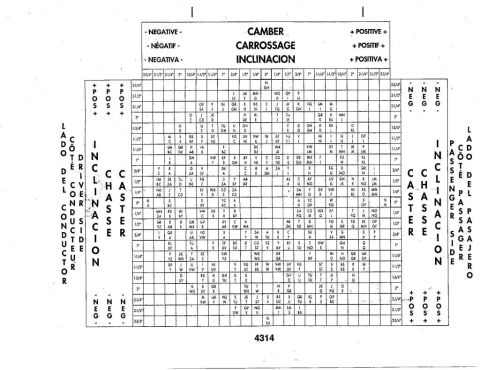
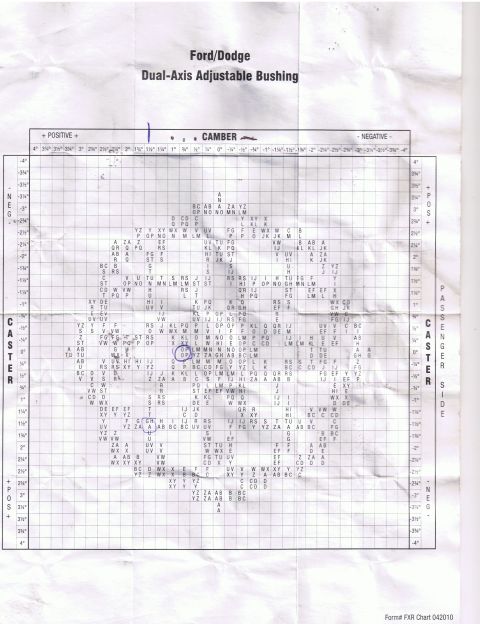
Look the required correction up on the chart that matches the bushing size, either the 2.75 degree to 0 degree chart or the 3.2 degree to 0 degree chart, where two letters together mean a setting between those letters. For the left wheel, Kingfish999's chart lookup gave UV over UV.
-
Step 8
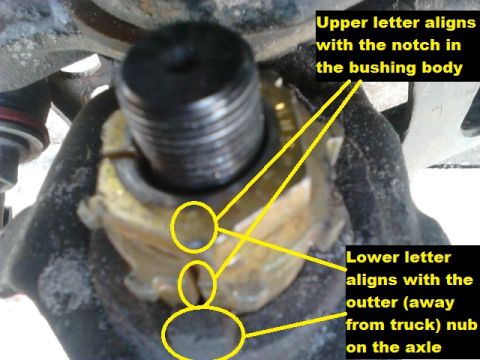
With the bushing out, spin the nut with a pair of pliers until the upper letter of the combination aligns with the notch in the body of the bushing. Set that letter first, then turn the whole bushing so the lower letter aligns with the outside tab of the axle, the tab facing away from the vehicle.
-
Step 9
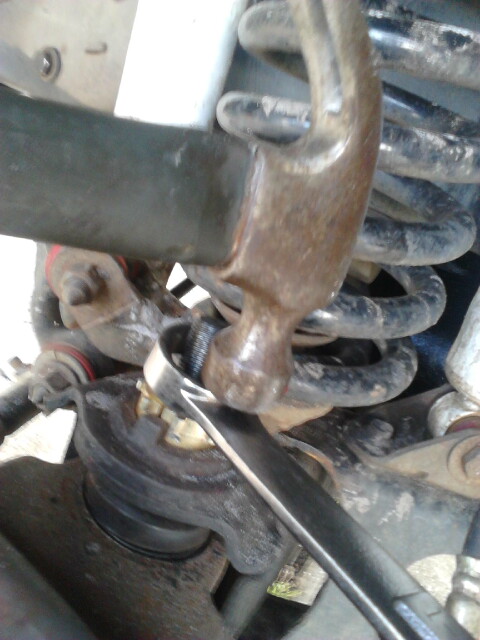
Hit the bushing back into place and seat it as deep as it will go without damaging the ball joint. Kingfish999 had no socket large enough for the job and improvised.
-
Step 10
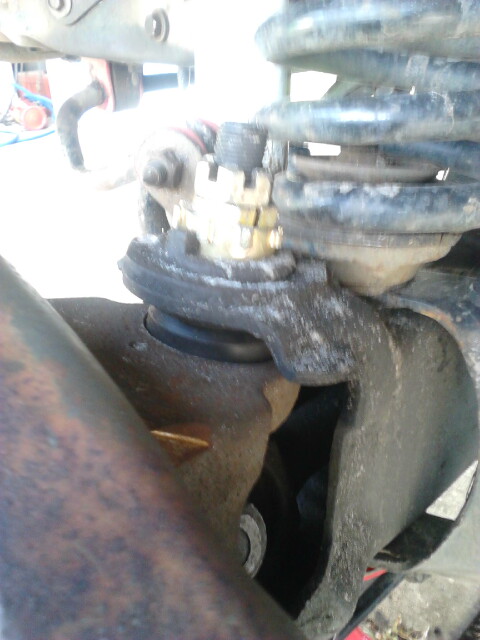
Fit the ball joint nut and tighten it to 85 to 100 ft/lbs, then tighten further until the cotter pin hole is open, insert the pin, refit the wheel, and repeat on the other side. Kingfish999 reports that a bushing set to maximum camber was hard to seat evenly and had to be backed off slightly, that the toe needed resetting at the alignment shop afterward, and the photos end there.
Some product links go to the supplier the owner bought from. SuperMotors does not earn a commission today; if that changes, this line will say so and creators will be paid from it.