Home/
Registry/
Ford/
Bronco/
1980–1986/
“That dirty old truck”/
Right Side Split
supermotors.net/registry/2742/71437
Album section
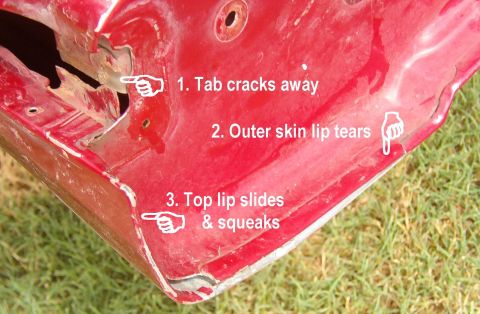
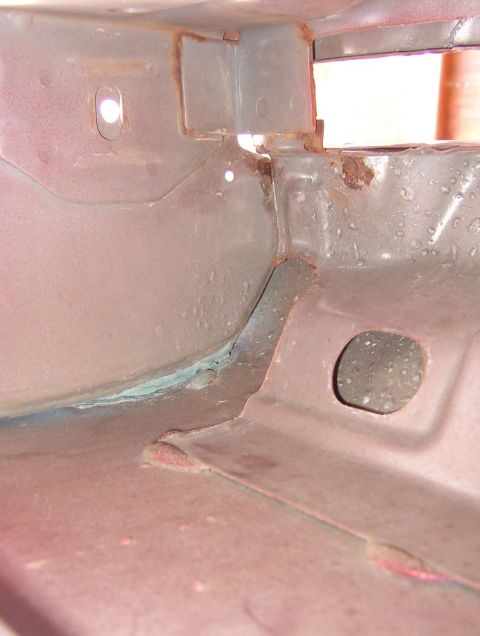
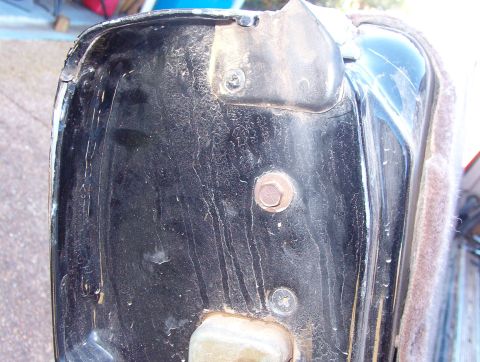
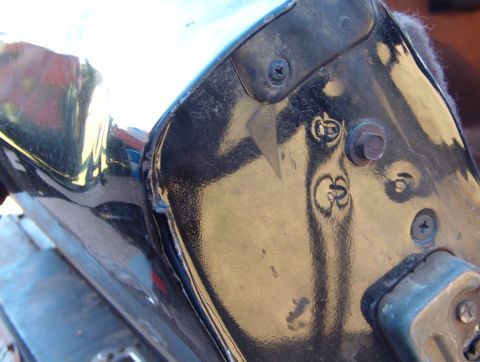
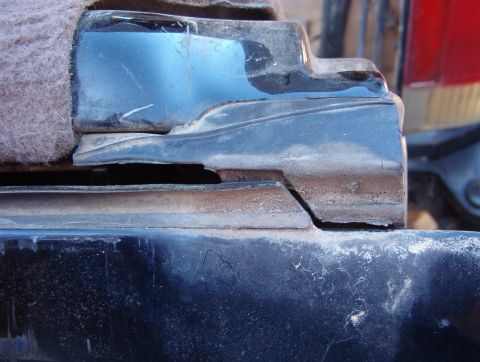
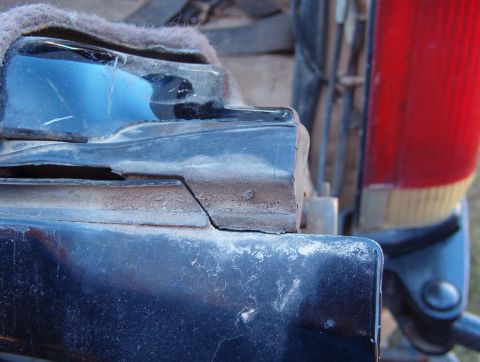
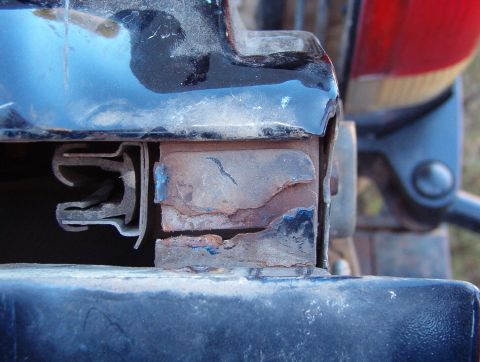
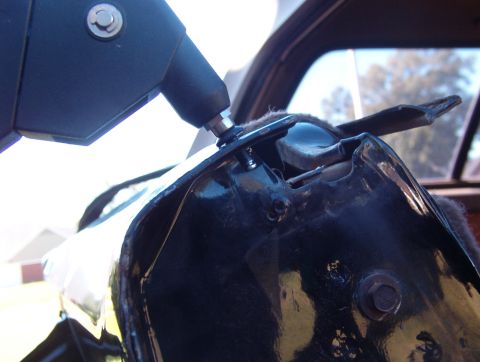
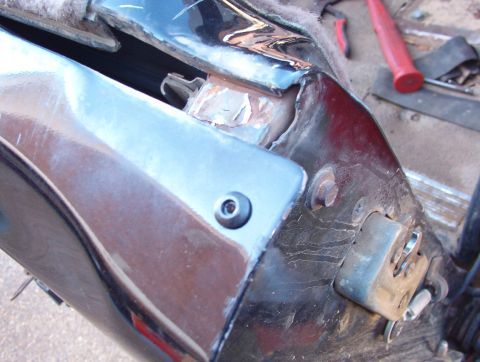
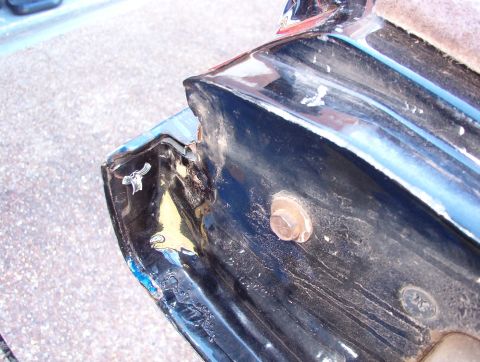
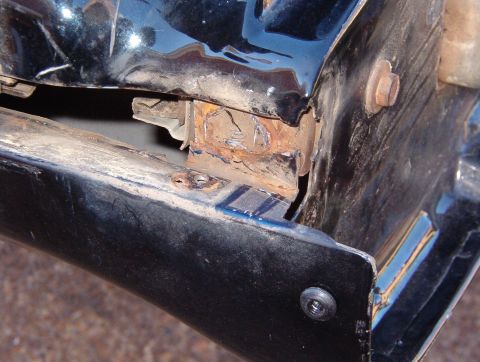
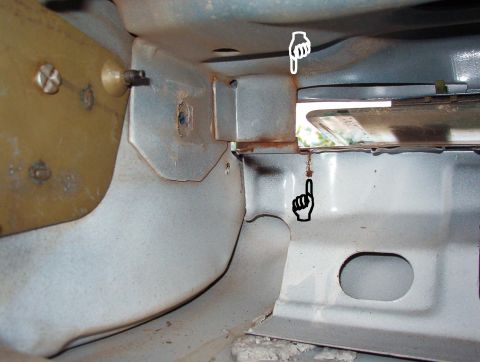
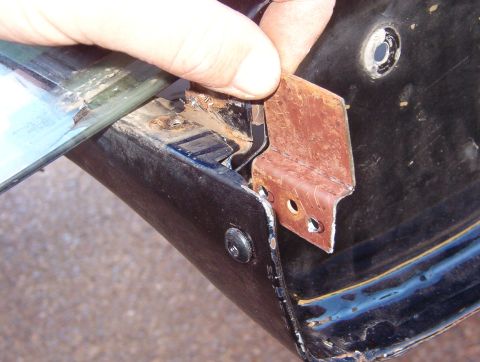
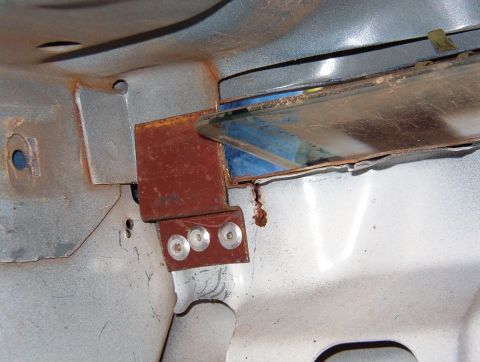
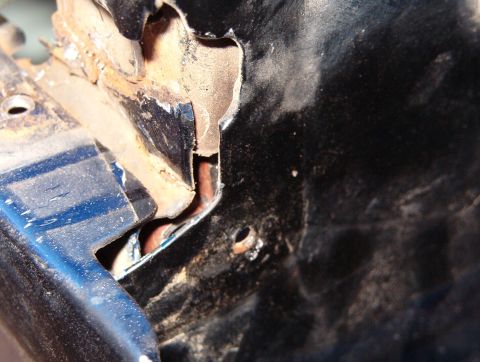
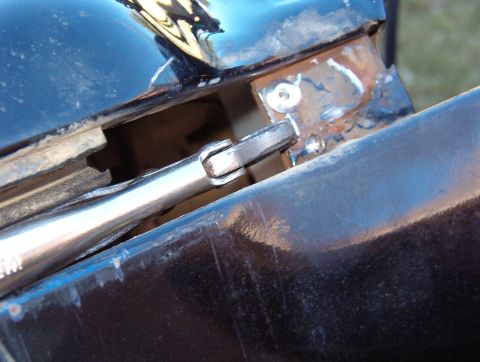
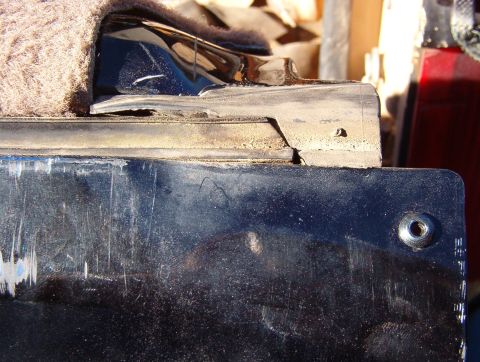
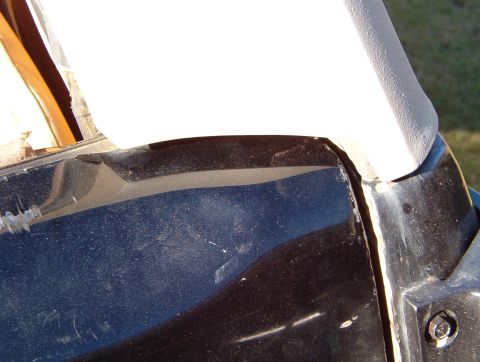
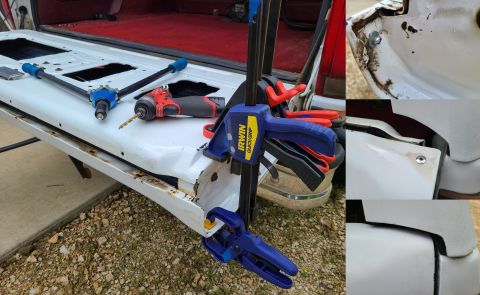
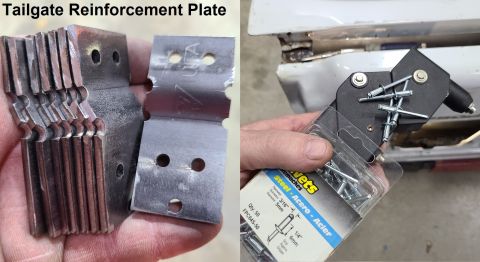
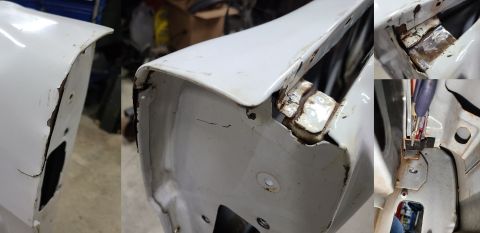
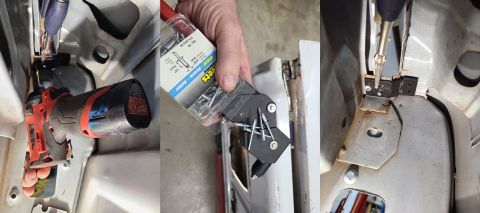
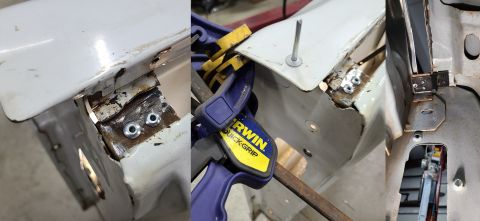
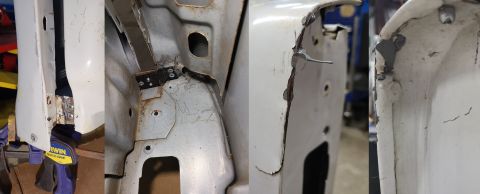
Right Side Split
From 1983 Ford Bronco “That dirty old truck” — documented by Steve83.
24 photos