Home/
Registry/
Ford/
Bronco/
1980–1986/
“That dirty old truck”/
Power Steering Pump
supermotors.net/registry/2742/77493
Album section
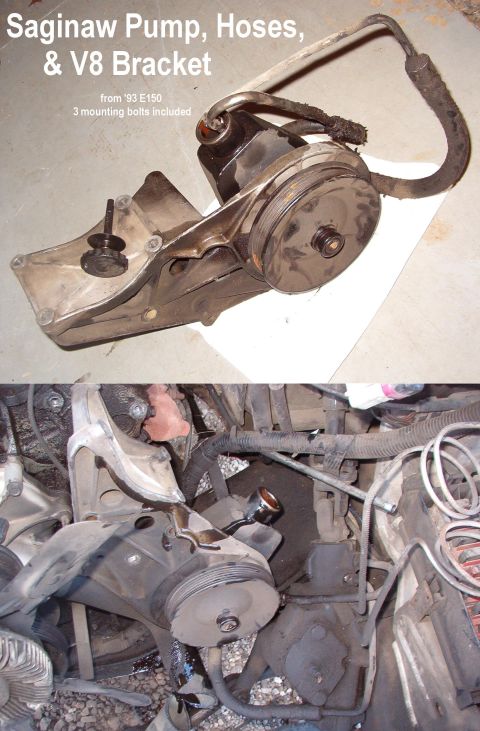
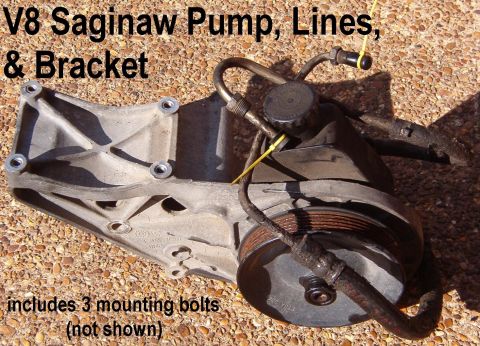
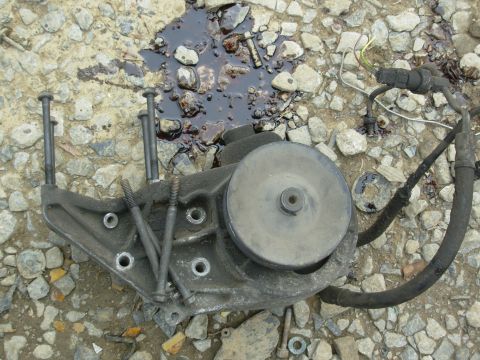
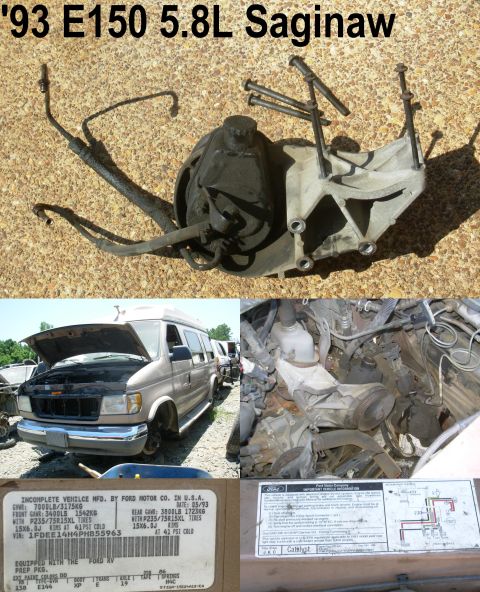
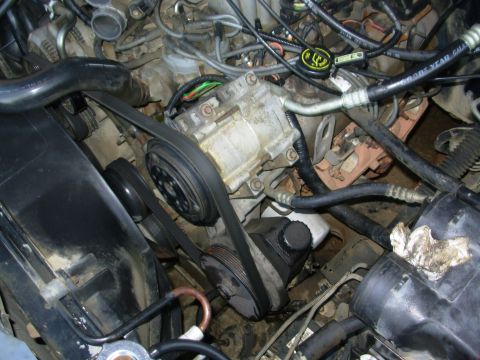
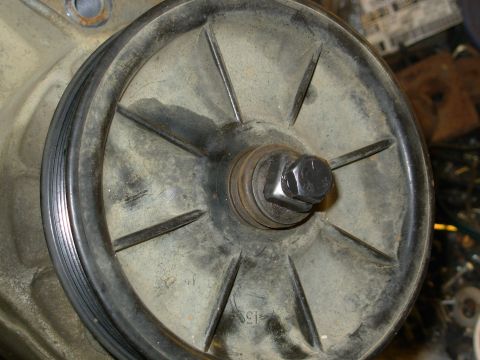
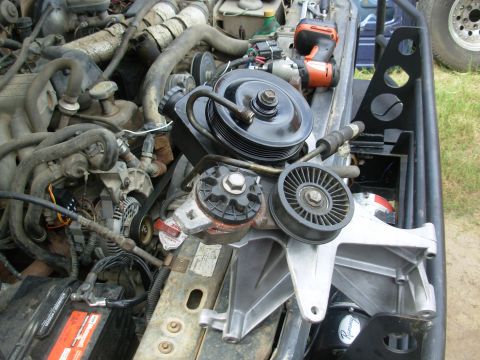
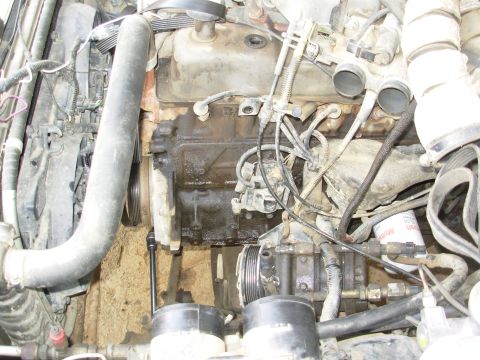
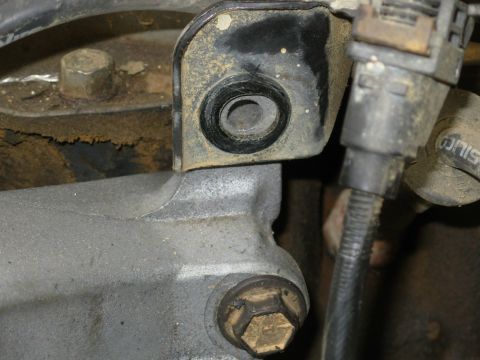
Power Steering Pump
From 1983 Ford Bronco “That dirty old truck” — documented by Steve83.
34 photos
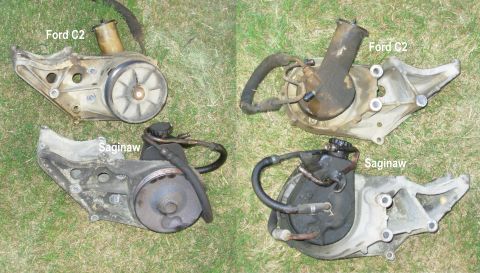
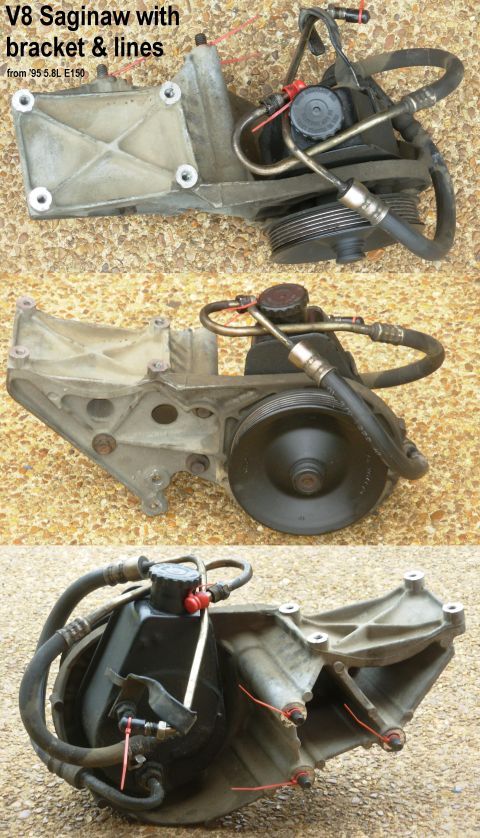
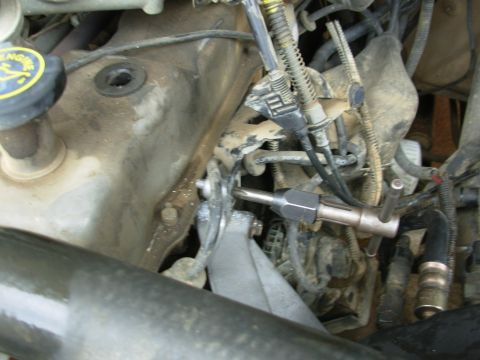
![1983 Ford Bronco - Saginaw Swap Parts V8 pressure hose Gates 359470 or ACDelco 36-359470 I6 pressure hose [url=https://www.amazon.com//dp/B000C2SEKY]Gates 358…](https://www.supermotors.net/thumb/1152795-480.jpg)
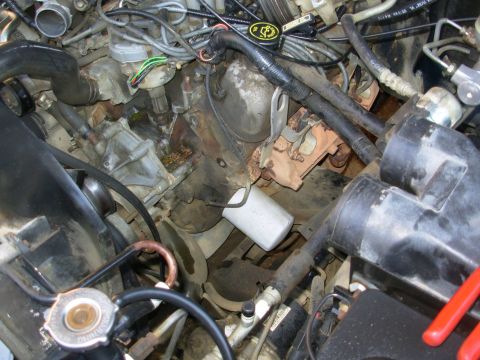

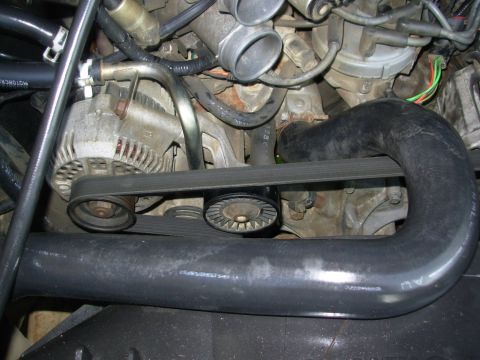

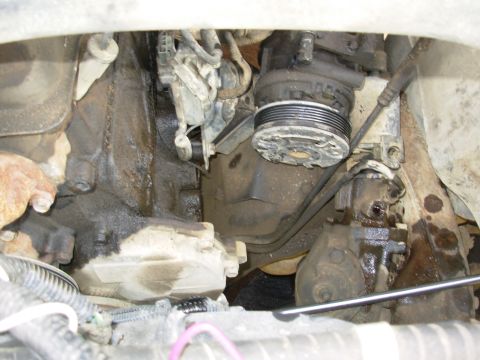
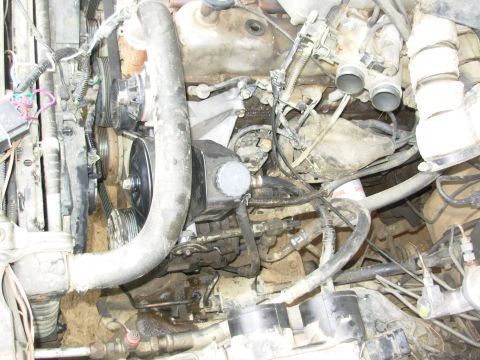
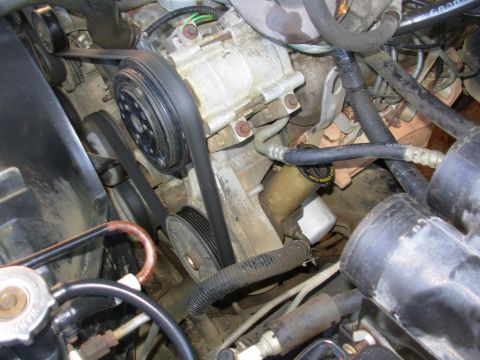
![1983 Ford Bronco - Silent, strong, and a perfect fit. [url=http://www.supermotors.net/registry/media/513526] http://www.supermotors.net/getfile/513526/thumbna…](https://www.supermotors.net/thumb/883059-480.jpg)