Home/
Registry/
Ford/
Mustang II/
1974-1978/
“Cobra II”/
Photo
supermotors.net/registry/media/291317
Mustang II spring pad placement and welding steps on a replaceme…
Reference · 1974-1978 Mustang IIAll 4 service procedures
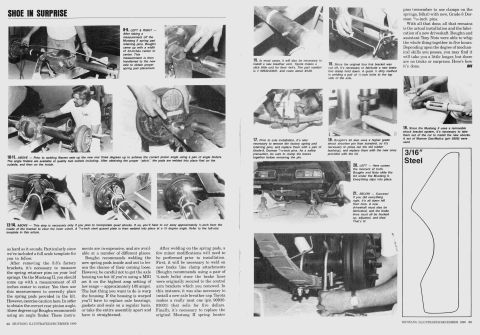
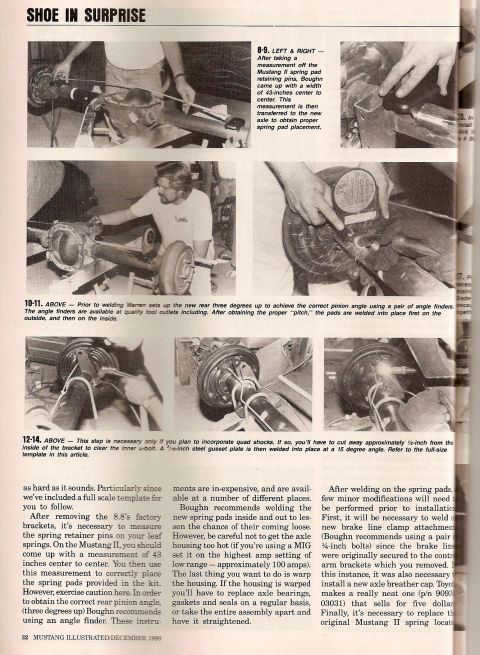
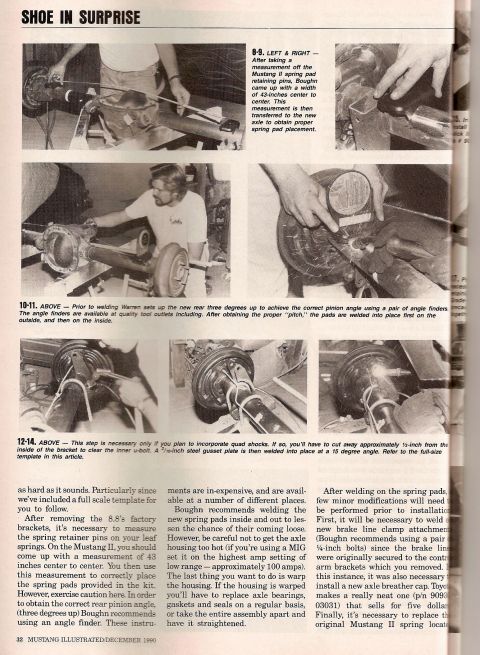
Mustang Illustrated, December 1990: measuring the 43-inch spring pad spacing, setting pinion angle and welding pads onto an 8.8 rear axle.
Part of 1974-1978 Ford Mustang II Service Procedures
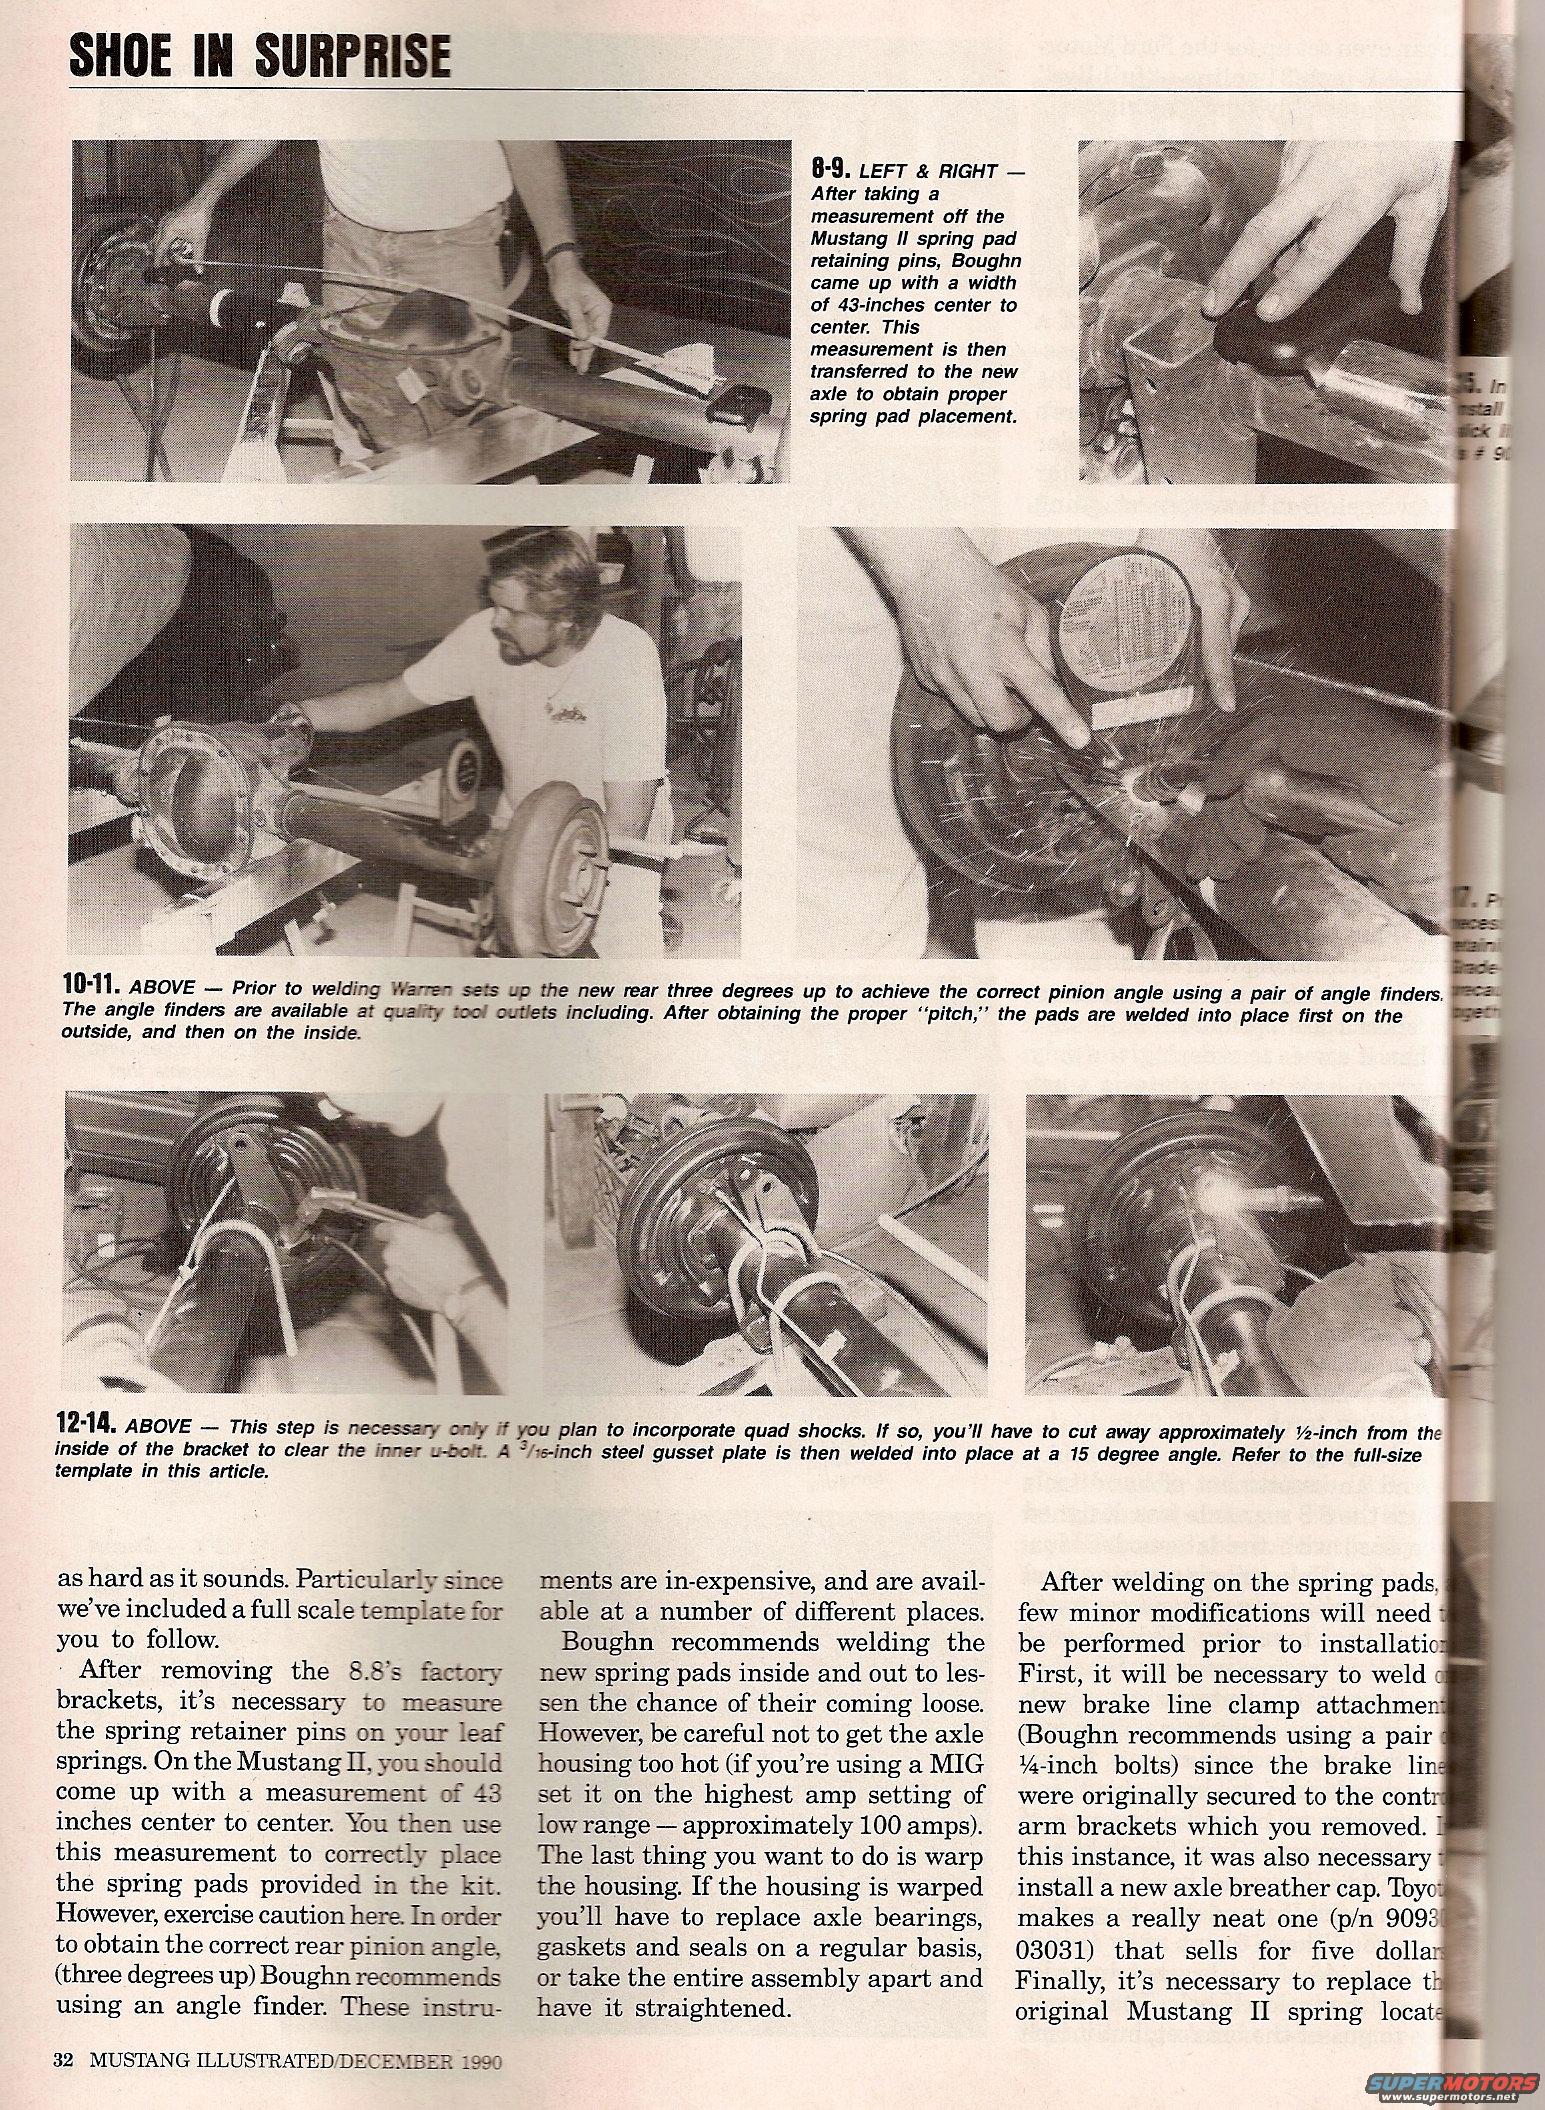
SHOE Ill SURPRISE 5-9. LEFr t. RIGHT . After taking a measurement of! the Mustang II spring pad retaining pins, Boughn came up with a width of 43-inches center to center. This measurement is then transferred to the new axle to obtain proper spring pad placement. 10'". ABOVE Prior to welding Wan-en ses up the new rear three degrees up to achieve the correct pinion angle using a pair of angle finders, - The angle nders are available at quality tool oues including. Alter obtaining the proper "pitch, the pads are welded into place first on the outside, and then on the inside. Assn . 1244. ABOVE This step is necessary only if you plan to incorporate quad shacks If so, youll have to cut away approximately Var-inch from the inside at the bracket to clear the inner u-boh. A 3/1svinch steel gusset plate is then welded into place at a 15 degree angle. Heler to the lull-size template in this article. as hard as it sounds. Particularly since weve included a full scale template for you to follow. After removing the 8.85 factory brackets, its necessary to measure the spring retainer pins on your leaf springs. On the Mustang 11, you should come up with a measurement of 43 inches center to center. You then use this measurement to correctly place the spring pads provided in the kit. However, exercise caution here. In order to obtain the correct rear pinion angle, (three degrees up) Boughn recommends using an angle nder. These instru- 32 MUSTANG ILLUSTRATEDDECEBBER 1990 ments are iii-expensive, and are avail- able at a number of different places. Boughn recommends welding the new spring pads inside and out to les- sen the chance of their coming loose. However, be careful not to get the axle housing too hot (if youre using a MIG set it on the highest amp setting of low range approximately 100 amps). The last thing you want to do is warp the housing. If the housing is warped youll have to replace axle bearings, gaskets and seals on a regular basis, or take the entire assembly apart and have it straightened. After welding on the spring pads. few minor modications will need be performed prior to installatic First, it will be necessary to weld , new brake line clamp attachmer. (Boughn recommends using a pair 14-inch bolts) since the brake lin were originally secured to the contr arm brackets which you removed. this instance, it was also necessary install a new axle breather cap. Toyo makes a really neat one (p/n 9093? 03031) that sells for ve dolla: Finally, its necessary to replace t'. original Mustang II spring locat
Is this accurate? Sign in to help verify it.




No comments yet.