The story
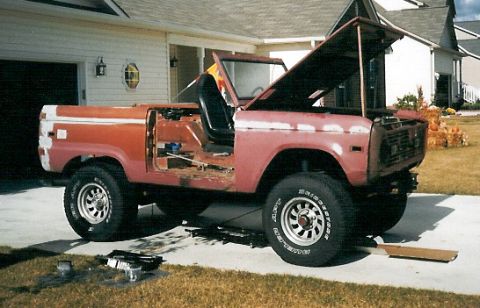
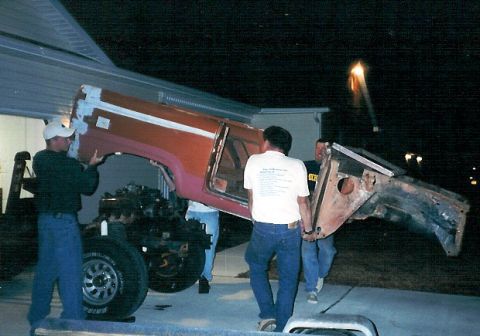
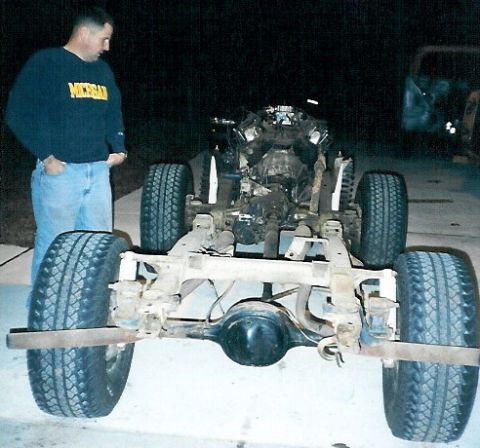
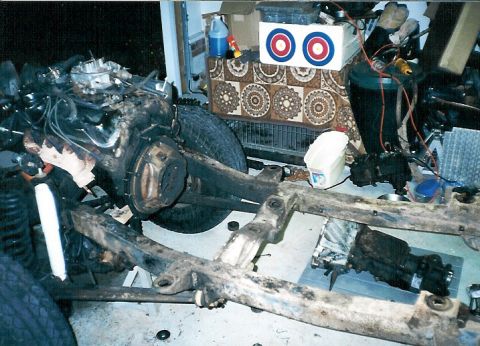
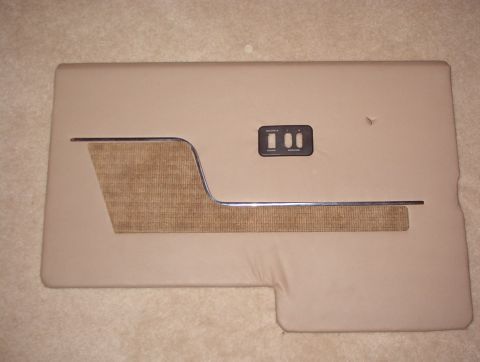
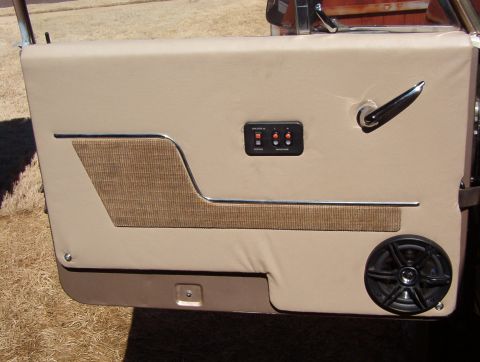
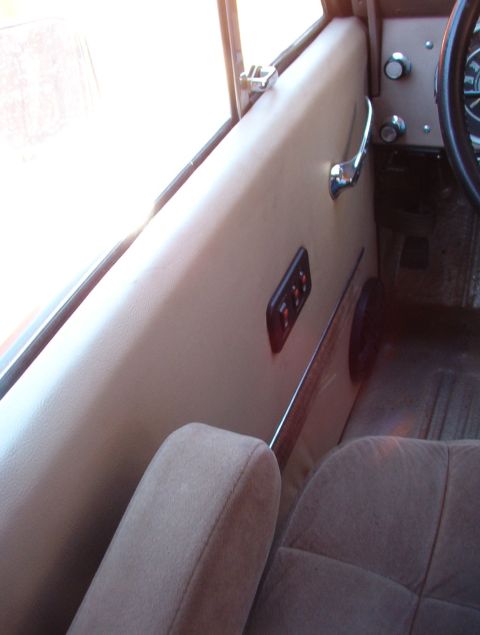
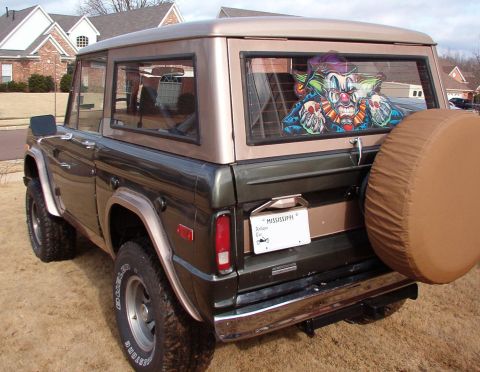
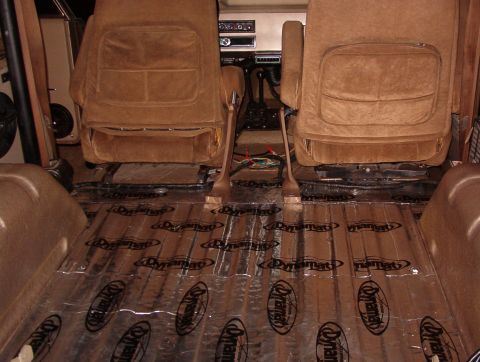
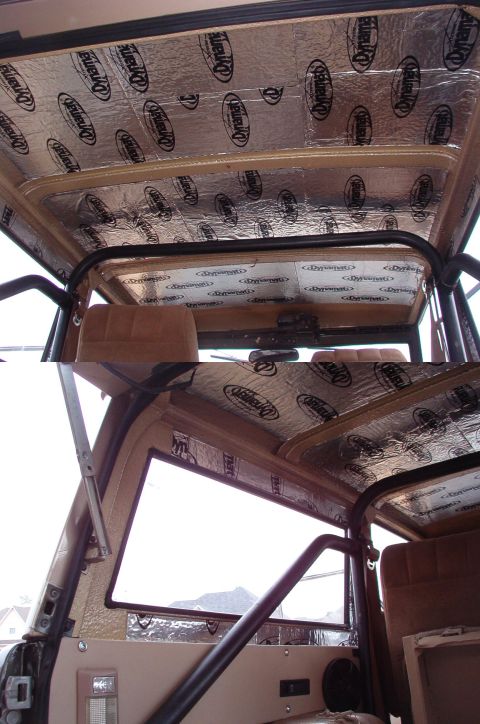
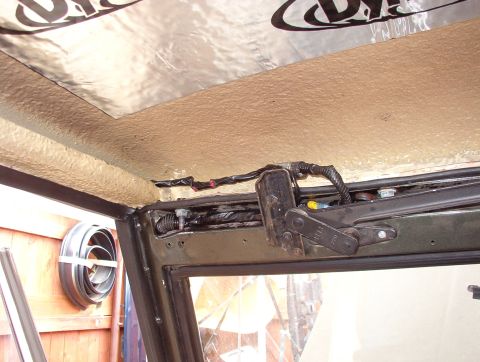
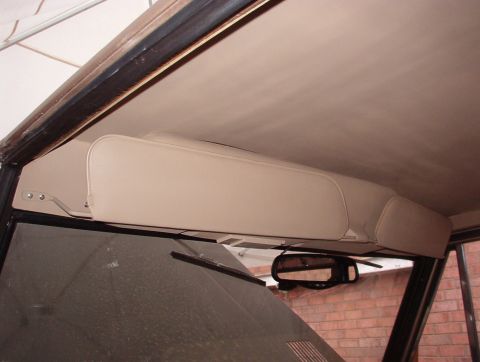
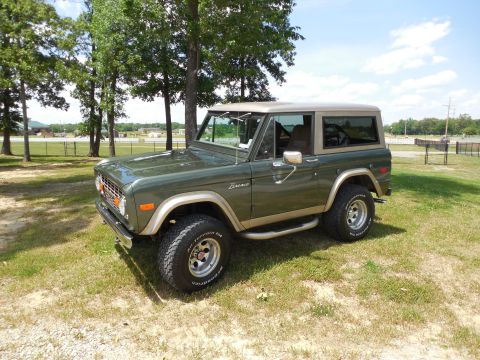
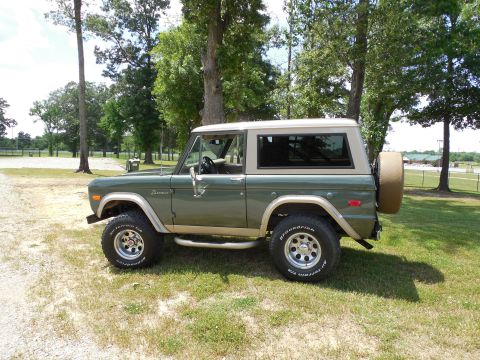
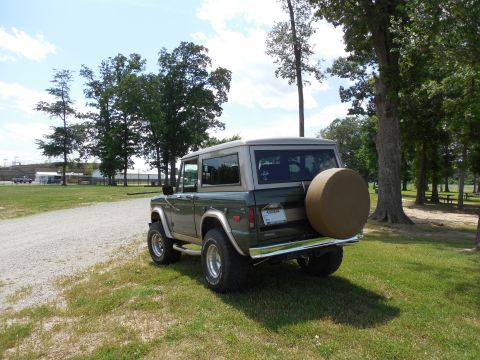
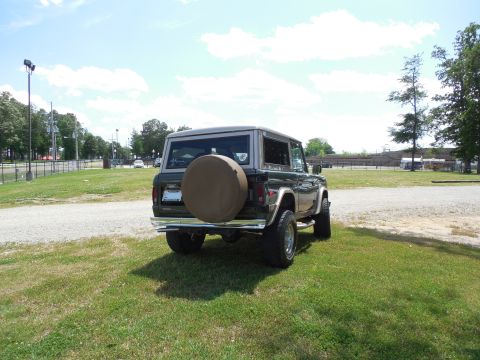
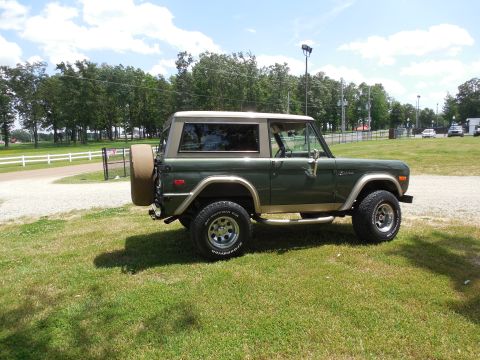
Bought ragged, and rebuilt from the frame up beginning in October '99. The whole wiring harness is from the '88 F-150, so it has cruise, PW/PL/RKE, rear defrost, the '88 in-tank & frame rail fuel pumps, dual dome lamps, & interval wipers. It also uses the '88 tilt column, '86 EB Bronco seats on custom bases, & '86 tan shoulder belts. The whole inside was Rhino-lined in Harvest Gold, the same as the 2000 EB Expedition tan on the outside of the camper, the rocker panels, and the fender flares. The rest of the body is 2000 EB Ex Estate Green, except the tan sections of the grille & t/g. The frame is Herculined. All the weatherstrips were replaced with new, and late-model breakaway bubble-back mirrors were added. It also has an auto-dimming compass thermometer rear-view mirror, rechargeable MagLite, fold/tumble rear seat, underhood reel light, backup camera, DynaMat Xtreme covering all the Rhino inside, carpet, headliner, custom door& bedwall panels... This was Frank's only vehicle for over a decade, so he commuted, carpooled, hunted & trained dogs, traveled, & towed his boat with it.
.
The truck was sold to a man in N. MS in Sep. 2014. It has since been sold a few more times. — Steve83
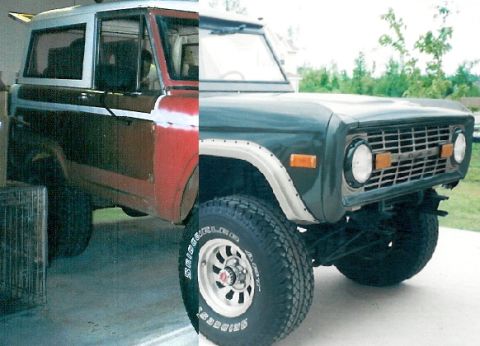
Day one vs. today
Drag to compare 2003 against 2014.
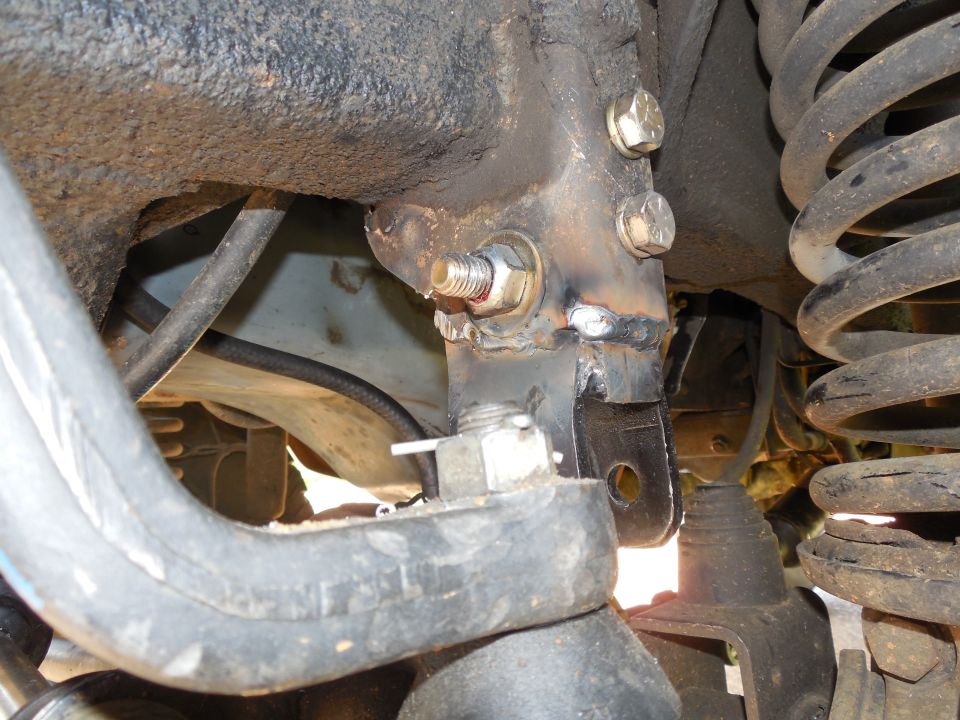

Photo history
673 photos across 10 years — drag the dot to travel through this vehicle’s life. Captions are the owner’s; where there isn’t one, the AI caption fills in.
2003
66 photos added — showing 8
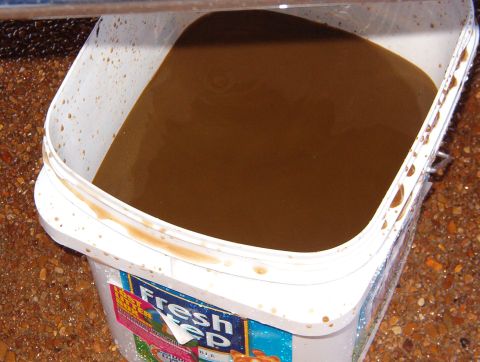
![1975 Ford Bronco - I think we used 1 1/2 gallons to get 2 thorough coats on it. [url=https://www.supermotors.net/registry/media/70476] https://www.supermotors…](https://www.supermotors.net/thumb/70477-480.jpg)
2006
27 photos added — showing 8

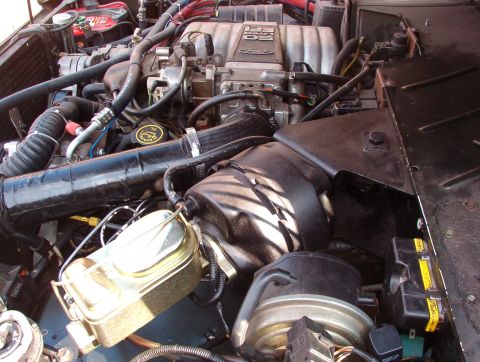
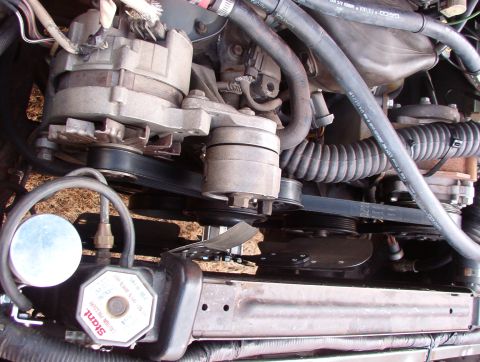
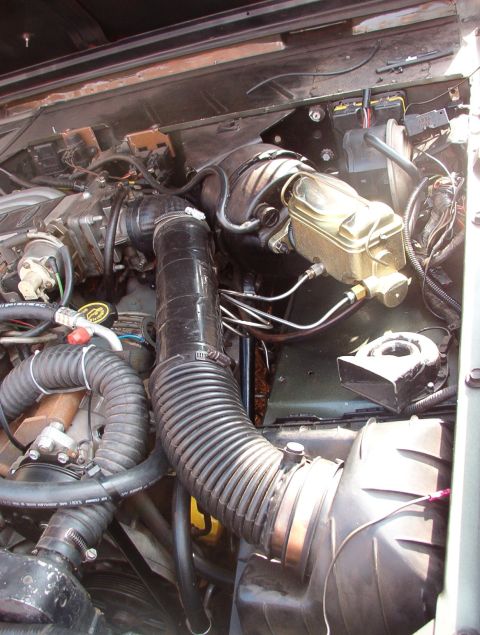
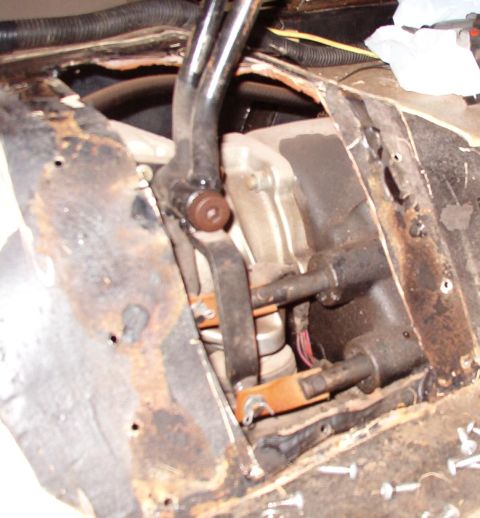
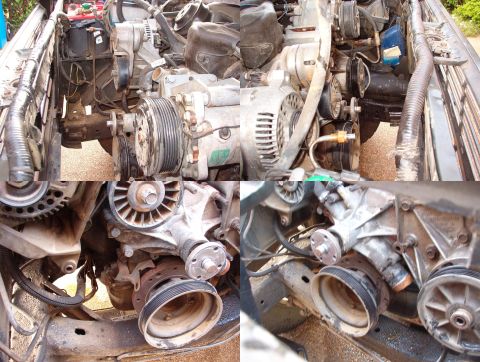
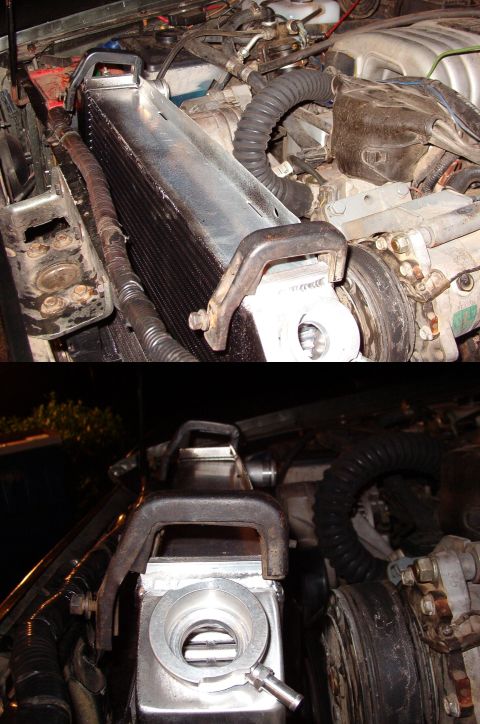
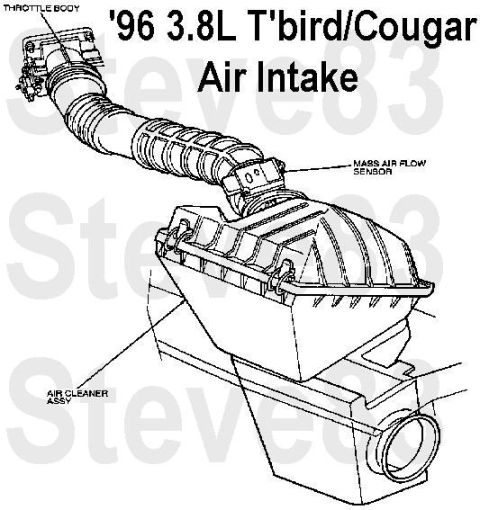
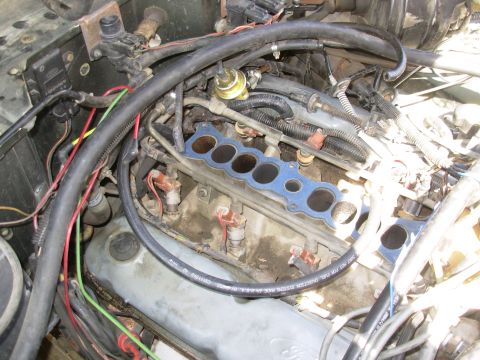
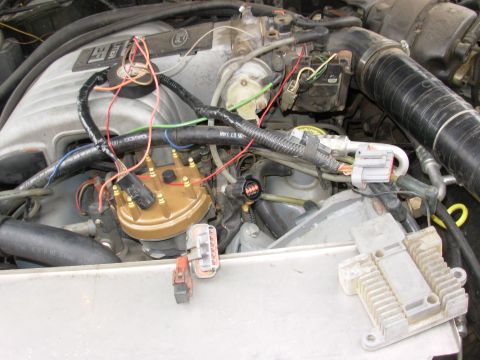
![1975 Ford Bronco - Another angle on the power brake/air intake interference. [url=http://www.supermotors.net/vehicles/registry/media/815994] http://www.superm…](https://www.supermotors.net/thumb/469336-480.jpg)
2007
85 photos added — showing 8
2008
103 photos added — showing 8

2009
119 photos added — showing 8
2010
54 photos added — showing 8

![1975 Ford Bronco - The hood got the same treatement as the liftgate. [url=http://www.supermotors.net/registry/media/768115] http://www.supermotors.net/getfile…](https://www.supermotors.net/thumb/820696-480.jpg)
2011
54 photos added — showing 8
![1975 Ford Bronco - Just messing around... If you want to try, read this caption: [url=http://www.supermotors.net/registry/media/849732_1] http://www.supermoto…](https://www.supermotors.net/thumb/844339-480.jpg)
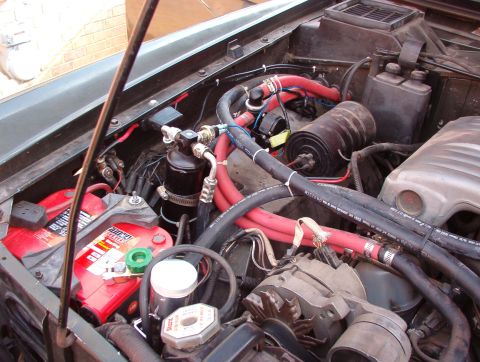
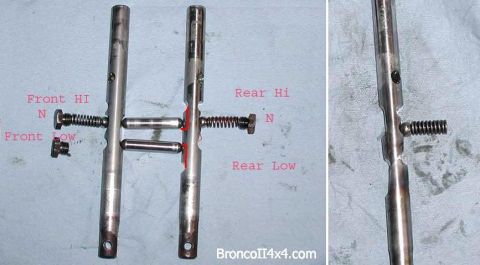
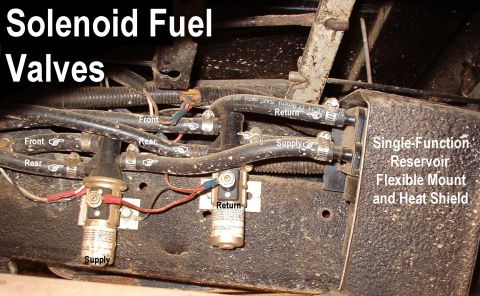
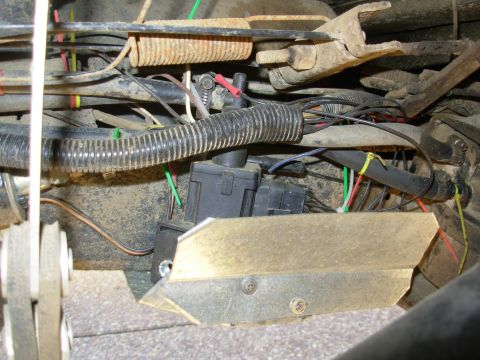
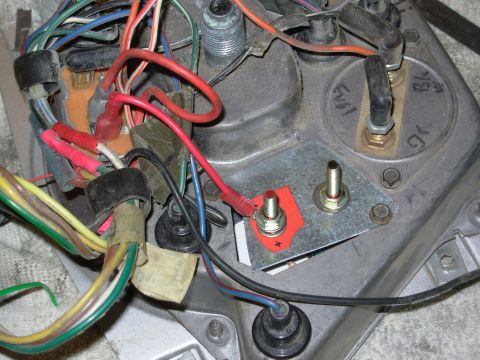
![1975 Ford Bronco - Fuel switching valves, version 2 [url=https://www.supermotors.net/registry/media/727253] https://www.supermotors.net/getfile/727253/thumbna…](https://www.supermotors.net/thumb/858333-480.jpg)
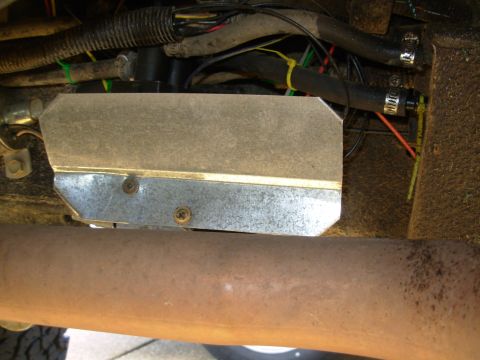
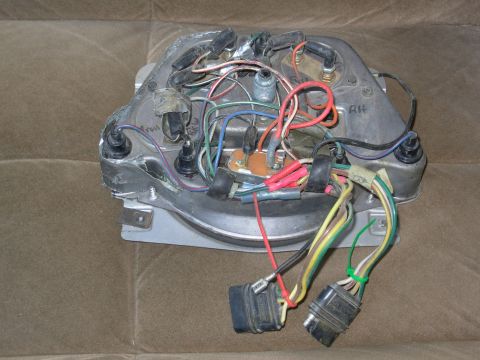
![1975 Ford Bronco - The wiring isn't neat, but it works & it's hidden! [url=http://www.supermotors.net/registry/media/870469] http://www.supermotors.net/getfil…](https://www.supermotors.net/thumb/858412-480.jpg)
2012
13 photos added — showing 8
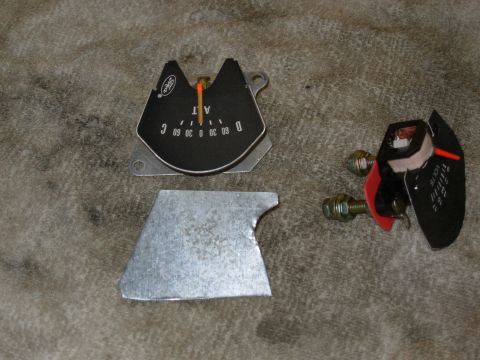
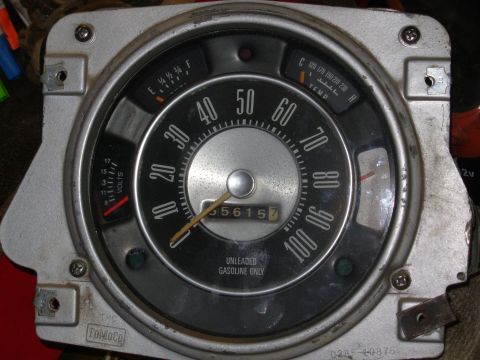
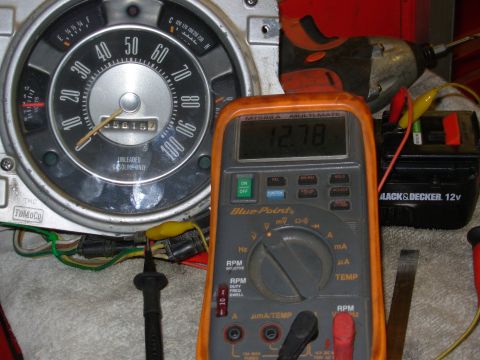
![1975 Ford Bronco - This is the last time it'll have that useless ALT gauge... See also: [url=http://www.supermotors.net/registry/media/843356] http://www.supe…](https://www.supermotors.net/thumb/910353-480.jpg)
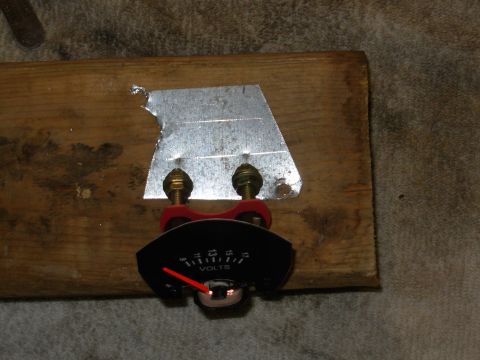
![1975 Ford Bronco - The paper face is slightly too large, but it's easy to trim. See also: [url=http://www.supermotors.net/registry/media/843356] http://www.su…](https://www.supermotors.net/thumb/910355-480.jpg)
2013
1 photo added
2014
135 photos added — showing 8
The peanut gallery
Spotted in the wild
Seen this vehicle at a show or on the trail? Add your shot — the owner approves it onto the record.
No comments yet — be the first to add to the record.