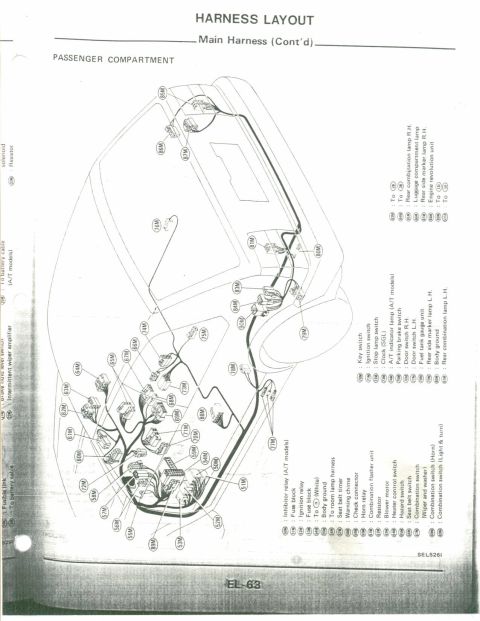
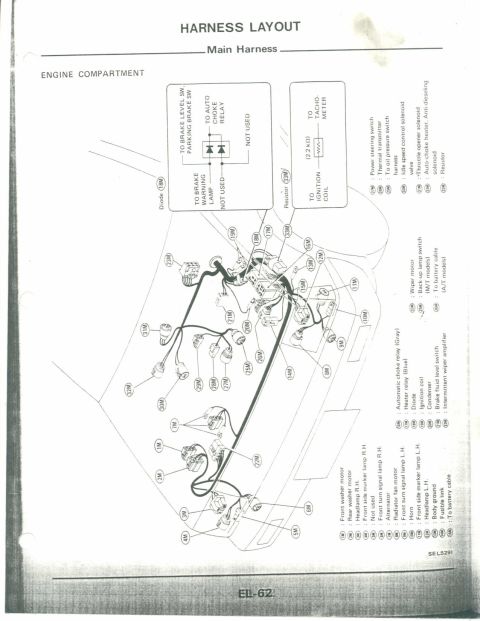
This document details control cable adjustment procedures with accompanying diagrams.
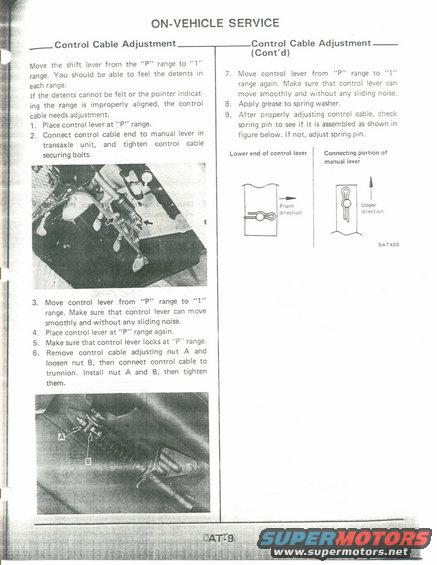
. t. a. we a __ ON-VEHICLE SERVICE _ Control Cable Adjustment Move the shift lever from the "P" range to l" range. You should be able to feel the detents in each range. If the detents cannot be felt or the pointer indicat ing the range is improperly aligned, the control cable needs adjustment, 1. Place control lever at "P" range. 2. Connect control cable end to manual lever in transaxle unit, and tighten control cable securing bolts. 3. Move control lever from P" range to 1" range. Make sure that control lever can move smoothly and without any sliding noise. 4, Place control lever at "P range again, Make sure that control lever locks at P range. 6. Remove control cable adjusting nut A and loosen nut B, then connect control cable to trunnion, Install nut A and B, then tighten them. 9 Lower end of control lever Control Cable Adjustment (Cont'd) Move control lever from "P" range to "l" range again. Make sure that control lever can move smoothly and without any sliding noise, Apply grease to spring washer. After properly adjusting control cable, check spring pin to see if it is assembled as shown in figure below. If not, adjust spring pin. Connecting pamun of manual lever " r-'1 A i UDDer macnon SATASO
Comments
More from this build

No comments yet.