Black plastic transmission or transfer case pan with old sealant…

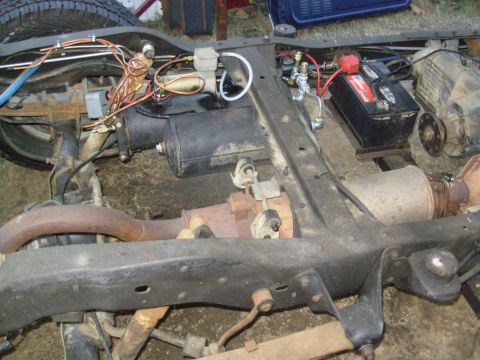
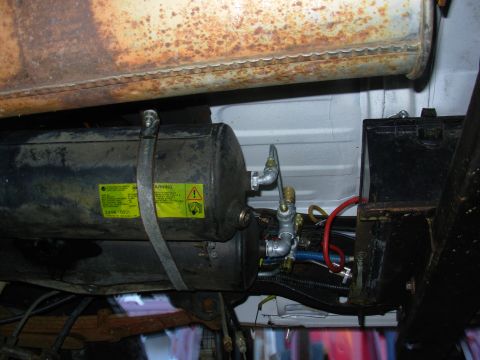
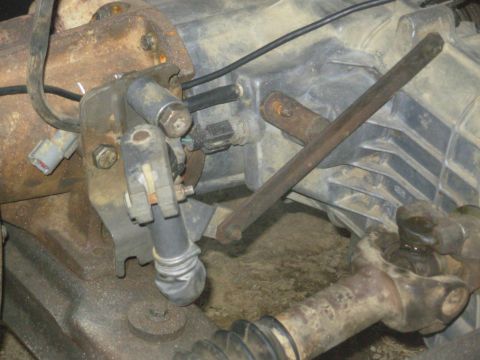
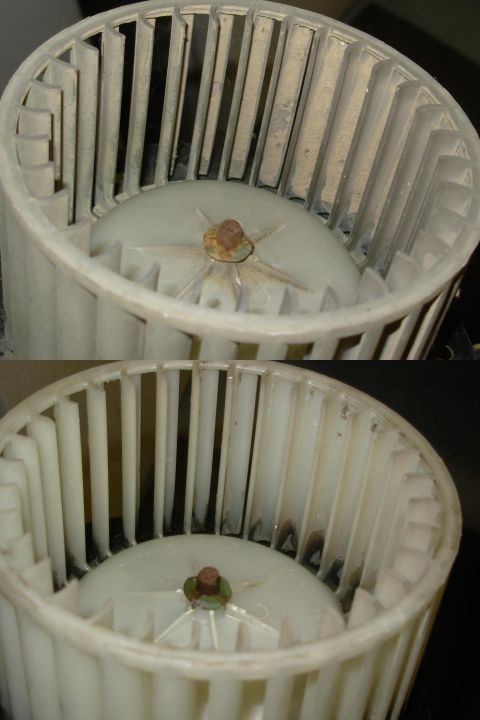
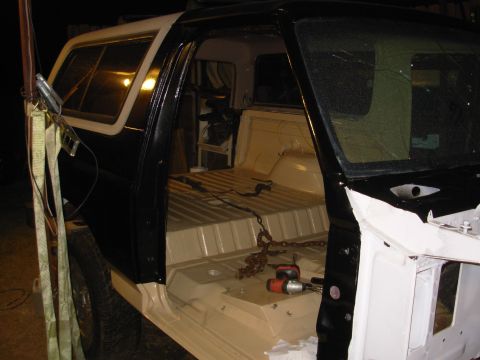
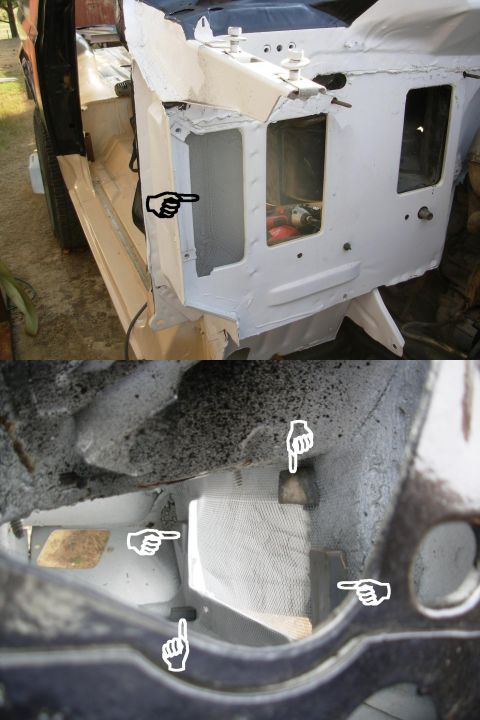
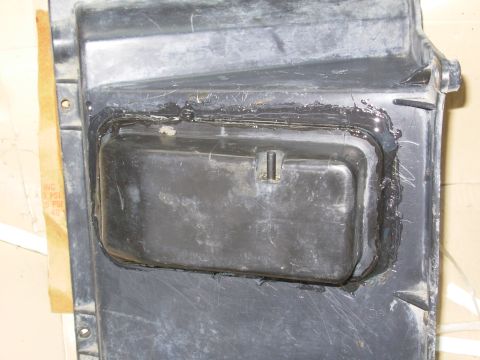
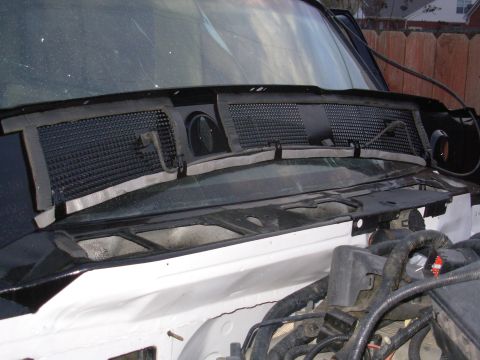
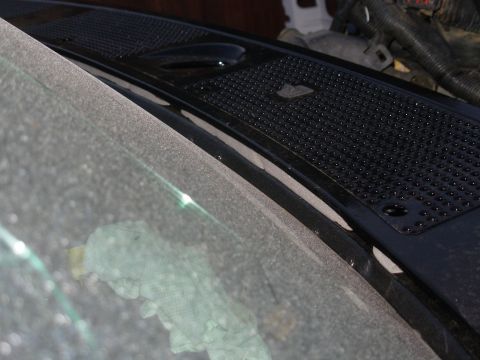
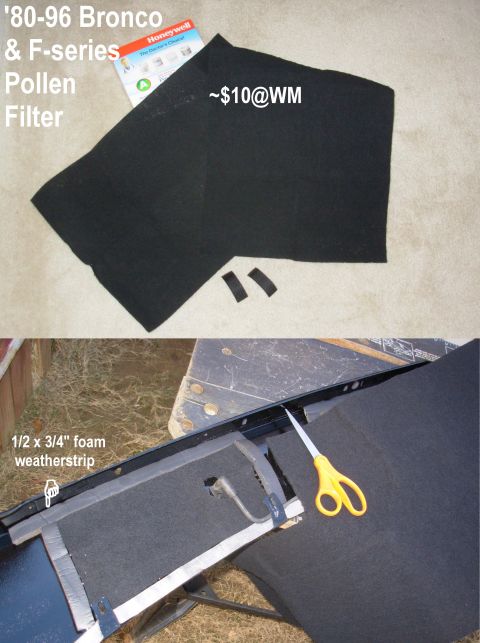
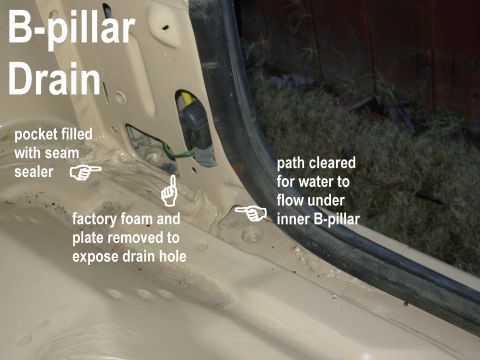
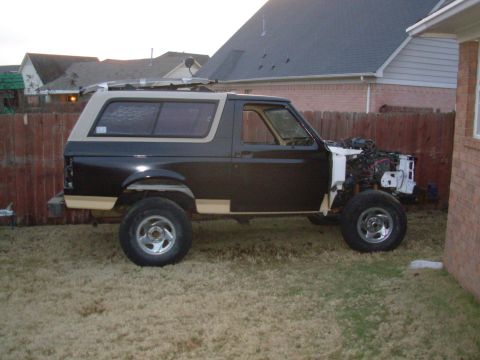
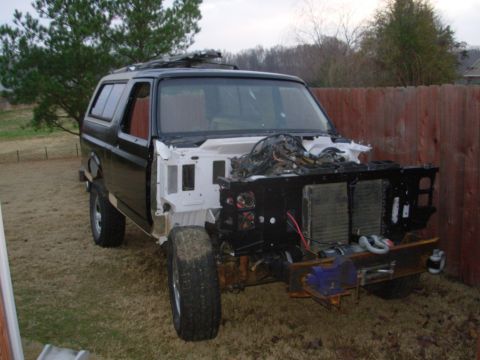
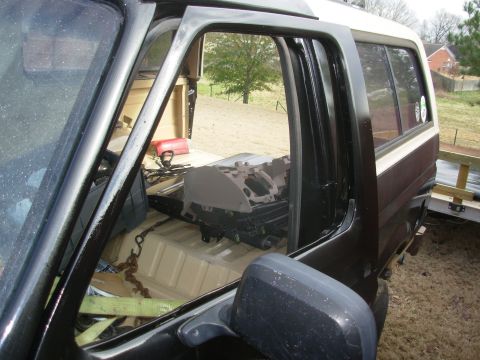
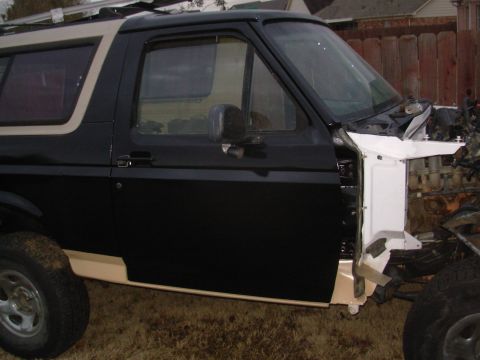
This HVAC vacuum reservoir was siliconed onto the evaporator cover (NOT factory), and leaking. So I removed it, wire-wheeled all the silicone off, and reattached it with E6000.
--------------------------------------------------------------------------------
TSB 93-8-13 Replacement A/C Vacuum Reservoir
Publication Date: APRIL 14, 1993
LIGHT TRUCK: 1992-93 BRONCO, F-150-350 SERIES
ISSUE: The vacuum tank for the heater or heater/air conditioning controls is sonically welded to the side of the heater or evaporator case. If a vacuum leak occurs at the vacuum tank, a different vacuum tank can be used to make the repair without removing the old vacuum tank.
ACTION: Install a new service vacuum tank. Refer to the following procedure for service details.
SERVICE PROCEDURE
1. In the engine compartment, detach the vacuum hose from the sonically welded vacuum tank on the heater or evaporator case.
2. Attach the replacement vacuum tank (F3TZ-19D848-A) in a conveniently located spot that can be reached by the vacuum hose. Several areas are available:
a. On the old sonically welded tank, drill an appropriate size hole in the old vacuum tank and use a self-tapping screw to attach the new replacement vacuum tank. The replacement vacuum tank (F3TZ-19D848-A) has slots which will accept the screws.
b. Attach the replacement vacuum tank and put on the vacuum hose.
3. If the old tank mount location is not suitable, locate an existing screw on the blower case and put the replacement vacuum tank (F3TZ-19D484-A) with its slotted bracket in a position over the screw.
a. Make sure of the following points:
* There is room for the tank.
* The vacuum hose will reach it.
* The replacement tank can be attached with that screw.
b. If necessary, rework the slot on the replacement vacuum tank so the screw will fit through it.
c. Attach the replacement vacuum tank and put on the vacuum hose.
4. Verify that the system operates properly.
PART NUMBER PART NAME
F3TZ-19D848-A Vacuum Tank
OTHER APPLICABLE ARTICLES: NONE
WARRANTY STATUS: Eligible Under Bumper To Bumper Warranty Coverage
OPERATION DESCRIPTION TIME
930813A Install Replacement Vacuum Tank 0.3 Hr.
Is this accurate? Sign in to help verify it.


No comments yet.