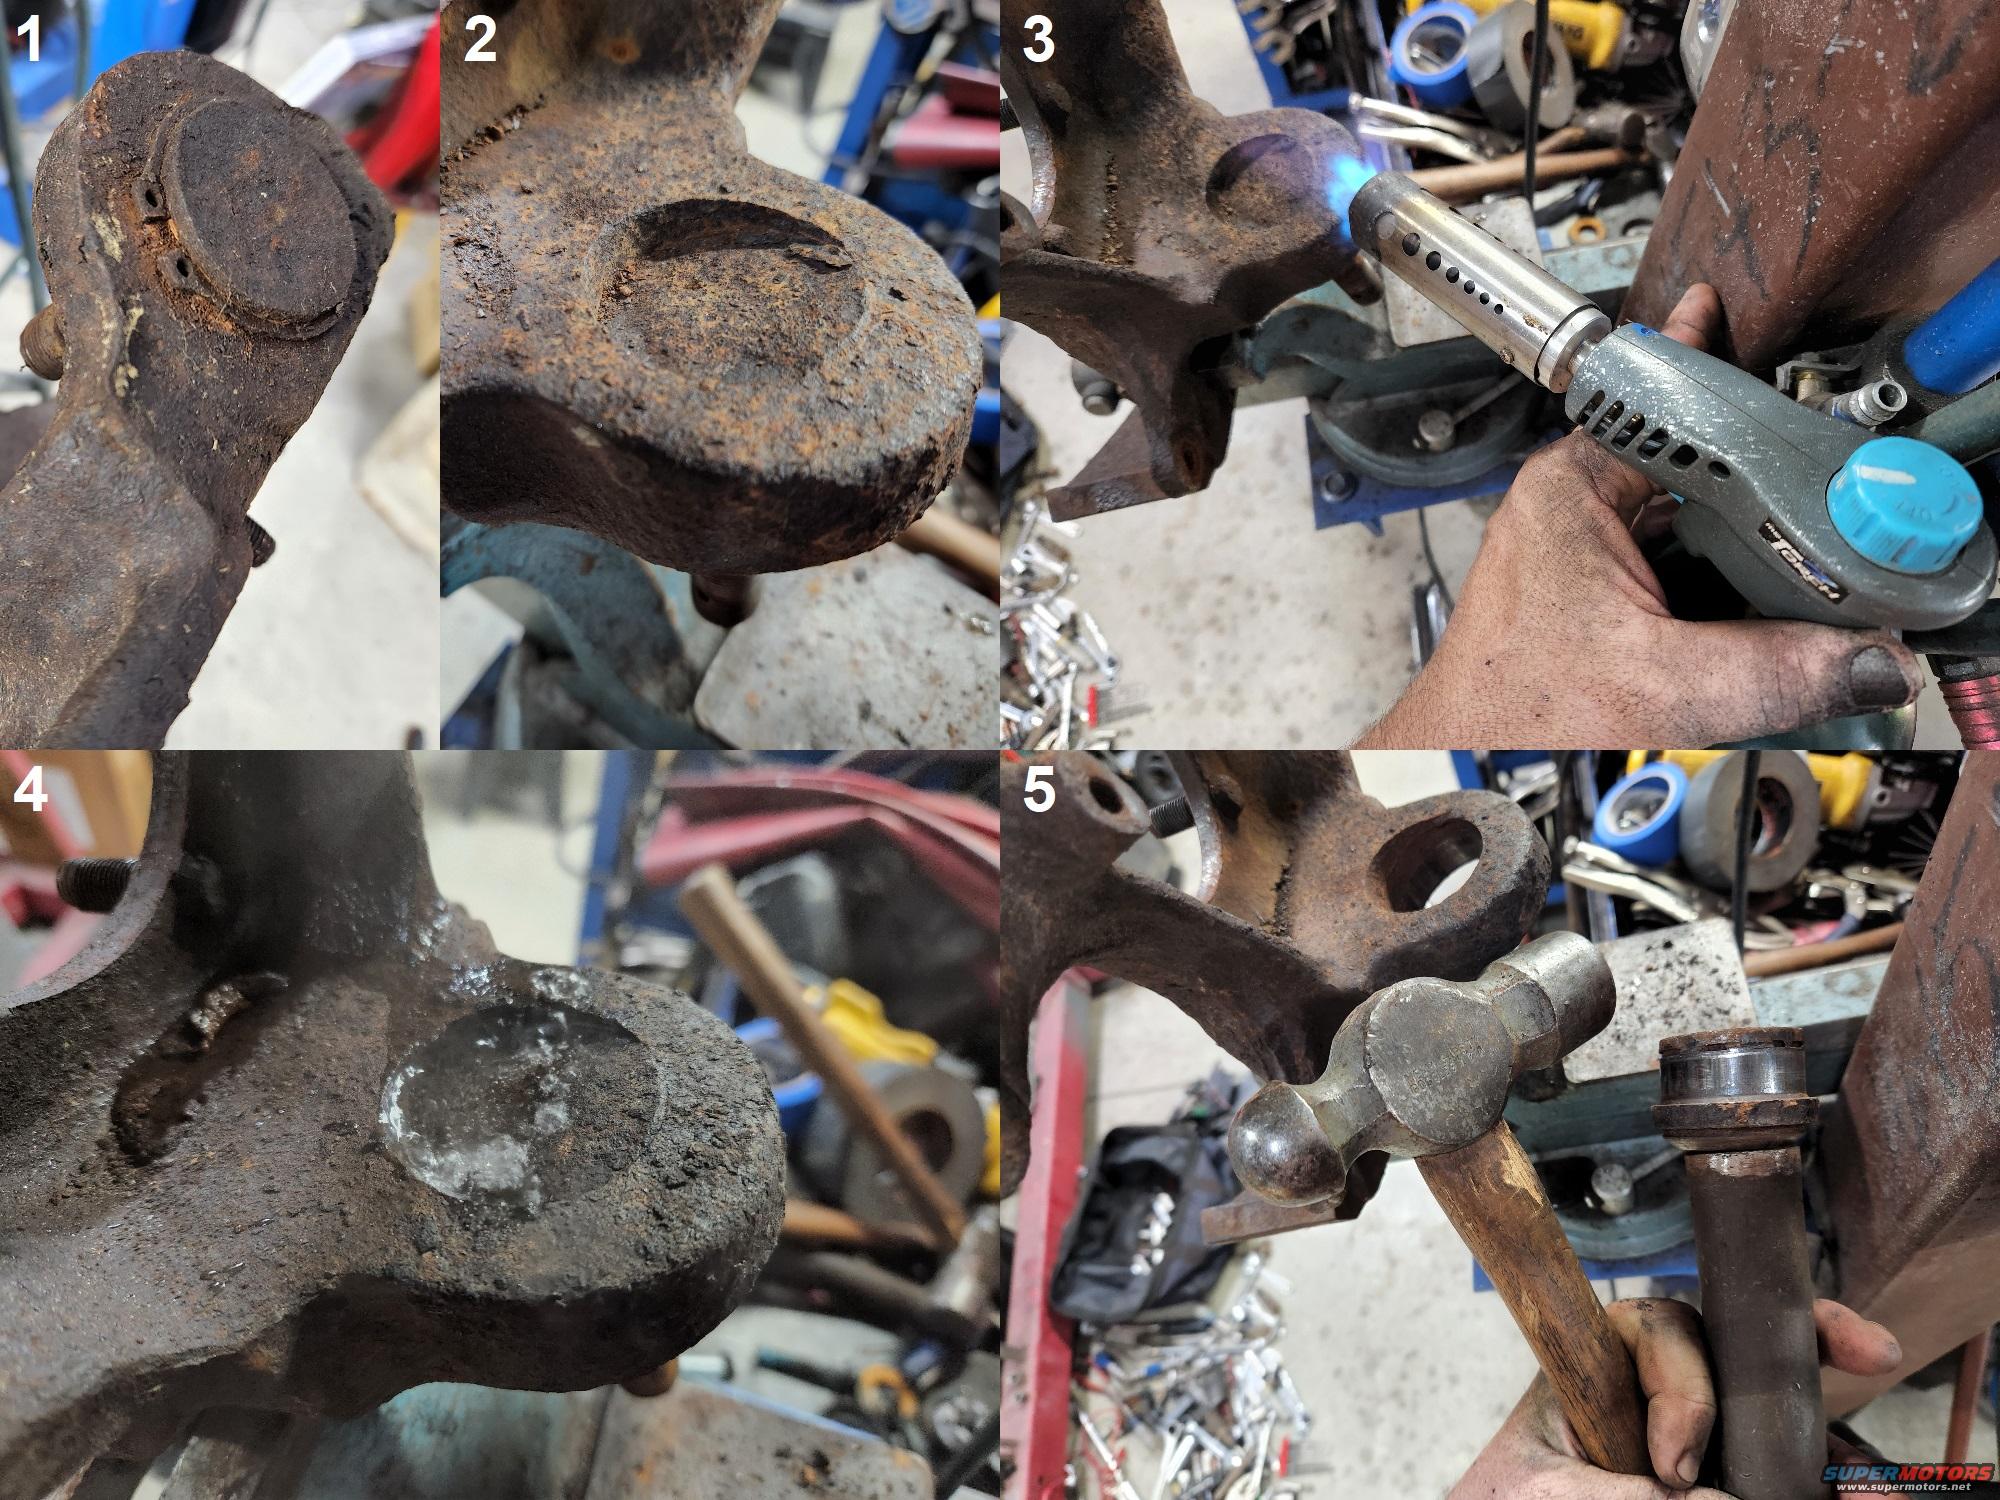
Collage of five images showing a rusty car part being heated wit…
Front Diff & Ball JointsView all 44
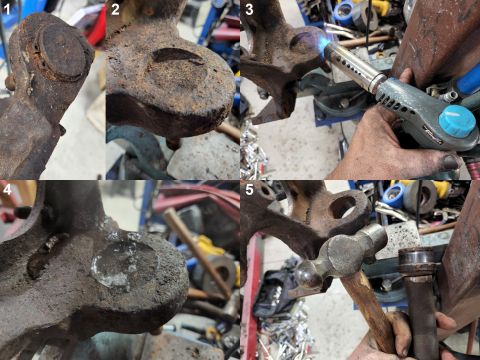
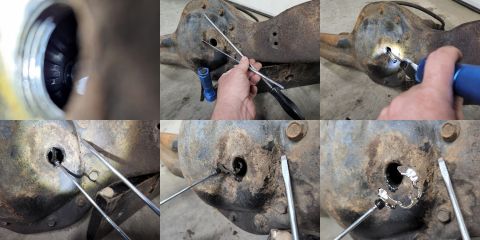
Ball Joint Removal with a torch
IF THE IMAGE IS TOO SMALL, click it.
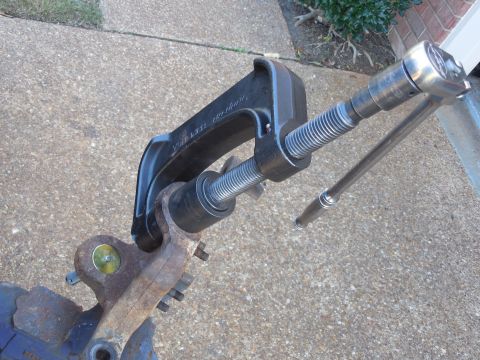
Ball joint presses are cumbersome, weak, and very slow, requiring a lot of physical effort especially if the ball joint doesn't come out. This is actually easier both on the mechanic and the ball joints; and it's quicker & cheaper than a press. It only requires a strong vise solidly-mounted. Mine is on a plate with two 2-inch square tubes at right angles (allowing the vise to be rotated to any position), which is then slid into a receiver welded to a column in my shop. So it's very solid.
1) This process applies equally to the lower ball joint, but the rest of the pics only show the upper. When working on the lower, aim the torch so as little of the flame as possible hits the ball joint body. This process works on the temperature DIFFERENCE between the knuckle (casting) and the ball joint cup. So heat the knuckle as fast as possible, and keep the joint as cool as possible.
2) The upper joint has no snap ring, and it's slightly recessed in the casting, making it easier to heat the casting without the flame hitting the joint.
3) A common propane torch is hot enough, but it takes a large flame to get a casting this large hot quickly. This torch head produces 3 flames, and they're aimed to put them against the casting for most of their length. The thinnest part of the casting is being heated, for the longest distance around the joint, to maximize the amount of swelling (loosening) of the casting.
4) To increase the difference in the temperature between the cup & casting, some cool water is poured into the shallow recess on top of the upper cup. When most of it has boiled away, a pipe drift is dropped through the lower joint's bore (the lower joint was removed first) and struck sharply with a heavy hammer.
5) It took about 4 strikes to get the joint out, but it's too hot to handle, which is why I'm using the pipe drift to pick it up.
Putting the new joints in is the same process, but the knuckle can be heated more because the joints aren't there. And the joints can be chilled (or frozen overnight) to increase the temperature difference, which equates to ease of knocking them in.
Is this accurate? Sign in to help verify it.
No comments yet.