Home/
Registry/
Ford/
Bronco/
1978-1979/
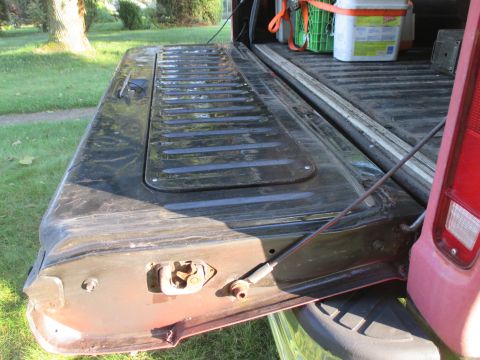
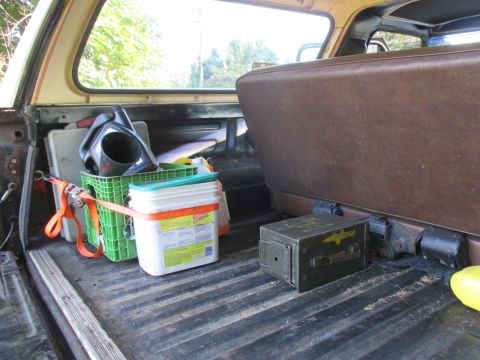
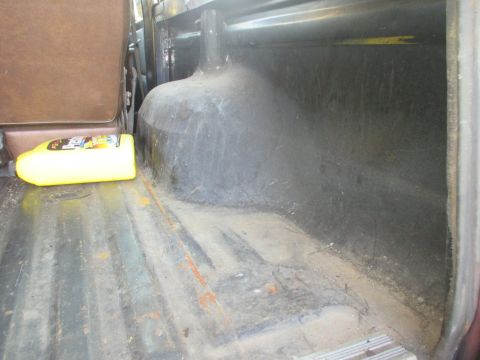
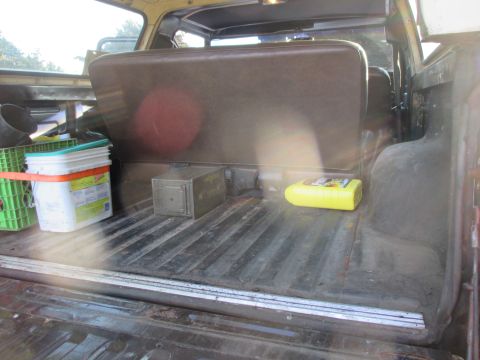
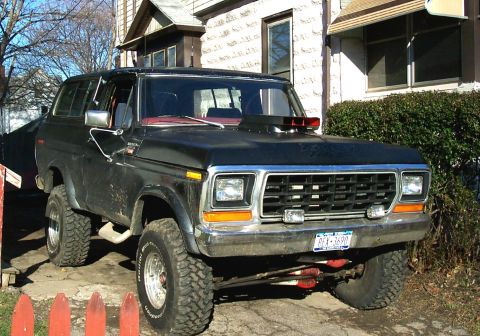
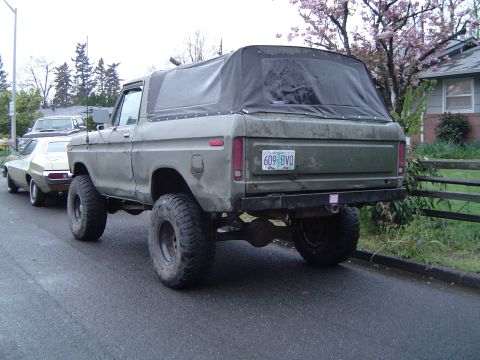
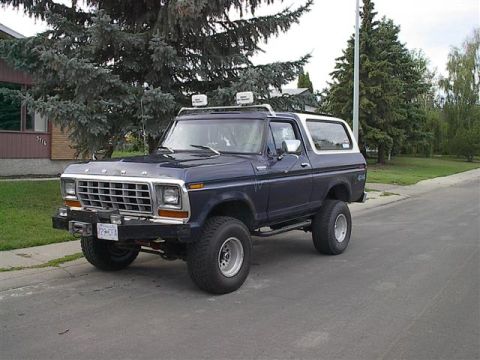
1979 Ford Bronco/
Photo
supermotors.net/registry/media/859889
1978 Ford Truck Dana 44-9F Front Axle Ball Joint Installation - Shop Manual

1973 Ford Truck Shop Manual page 15-30-5 covering Dana 44-9F front driving axle knuckle removal and bottom-socket installation using spanner wrench T71T-3010-G.
This is a screenshot of page 15-30-5 from the 1978 Ford Truck Shop Manual, Volume One (Chassis), covering the Front Driving Axle - 44-9F Dana. The page details removal and installation of the knuckle ball joints (sockets). Removal steps include discarding the adjusting sleeve using spanner wrench T71T-3010-G and removing the top socket from the knuckle if it did not remain in the yoke. The Installation section provides step-by-step instructions: placing the knuckle in a vise, installing the bottom socket with a driver and forcing screw, verifying the socket shoulder is fully seated using a 0.0015 inch feeler gauge (the gauge must not enter at minimum contact area), installing the snap ring, installing the top socket with puller tool assembly (tools T71T-3010-N, T71T-3010-P, T71T-3010-J), installing a new adjusting sleeve with approximately two threads exposed, assembling the knuckle to the yoke with a new bottom socket nut tightened finger loose, and beginning use of a spanner wrench with step plate over the adjusting sleeve. Two figures are shown: Fig. 5 Knuckle Removal (E2717-A) and Fig. 8 Top Socket Installation (E2293-B). The page text is cut off at the bottom mid-step.
Is this accurate? Sign in to help verify it.
Frequently asked questions
- What special tools are needed to install the ball joint sockets on the Dana 44-9F front axle?
- The page calls out spanner wrench T71T-3010-G for the adjusting sleeve, plus tools T71T-3010-N, T71T-3010-P, and T71T-3010-J shown in the Fig. 8 top socket installation puller setup.
- How do I verify the ball joint socket is properly seated in the knuckle?
- Make sure the socket shoulder is seated against the knuckle. Use a 0.0015 inch feeler gauge between the socket and knuckle; the gauge is not to enter at the minimum area of contact. Then install the snap ring (for the bottom socket).
- How far should the new adjusting sleeve be threaded into the yoke?
- Assemble the new adjusting sleeve into the top of the yoke leaving approximately two threads exposed; this protects the threads in the yoke.
- How tight should the new bottom socket nut be when assembling the knuckle to the yoke?
- Tighten the nut finger loose, it serves only as a holding device at this stage.
- Should the old adjusting sleeve be reused?
- No. The manual says to remove the adjusting sleeve and discard it, using spanner wrench T71T-3010-G, and to install a new adjusting sleeve during assembly.
Comments
More from this build
No comments yet.