Home/
Registry/
Ford/
Bronco/
1978-1979/
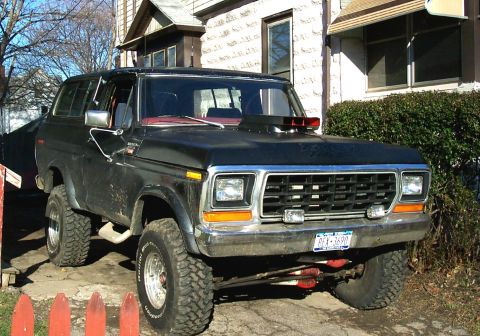
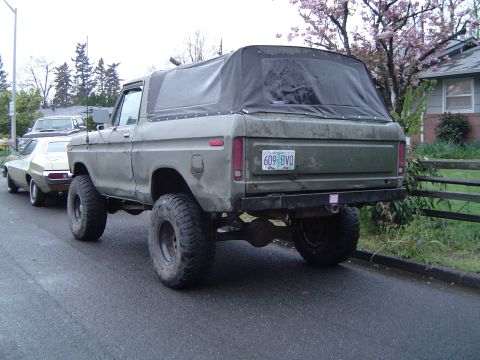
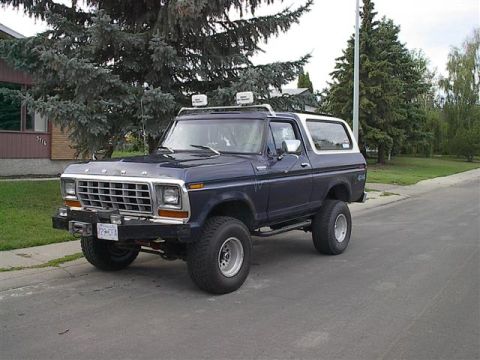
1979 Ford Bronco/
Photo
supermotors.net/registry/media/859890
1978 Ford Truck Ball Joint Installation - Torque Specs & Tools (Shop Manual)

1973 Ford Truck Shop Manual page 15-30-5 detailing Dana 44 front-axle socket removal/installation; tighten bottom socket nut to 70-90 lb-ft and check steering effort.
This is a screenshot of page 15-30-5 (page 593 of 1169) from the 1978 Ford Truck Shop Manual, Volume One Chassis, viewed in Adobe Reader from a Dave Graham Auto Literature, Inc. reproduction (© 2008). The page covers ball joint (socket) removal and installation on the front axle steering knuckle. Two illustrations are shown: Fig. 6 "Socket Removal" and Fig. 7 "Bottom Socket Installation," both depicting special tool T71T-3010-N, with Fig. 7 also showing tool T71T-3010-J. The visible procedure text (steps 7-11) instructs the mechanic to use a spanner wrench and step plate over the adjusting sleeve with a puller to draw the knuckle into the yoke, tighten the bottom socket nut to 70-90 ft-lb, tighten the adjusting sleeve to 40 ft-lb using tool T71T-3010-G, tighten the top socket nut to 100 ft-lb, install a new cotter key, and check knuckle turning effort, spring scale pull must not exceed 26 pounds or the ball joints should be replaced. The steering linkage is then reconnected to the knuckle and tightened to 50-75 ft-lbs. Useful torque specifications and special tool numbers for 1978 Ford truck ball joint service are documented here.
Is this accurate? Sign in to help verify it.
Frequently asked questions
- What is the torque spec for the bottom ball joint socket nut on a 1978 Ford truck?
- Tighten the bottom nut on the socket to 70-90 ft-lb while torque is still applied to the puller forcing screw (per Fig. 9).
- How tight should the adjusting sleeve be torqued during ball joint installation?
- Tighten the adjusting sleeve to 40 ft-lb using tool T71T-3010-G, then remove the spanner wrench.
- What is the torque for the top ball joint socket nut?
- Assemble the top socket nut and tighten it to 100 ft-lb, then line up the cotter key hole with the nut castellation by tightening (do not loosen) and install a new cotter key.
- How do I know if the ball joints need to be replaced after installation?
- Test the knuckle turning effort with a spring scale before connecting the steering linkage. If the pull exceeds 26 pounds, the ball joints should be replaced.
- What special tools are shown for ball joint socket removal and installation?
- Tool T71T-3010-N is shown in both the socket removal (Fig. 6) and bottom socket installation (Fig. 7) illustrations; T71T-3010-J is also used for bottom socket installation, and T71T-3010-G is used to tighten the adjusting sleeve.
Comments
More from this build
No comments yet.