SuperMotors SuperMotors SUPERMOTORS Search: try “orange Bronco on 35s”
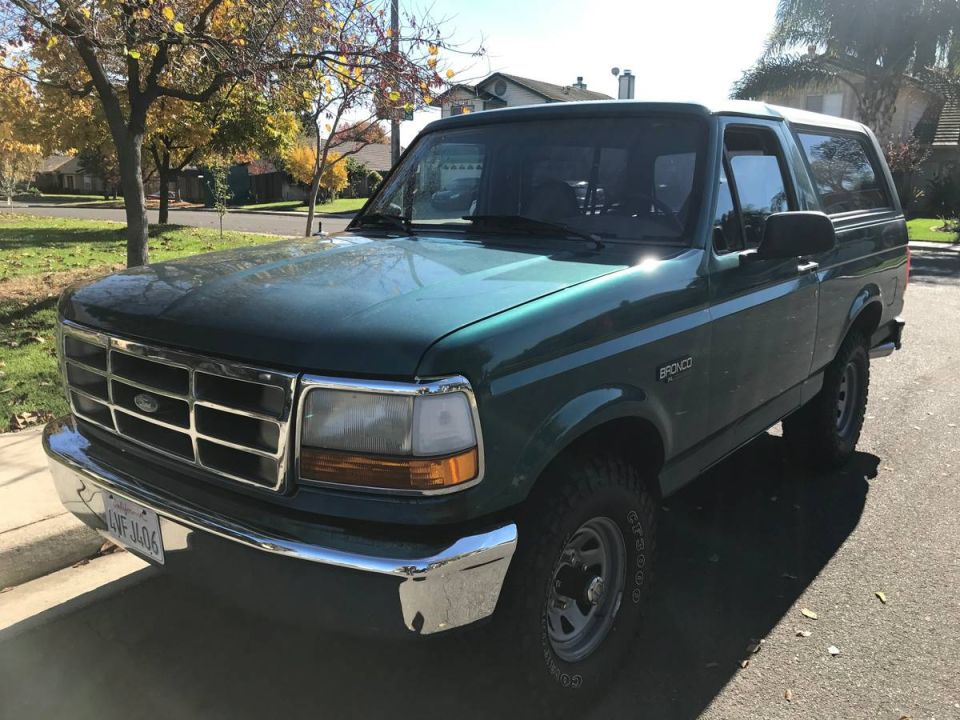
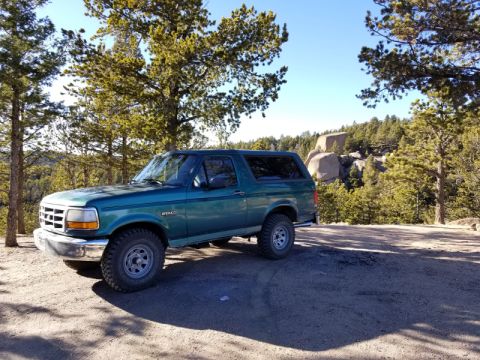
Green 1996 Ford Bronco parked on a residential street, front 3/4 view

“Snot”1996 Ford Bronco

documented by flomaster 53 photos documented since 1 years documented ♡ Follow this build

Photos

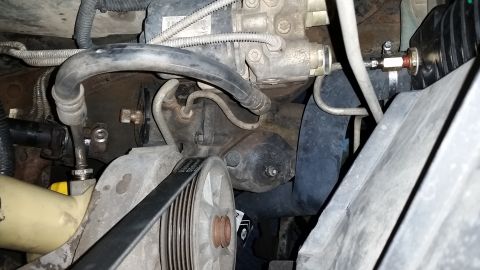
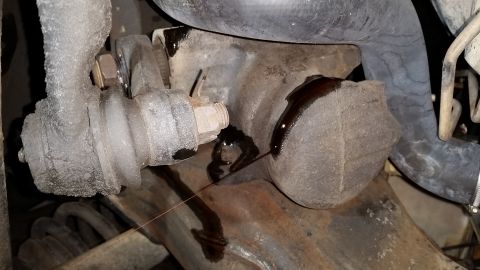
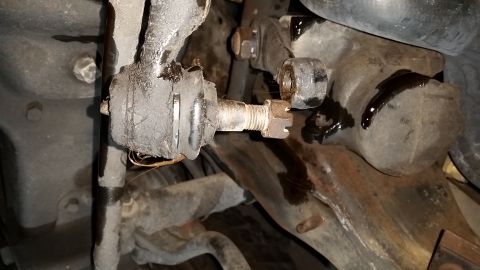
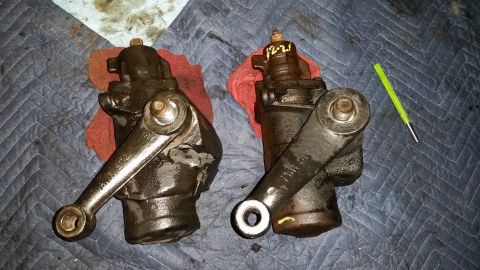
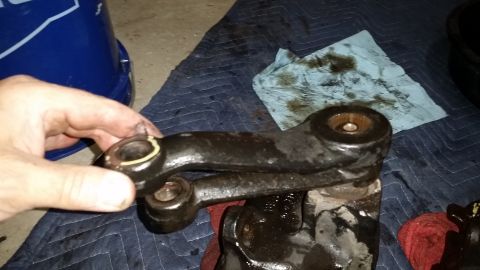
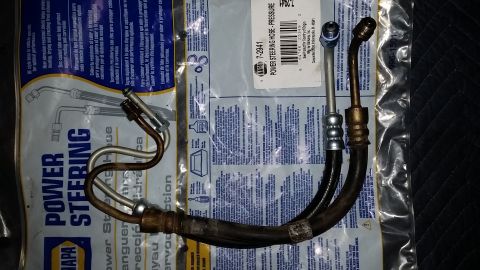
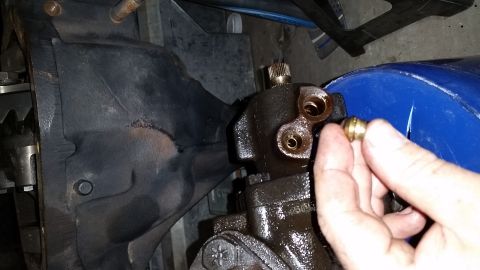
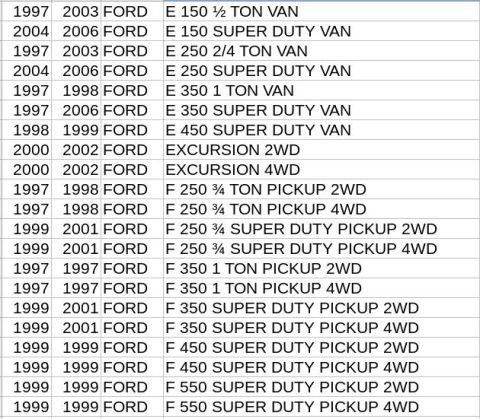
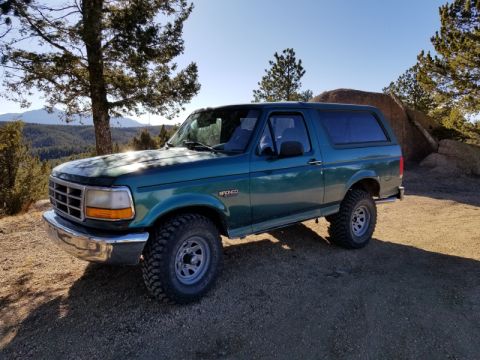
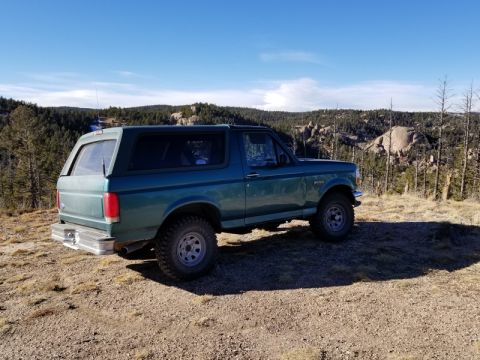
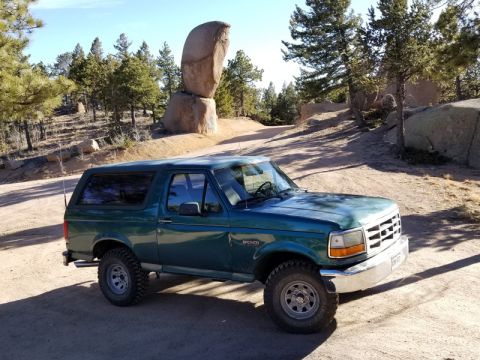
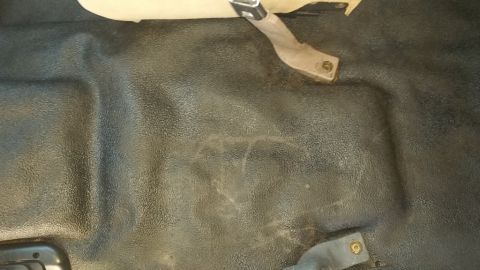
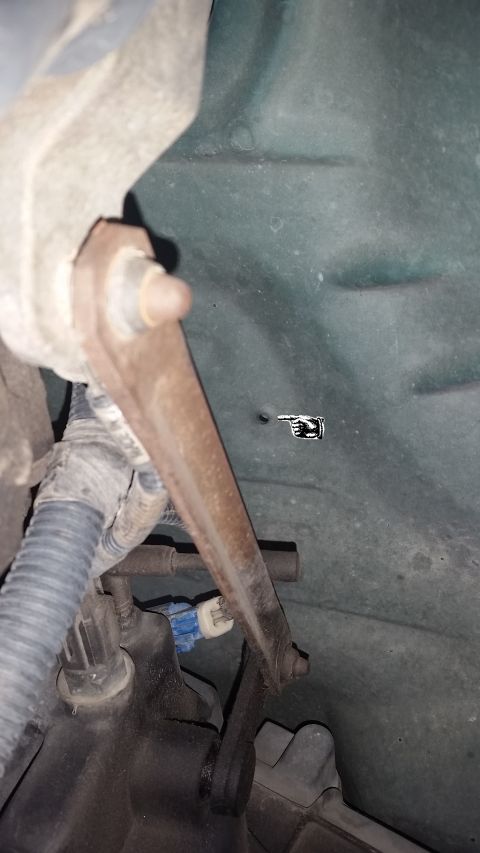
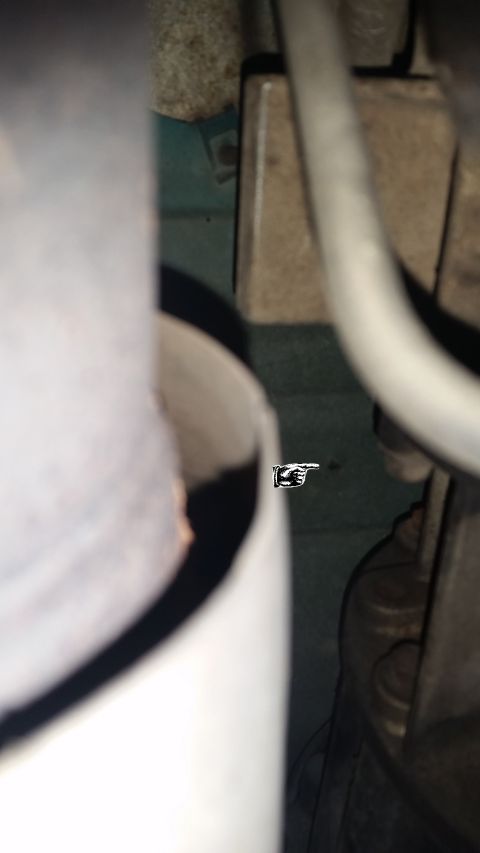
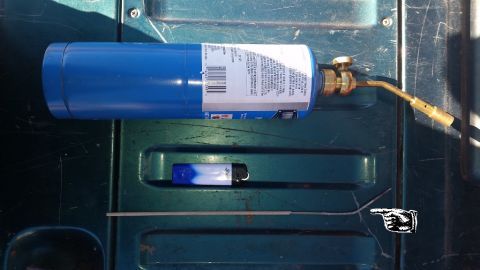
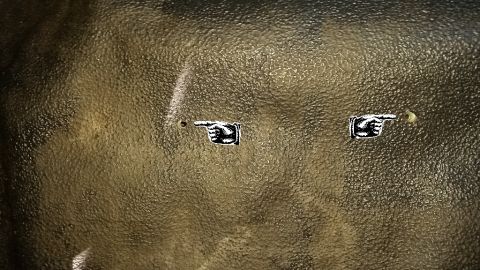
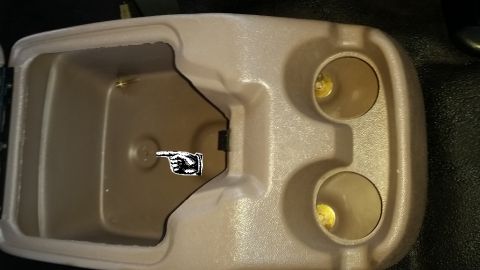
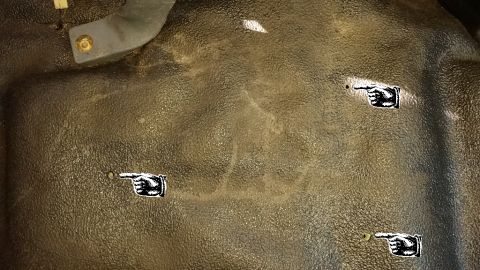
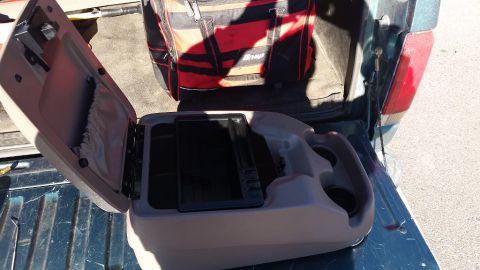
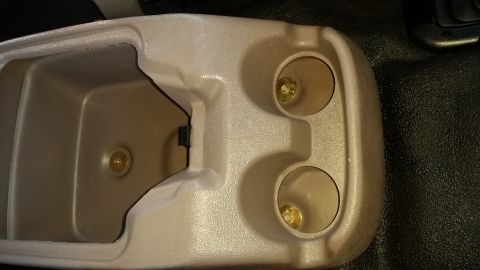
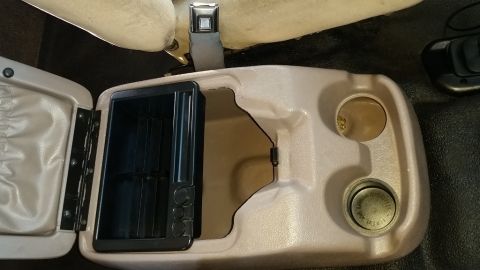
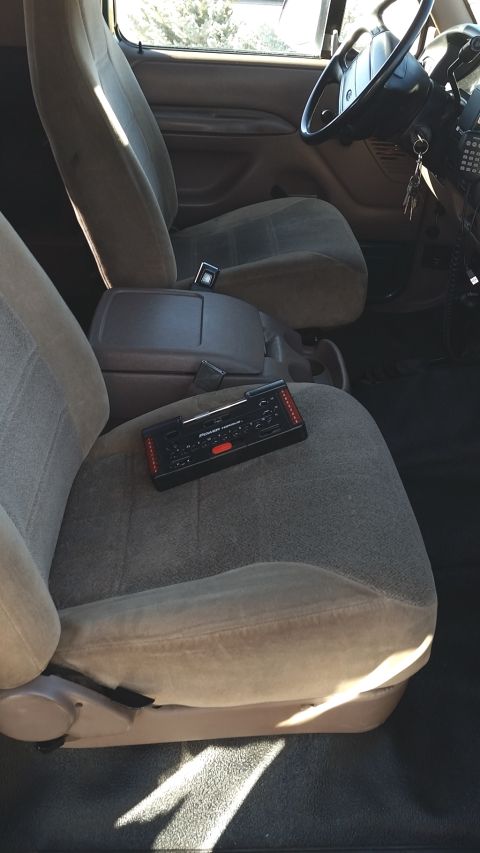
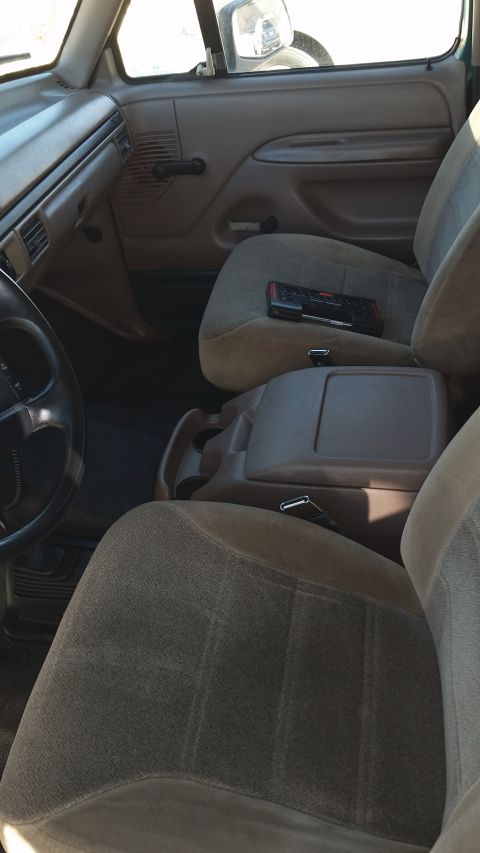
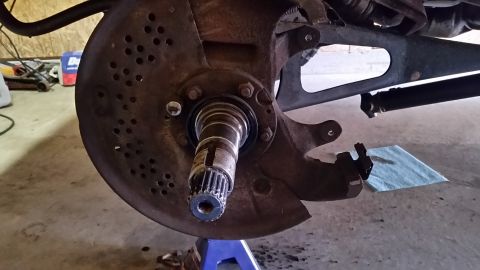
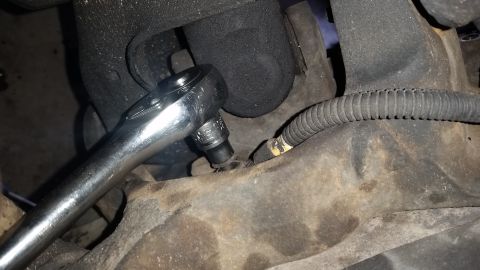
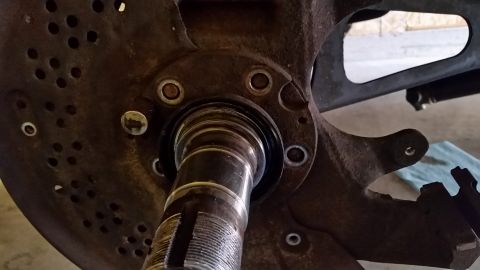
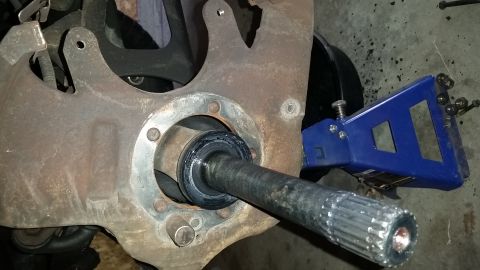
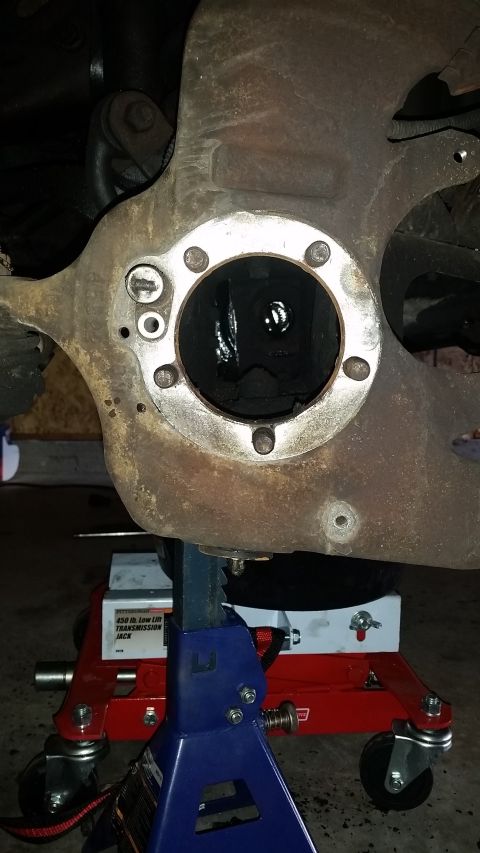
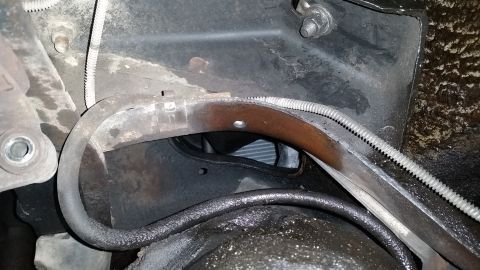
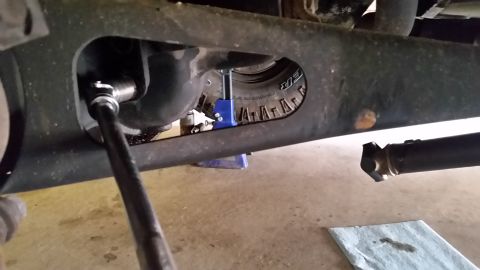
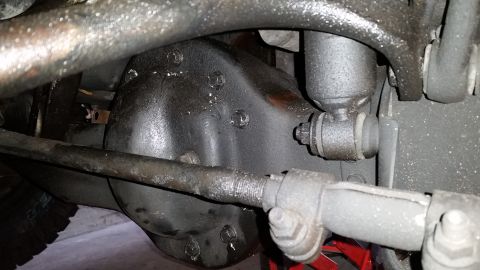
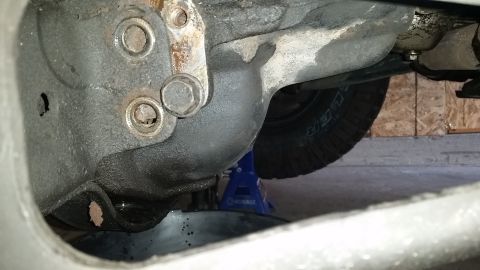
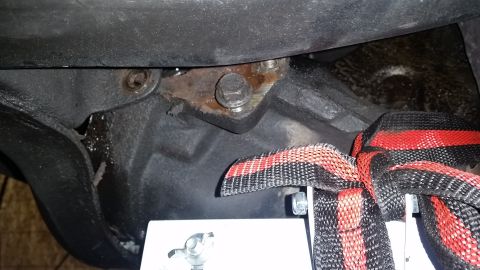
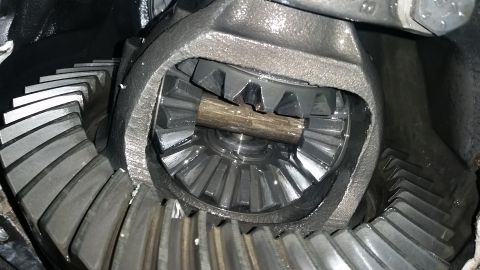
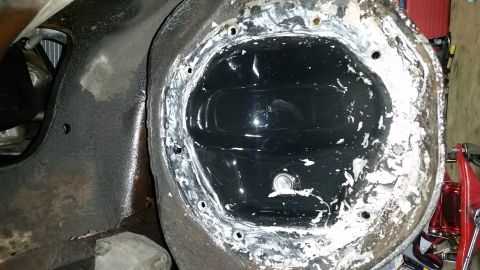
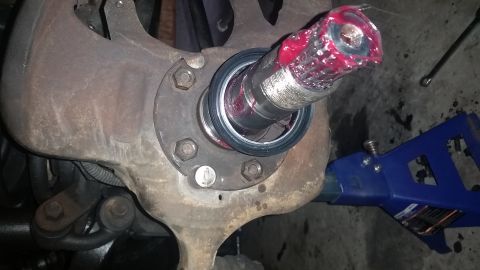
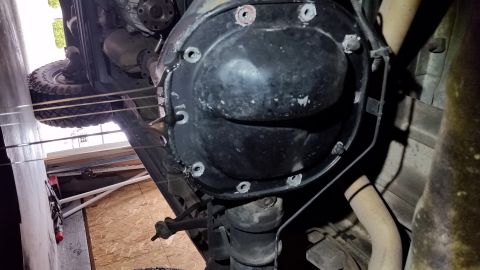
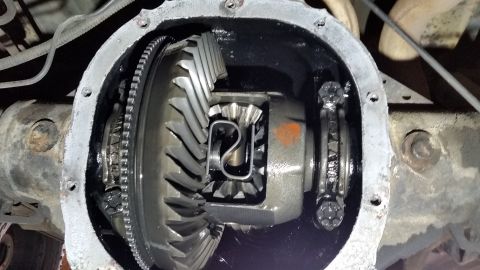
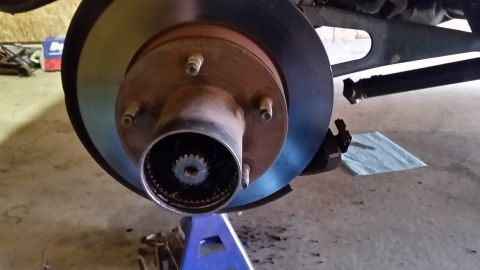
Green 1996 Ford Bronco parked on a residential street, front 3/4 view 1996 Ford Bronco: I started removing the old 2-bolt steering gear by disconnecting the power steering lines, and disconnecting… 1996 Ford Bronco: View from underneath the truck. The 2-bolt steering gear is still in place, and the suspension components are… 1996 Ford Bronco: The inner tie rod has been removed, and the nut holding the pitman arm is loose. There is no room for my pitm… 1996 Ford Bronco: The 2-bolt steering gear is on the left, and the 4-bolt steering gear is on the right. Notice that the pitman… 1996 Ford Bronco: In this picture the pitman arm that came on the 4-bolt steering gear is placed on top of the pitman arm that… 1996 Ford Bronco: Many times I see people struggling to find the right power steering hose, and they wind up using one that is… 1996 Ford Bronco: The 4-bolt steering gear I got from the Junk Yard had O-ring type fittings on both the pressure line and the… 1996 Ford Bronco: This listing shows the vehicles that came with the 32-spline 4-bolt steering gear. As always, one should conf… 1996 Ford Bronco: Mt. Herman trail 1996 Ford Bronco: Mt. Herman trail 1996 Ford Bronco: Somewhere on Mt. Herman 1996 Ford Bronco: Mt. Herman trail 1996 Ford Bronco: In the beginning there was a void. This is the stock XL configuration with rubber mat as opposed to carpeting… 1996 Ford Bronco: Looking up from underneath the truck, on the driver's side we can see that Ford has already punched a hole in… 1996 Ford Bronco: Looking up from underneath the truck on the passenger side. You can see just past the exhaust, and just to th… 1996 Ford Bronco: Here are the tools I used to mark the position of the screw holes on the inside of the truck. You'll see a bl… 1996 Ford Bronco: Here you can see the holes created by the hot welding rod. The initial hole was quite small--only the diamete… 1996 Ford Bronco: After creating and expanding the first two holes, I mounted the center console using the first two screws onl… 1996 Ford Bronco: After marking the location of the third mounting hole, I removed the center console again so that I could exp… 1996 Ford Bronco: Here's the stock center console I scored from the Junk yard. It was missing one cup, and the thing was ABSOLU… 1996 Ford Bronco: Mounted. The screws originally came with some kind of sticky glue on the threads. I suggest using the same ty… 1996 Ford Bronco: Vehicle interior center console open, showing storage bin and two cup holders. Seatbelt visible above 1996 Ford Bronco: Installed. The seats are from a 1999 explorer--direct bolt in. 1996 Ford Bronco: Installed. I think the entire process took me about 20 minutes. 1996 Ford Bronco: Once the hub is gone, and the brake caliper is removed, take your 4-prong socket and remove the nuts holding… 1996 Ford Bronco: Don't forget this sucker. It is a small bolt that threads into the spindle from behind. Can't get the spindle… 1996 Ford Bronco: To aid in spindle removal, I like to tap the bolts that hold in in place out. Less struggle removing the spin… 1996 Ford Bronco: This is the view with the spindle off. Notice the inner spindle seal--this should be replaced while you have… 1996 Ford Bronco: With the axle removed, you can see straight down into the 3rd member (if you have good light). By the book yo… 1996 Ford Bronco: Don't forget to detach the vent hose. When you get to the point where you'll swing the 3rd member out, this w… 1996 Ford Bronco: Next we remove the two large bolts that help secure the 3rd member to the TTB. There are two, and they are ty… 1996 Ford Bronco: With the exception of the uppermost bolt, remove all of these. You'll want to loosen the top bolt enough to b… 1996 Ford Bronco: With the upper bolt still loosely holding the 3rd member, lift the 3rd member up and drain it. I threaded one… 1996 Ford Bronco: Now, unless you're Arnold Schwartzenneger, and you feel comfortable swinging this pig around by hand, I recom… 1996 Ford Bronco: Now, once the last bolt is out we can swing the 3rd member away from the TTB and expose the guts. Before we c… 1996 Ford Bronco: Now its time to clean, clean, clean. While you're cleaning, there are a couple of decisions to make. One of t… 1996 Ford Bronco: Re-assembly is everything in reverse. Pay attention. If you notice, in this picture I've re-attached the spin… 1996 Ford Bronco: Rear gears are much less work, although there is additional precision related to it. Maybe its easier for me… 1996 Ford Bronco: Once the cover is off, this is what you're left with if you have a limited slip differential. An open carrier…

Albums · 6

How the owner organised this build. Open an album for every photo in it.
The peanut gallery

No comments yet. Be the first to add to the record.

Spotted in the wild

Seen this vehicle at a show or on the trail? Add your shot. The owner approves it onto the record.