Home/
Registry/
Nissan/
Micra/
1983-1992/
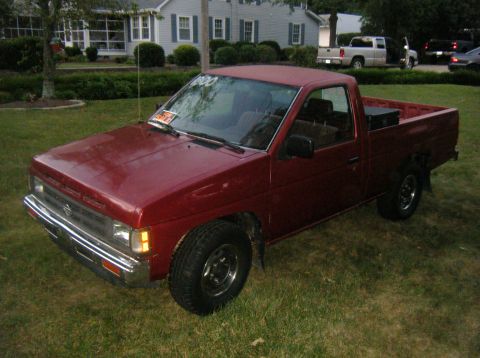
1990 Nissan Micra/
Photo
supermotors.net/registry/media/294102
Nissan Micra Combination Switch Replacement - Lighting, Wiper & Hazard (EL-39)

Reference · 1983-1992 MicraAll 115 service procedures
Service procedure for replacing the combination switch and removing the switch base, with illustrated steps.
Part of 1983-1992 Nissan Micra Service Procedures
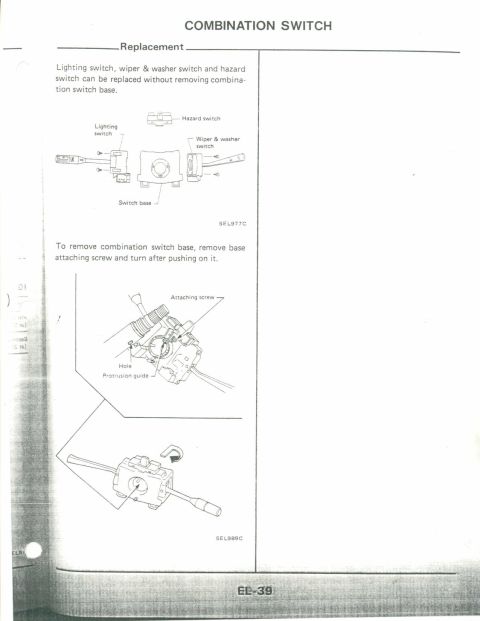
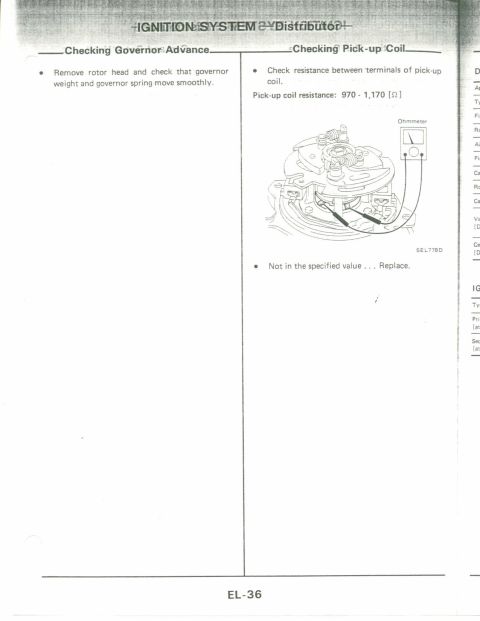
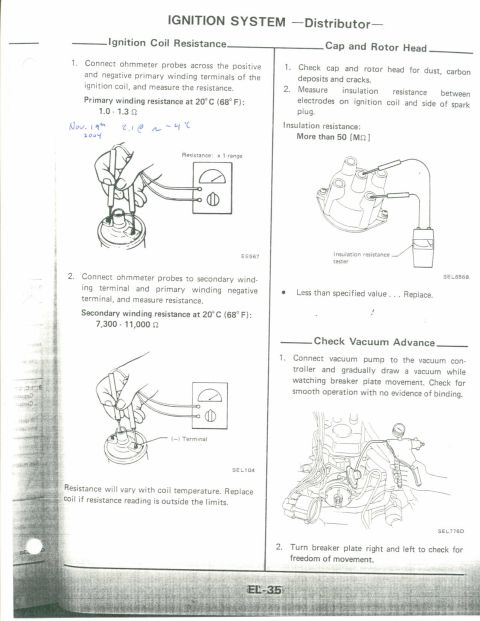
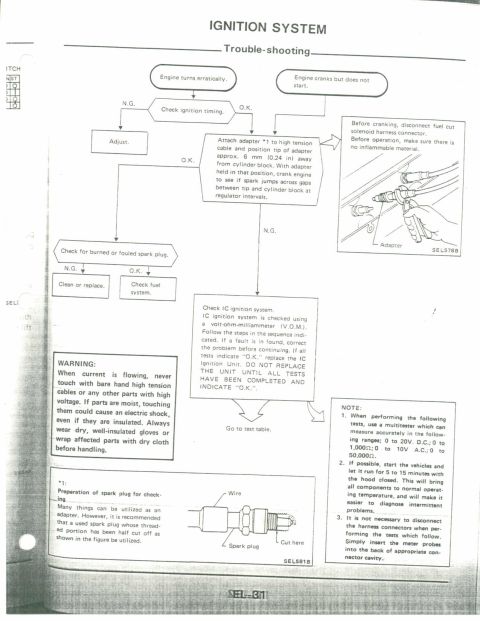
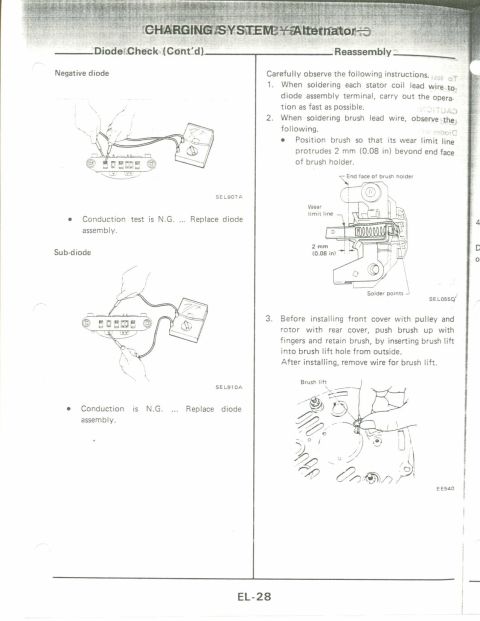
This page is a service procedure from a factory service manual (page EL-39, electrical section) covering replacement of the combination switch, the multi-function stalk switch assembly on the steering column. The text explains that the lighting switch, wiper & washer switch, and hazard switch can each be replaced individually without removing the combination switch base. An exploded diagram (figure SEL977C) shows the hazard switch, lighting switch, wiper & washer switch, and the central switch base with their attaching screws. A second instruction explains that to remove the combination switch base itself, you remove the base attaching screw and then turn the base after pushing on it. A second illustration (figure SEL989C) shows the location of the attaching screw, a hole, and a protrusion guide used to align the base during removal/installation, plus a view of the assembled switch. The page was uploaded to a 1990 Nissan Micra gallery; the styling and figure numbers are consistent with a Nissan service manual, though the page itself does not state a year or model. A reader learns which sub-switches are separately serviceable and the basic method for removing the switch base.
Is this accurate? Sign in to help verify it.
Frequently asked questions
- Can I replace the lighting switch without removing the whole combination switch base?
- Yes. The lighting switch, wiper & washer switch, and hazard switch can all be replaced without removing the combination switch base.
- How do I remove the combination switch base?
- Remove the base attaching screw, then turn the base after pushing on it.
- What parts make up the combination switch assembly shown?
- The diagram shows the hazard switch, lighting switch, wiper & washer switch, and the switch base.
- What features help align the combination switch base?
- The illustration identifies an attaching screw, a hole, and a protrusion guide on the switch base.

No comments yet.