SuperMotors SuperMotors SUPERMOTORS Search: try “orange Bronco on 35s”
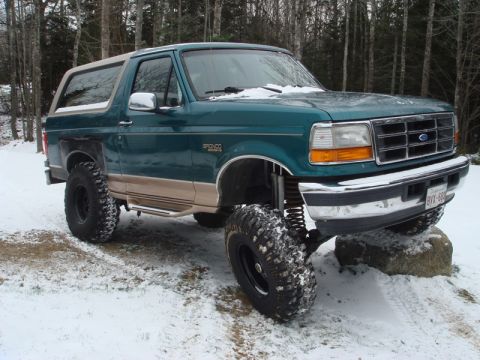
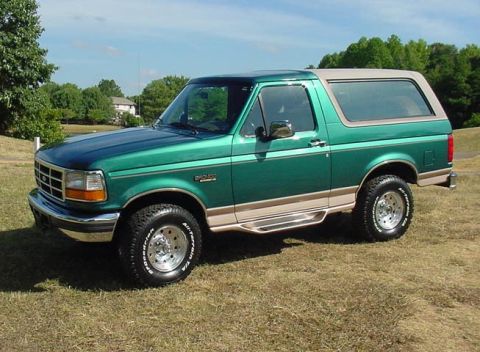
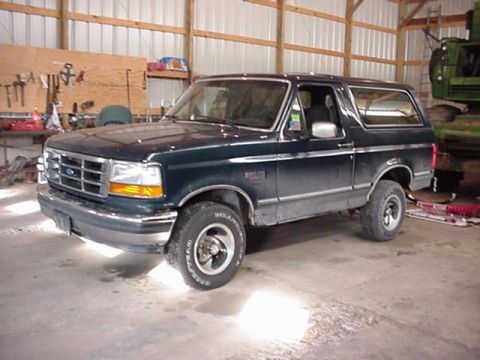
Home/ Registry/ Ford/ Bronco/ 1992-1996/ 1994 Ford Bronco/ Photo supermotors.net/registry/media/267617

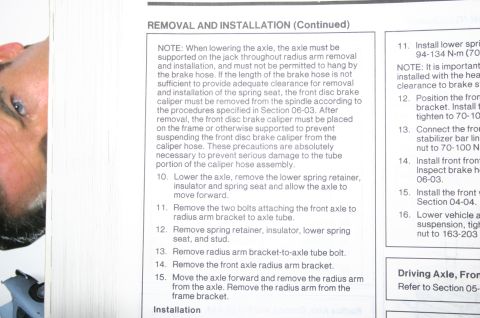
Radius arm removal and installation continued, steps 10-16 with…

Radius arm removal and installation continued, steps 10-16 with brake hose support note
Radius arm removal and installation continued, steps 10-16 with brake hose support noteOriginal file
Radius arm removal and installation continued, steps 10-16 with brake hose support note

Reference · 1992-1996 BroncoAll 142 service procedures
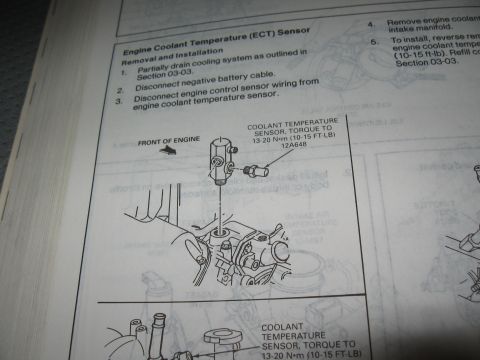
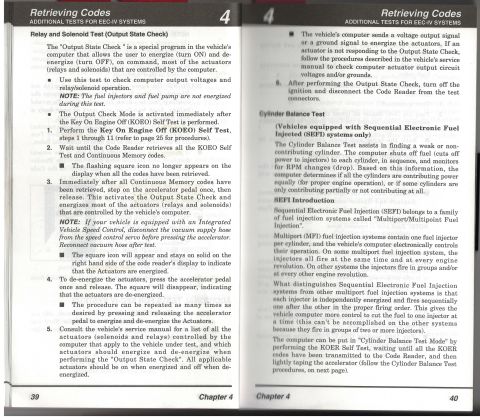
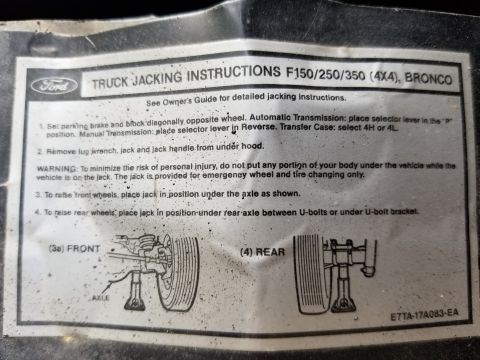
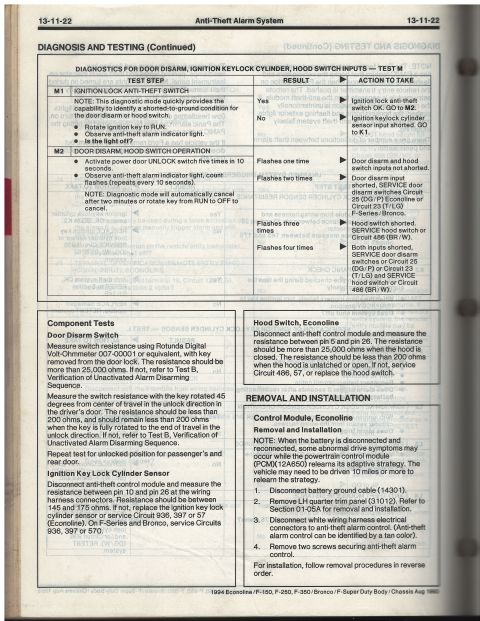
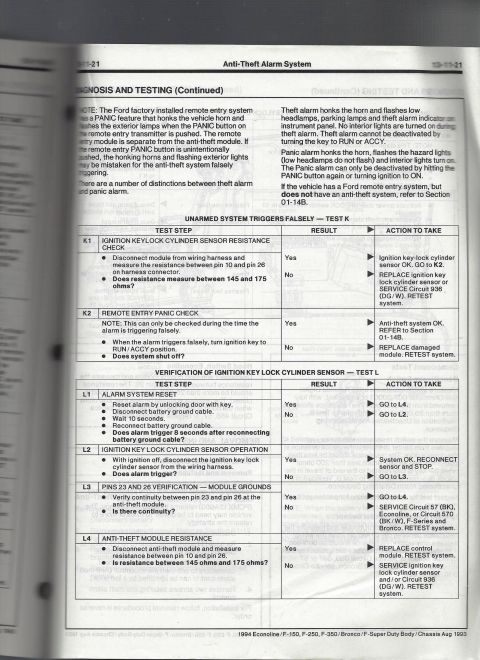
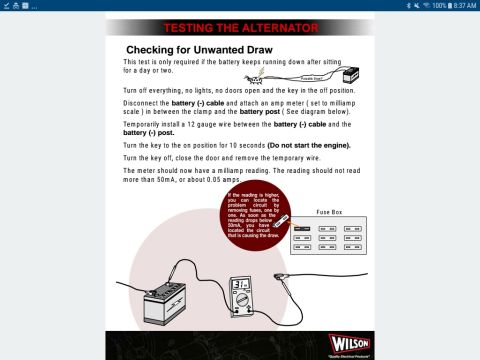
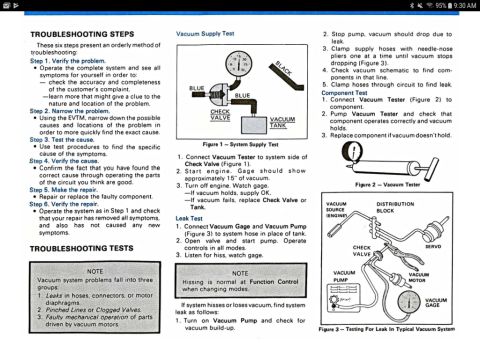
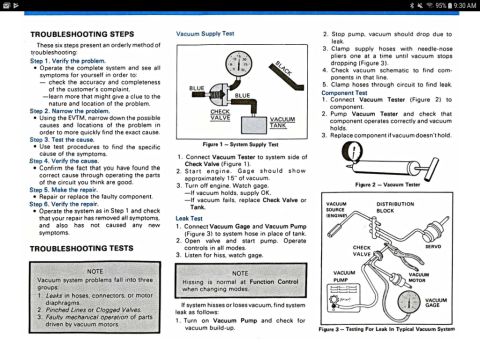
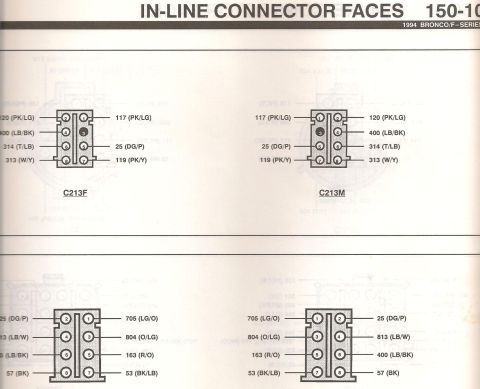
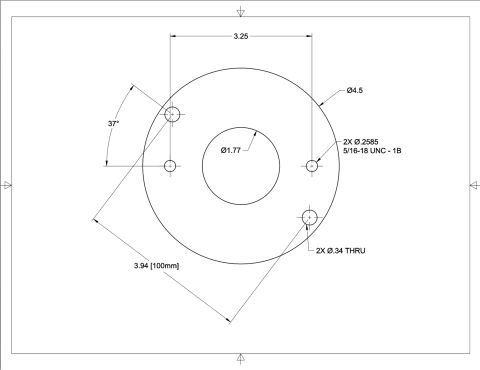
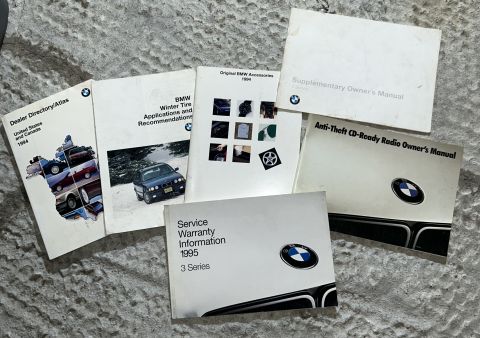
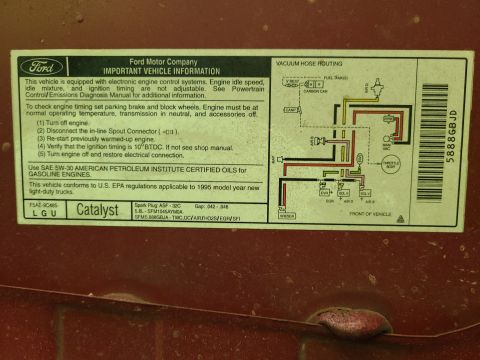
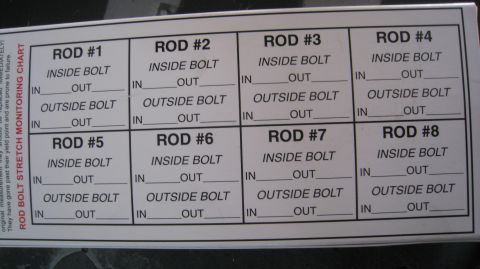
Ford Bronco ECT Sensor Removal & Installation - Torque Spec 13-20 Nm (12A648) '94 Ford service manual page 11-04B-6 on F-Super Duty steering column lock cylinder removal and install Radiator End Tank Removal & Tab Crimping Procedure - Repair Manual Page 3-6 Radius arm removal and installation continued, steps 10-16 with brake hose support note Bronco and F-150 4x4 front radius arm removal steps with torque callout table Ford EEC-IV Output State Check & Cylinder Balance Test - Code Reader Procedure Ford F150/F250/F350 4x4 & Bronco Truck Jacking Instructions Label E7TA-17A083-EA 1994 Ford Bronco/F-150/Econoline Anti-Theft Alarm Diagnosis Test M (13-11-22) 1994 Ford Bronco/F-150 Anti-Theft Alarm Diagnosis - Tests K & L (13-11-21) Parasitic Battery Draw Test Procedure - Checking for Unwanted Draw (Wilson) Ford Vacuum System Troubleshooting Steps & Tests - Supply, Leak, Component (EVTM) 1996 Ford Bronco Vacuum System Troubleshooting - Supply, Leak & Component Tests 142service procedures1992-1996 Ford Bronco More reference 1994 Ford Bronco/F-Series In-Line Connector Faces C213 Pinout Wiring DiagramWiring diagram 1994 Ford Bronco & F-150/F-250/F-350 Headlamp Removal - Exploded Parts DiagramExploded parts Ford Bronco Overhead Console Compass Variation Zones Map & Zone SettingManual page 1994 Ford Bronco/F-Series Component Location View - Connector Locations DiagramSchematic 1994 Ford Bronco Door Data Spec Plate - VIN, GVWR, Axle & Paint CodesSpec plate Brake Booster to Master Cylinder Adapter Plate Blueprint - Ford Bronco SwapBlueprint 1994-1995 BMW 3 Series Owner's Manual Booklet Set - Warranty, Radio & AccessoriesBrochure 1995 Ford Bronco 5.8L Emissions/VECI Label - Vacuum Hose Routing DiagramVacuum routing Ford Bronco/F-Series Fuse 18 (10A) - Speedometer, Air Bag, Shift ControlFuse chart Rod Bolt Stretch Monitoring Chart - 8-Rod V8 Connecting Rod Bolt Record SheetTorque spec

Radius arm removal and installation continued, steps 10-16, with a note to support the axle on a jack so it never hangs by the brake hose.

Part of 1992-1996 Ford Bronco Service Procedures

AI caption · Photo 104 of 1902

J REMOVAL AND INSTALLATION (Continued) 1 1. Install lower spri 94134 N-m (70 NOTE: it is important installed with the hea clearance to brake s 12. Position the fron bracket. lnstalit tighten to 70-10 13. Connect the frOI stabilizer bar lin nut to 70-100 N 14. install front from inspect brake h: 06-03. 15. install the front 1 Section 04-04. 16. Lower vehicle a suspension, tigl nut to 163-203 NOTE: When lowering the axle, the axle must be supported on the jack throughout radius arm removal and installation, and must not be permitted to hang by the brake hose. if the length of the brake hose is not sufficient to provide adequate clearance for removal and installation of the spring seat, the front disc brake caliper must be removed from the spindle according to the procedures specified in Section 06-03. After removal, the front disc brake caliper must be placed on the frame or otherwise supported to prevent suspending the front disc brake caliper from the caliper hose. These precautions are absolutely necessary to prevent serious damage to the tube portion of the caliper hose assembly. 10. Lower the axle, remove the lower spring retainer, insulator and spring seat and allow the axle to move forward. 1 1. Remove the two bolts attaching the front axle to radius arm bracket to axle tube. 12. Remove spring retainer, insulator, lower spring seat, and stud. 13. Remove radius arm bracket-to-axle tube bolt. 14. Remove the front axle radius arm bracket. 15. Move the axle forward and remove the radius arm from the axle. Remove the radius arm from the frame bracket. Installation Driving Axle, Fron Refer to Section 05- it? ls'li ll

Is this accurate? Sign in to help verify it.
Comments

No comments yet.

More 1992-1996 Broncos