Home/
Registry/
Ford/
Bronco/
1992-1996/
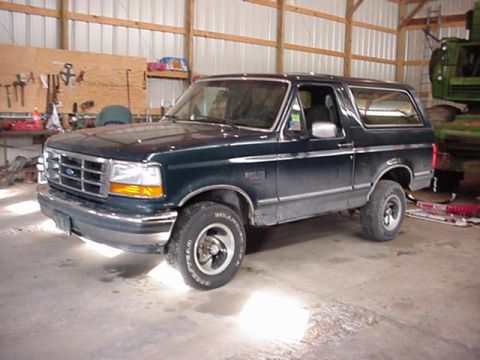
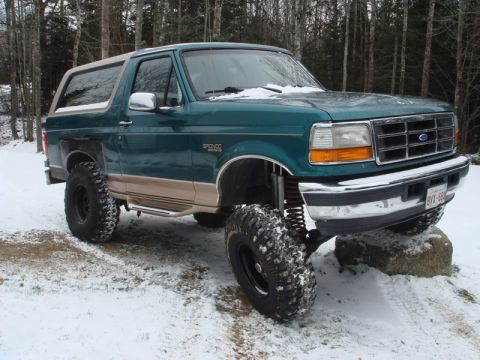
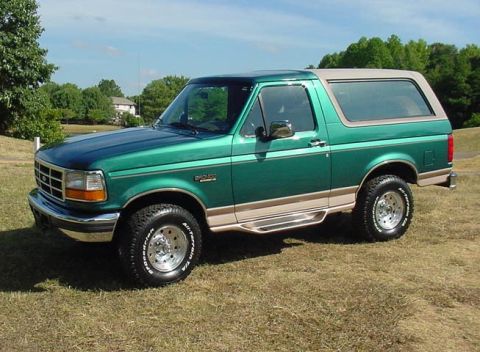
1994 Ford Bronco/
Photo
supermotors.net/registry/media/478423
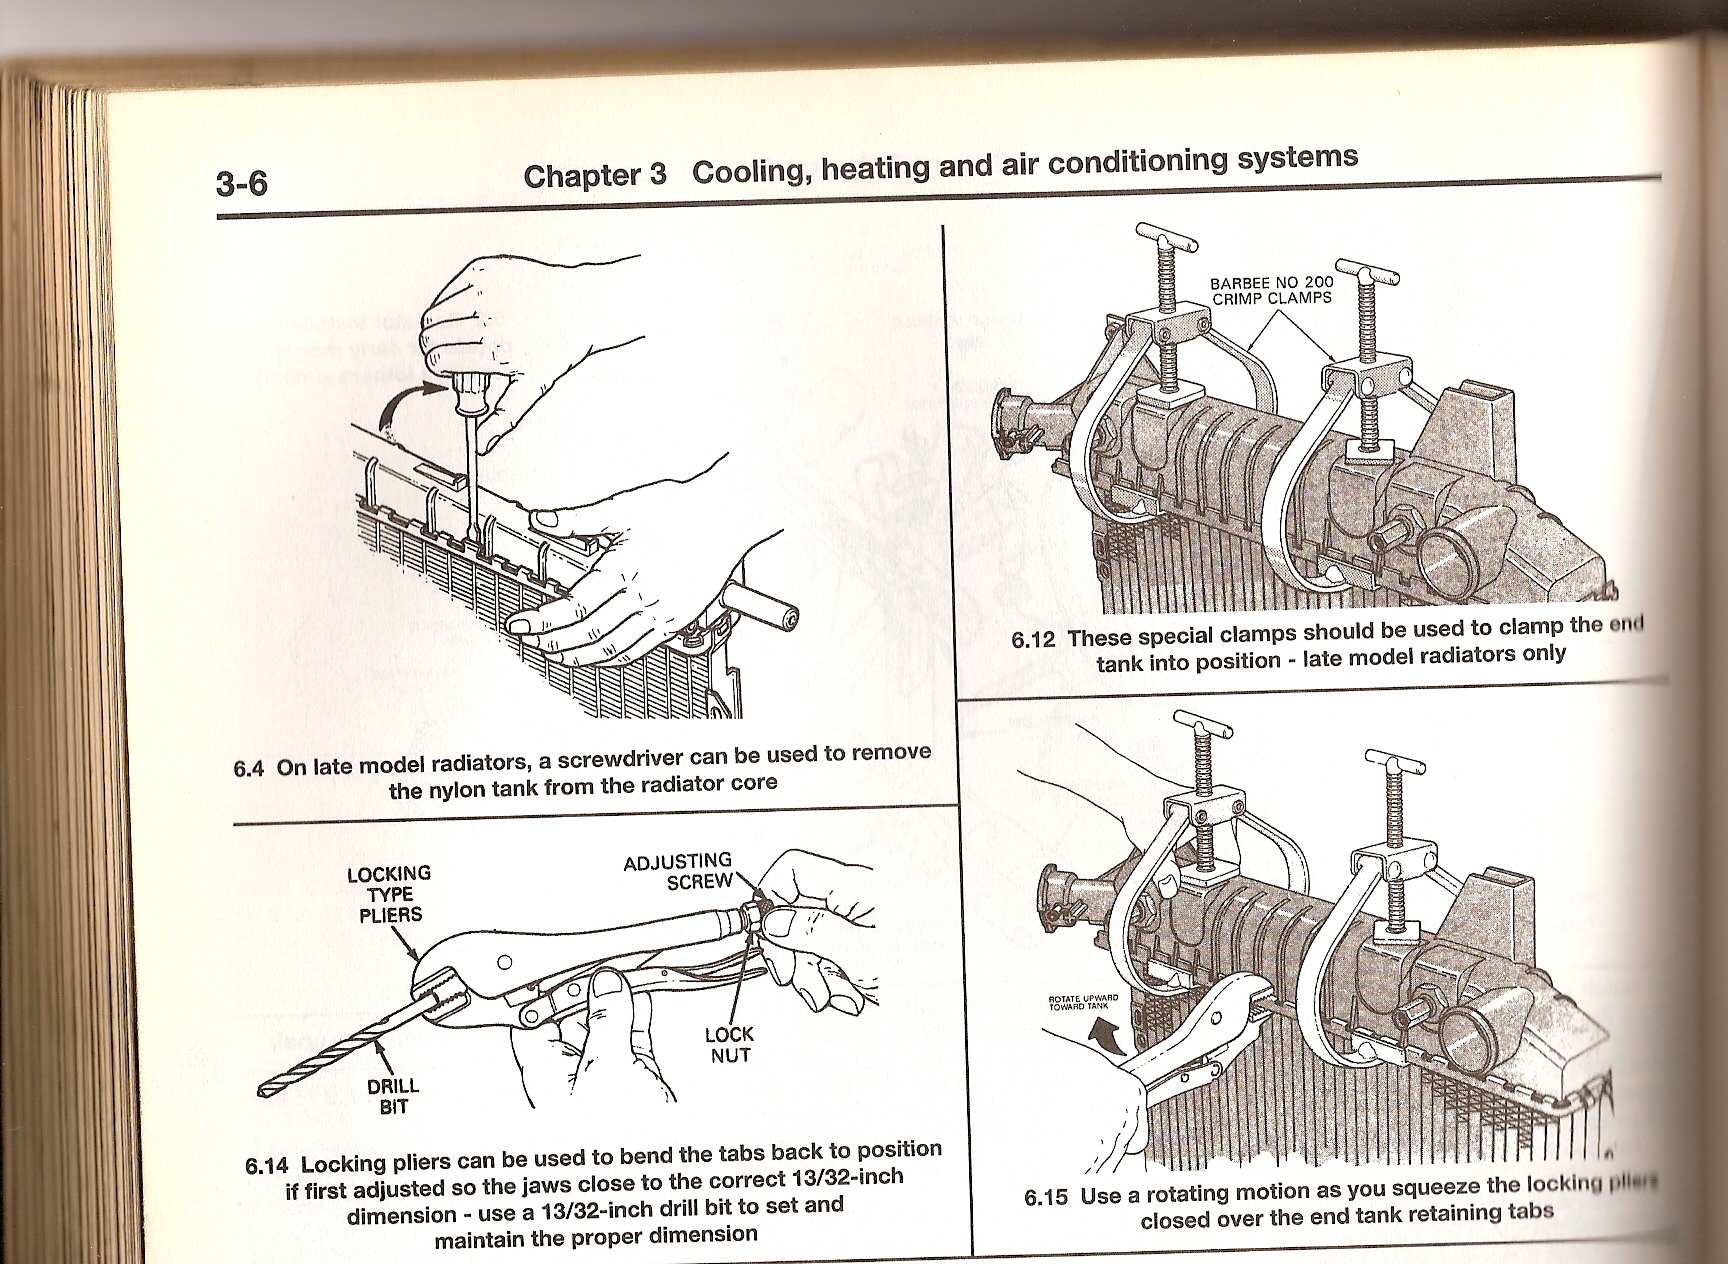
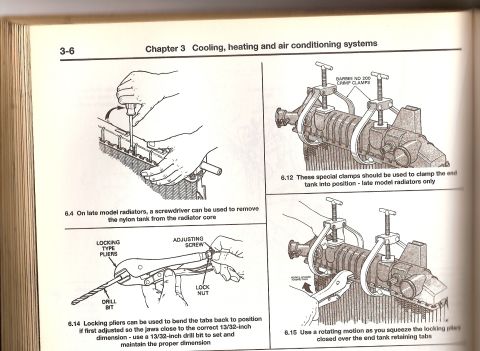
Radiator End Tank Removal & Tab Crimping Procedure - Repair Manual Page 3-6
Reference · 1992-1996 BroncoAll 142 service procedures


Service procedure page showing step-by-step figures for removing nylon radiator tanks and using clamping tools.
Part of 1992-1996 Ford Bronco Service Procedures
This is page 3-6 from Chapter 3 ("Cooling, heating and air conditioning systems") of an automotive repair manual, showing an illustrated service procedure for disassembling and reassembling a plastic-tank (nylon end tank) radiator. Figure 6.4 shows how a screwdriver can be used on late model radiators to pry the retaining tabs and remove the nylon end tank from the radiator core. Figure 6.12 shows Barbee No. 200 crimp clamps installed on the radiator to hold the end tank in position during reassembly, noted as applicable to late model radiators only. Figure 6.14 illustrates using locking-type pliers to bend the retaining tabs back into position; the pliers must first be adjusted (using the adjusting screw and lock nut) so the jaws close to the correct 13/32-inch dimension, with a 13/32-inch drill bit recommended as a gauge to set and maintain that dimension. Figure 6.15 shows the technique: use a rotating motion (rotate upward toward the tank) as you squeeze the locking pliers closed over the end tank retaining tabs. A reader learns the tools, the special crimp clamps, the critical 13/32-inch jaw setting, and the tab-crimping technique for radiator end tank service.
Is this accurate? Sign in to help verify it.
Frequently asked questions
- How do you remove the nylon end tank from a late model radiator?
- Per figure 6.4, on late model radiators a screwdriver can be used to remove the nylon tank from the radiator core.
- What clamps should be used to hold the radiator end tank in position during reassembly?
- Figure 6.12 shows Barbee No. 200 crimp clamps should be used to clamp the end tank into position, on late model radiators only.
- How should locking pliers be set to bend the radiator tank tabs back?
- Adjust the locking-type pliers so the jaws close to the correct 13/32-inch dimension; use a 13/32-inch drill bit to set and maintain the proper dimension (figure 6.14).
- What technique is used when crimping the end tank retaining tabs?
- Figure 6.15 instructs using a rotating motion (rotate upward toward the tank) as you squeeze the locking pliers closed over the end tank retaining tabs.


No comments yet.