Home/
Registry/
Ford/
Bronco/
1992-1996/
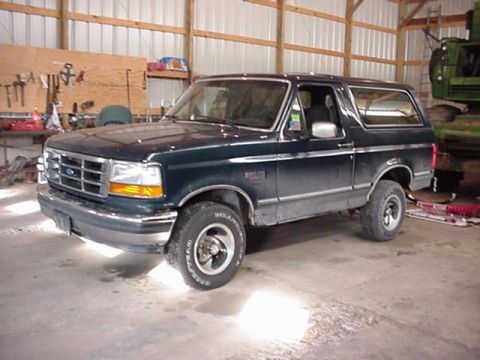
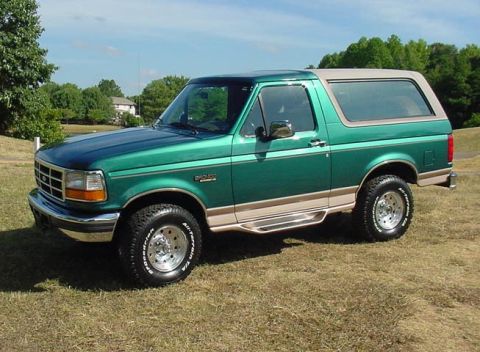
1994 Ford Bronco/
Photo
supermotors.net/registry/media/503841
1992-94 Ford Bronco/F-Series Dash Tab Repair Instructions - Sheet 2 (I.S. 6551)

Reference · 1992-1996 BroncoAll 143 service procedures





Ford service instruction sheet (2 of 5) with steps and Figures 2-3 for grinding the instrument panel duct tab.
Part of 1992-1996 Ford Bronco Service Procedures
This document is Sheet 2 of 5 of Ford Instruction Sheet I.S. 6551, the official 1992-94 Bronco/F-Series Right Hand Instrument Panel Tab Replacement/Installation Instructions, copyrighted 1994 by Ford Motor Company (Dearborn, Michigan 48121, dated 4-94). The page covers steps 9 and 10 of the procedure. Step 9 instructs the technician to carefully pull the right side of the instrument panel toward the rear of the vehicle and insert a 2 x 4 wood block between the sheet metal and the back of the instrument panel, as shown in Figure 2, which also illustrates the cracked or broken-off tab that the procedure addresses. A note states that steps 10 through 15 require the use of eye protection. Step 10 instructs grinding off the remaining plastic tab on the duct (Figure 3), using 60-80 grit paper and cautioning not to grind through the wall. Figure 3 shows the area to be ground smooth. This sheet is part of a multi-page set (dashfix1-4) documenting a common dash-tab repair for 1992-94 Ford Bronco and F-Series trucks.
Is this accurate? Sign in to help verify it.
Frequently asked questions
- What vehicles does this instruction sheet apply to?
- It is titled '1992-94 Bronco/F-Series Right Hand Instrument Panel Tab Replacement/Installation Instructions' (Ford I.S. 6551), so it applies to 1992-1994 Ford Bronco and F-Series trucks.
- What do I insert behind the instrument panel in step 9?
- A 2 x 4 wood block, placed between the sheet metal and the back of the instrument panel after carefully pulling the right side of the panel toward the rear of the vehicle.
- What grit sandpaper should be used to grind off the remaining plastic tab?
- Use 60-80 grit paper, and do not grind through the wall of the duct.
- Which steps require eye protection?
- The note states that steps 10 through 15 require the use of eye protection.
- What Ford instruction sheet number is this and which page is it?
- It is Ford I.S. 6551, Sheet 2 of 5, dated 4-94, copyright 1994 Ford Motor Company, Dearborn, Michigan 48121.



No comments yet.