Home/
Registry/
Ford/
Bronco/
1987-1991/
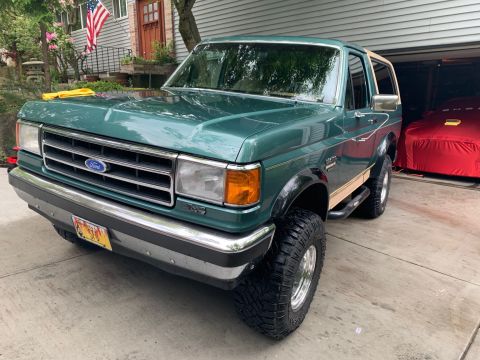
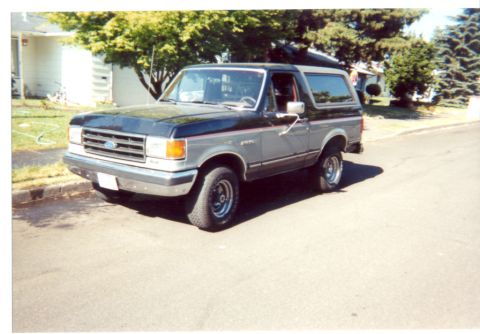
“Eddie Bauer”/
Photo
supermotors.net/registry/media/1036772
Tuff Stuff Ford PMGR Starter Install Instructions 6124 6131 6132 - Wiring
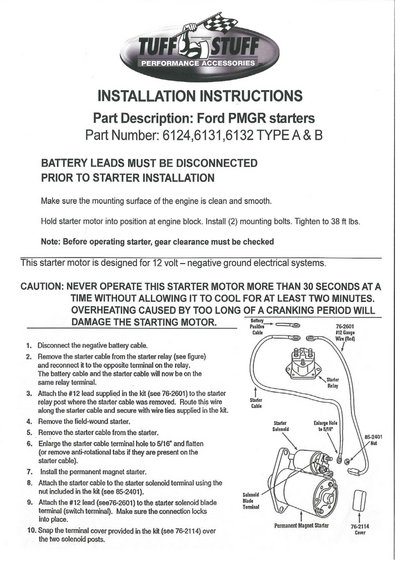
Tuff Stuff Performance Accessories install sheet for Ford PMGR mini starters (PN 6124/6131/6132); mounting bolts torque to 38 ft-lbs, 12V negative ground, 30s max cranking.
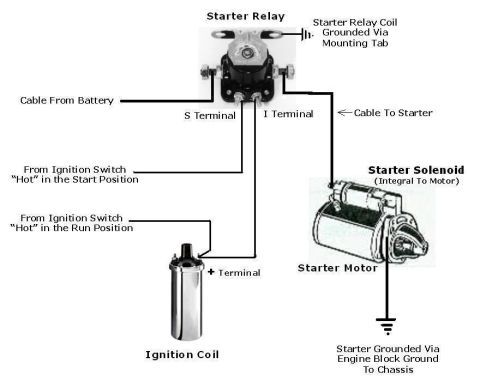
This document is an official Tuff Stuff Performance Accessories installation instruction sheet for Ford PMGR (permanent magnet gear reduction) starters, part numbers 6124, 6131, and 6132 (Type A & B). It warns that battery leads must be disconnected before installation, the engine mounting surface must be clean and smooth, and the two mounting bolts must be torqued to 38 ft-lbs. Gear clearance must be checked before operating the starter. The starter is designed for 12-volt negative-ground systems, and a caution states the motor should never be operated more than 30 seconds at a time without a two-minute cooling period. A 10-step procedure explains converting from a field-wound starter: moving the starter cable to the opposite relay terminal so it shares a post with the battery cable, running a supplied #12-gauge red wire (kit part 76-2601) from the relay to the starter solenoid blade (switch) terminal, enlarging the starter cable terminal hole to 5/16", attaching the cable with the supplied nut (85-2401), and snapping the supplied terminal cover (76-2114) over the solenoid posts. An illustrated wiring diagram labels the battery positive cable, starter relay, starter cable, solenoid, blade terminal, and permanent magnet starter, useful for anyone retrofitting a PMGR mini starter on a Ford.
Is this accurate? Sign in to help verify it.
Frequently asked questions
- What torque should the PMGR starter mounting bolts be tightened to?
- Hold the starter in position at the engine block, install the two mounting bolts, and tighten them to 38 ft lbs.
- How do I rewire the starter relay when converting to a Ford PMGR starter?
- Remove the starter cable from the starter relay and reconnect it to the opposite terminal so the battery cable and starter cable share the same relay terminal. Then attach the supplied #12 lead (76-2601) to the relay post where the starter cable was removed, route it along the starter cable, and connect it to the starter solenoid blade (switch) terminal.
- How long can the starter be cranked at one time?
- Never operate the starter more than 30 seconds at a time without allowing it to cool for at least two minutes; overheating from too long a cranking period will damage the starting motor.
- Do I need to modify the original starter cable?
- Yes. Enlarge the starter cable terminal hole to 5/16" and flatten it (or remove any anti-rotational tabs), then attach it to the starter solenoid terminal with the nut included in the kit (85-2401).
- What electrical system is this starter designed for?
- It is designed for 12 volt, negative ground electrical systems.
Comments
More from this build




No comments yet.