Vacuum Advance Distributor Tune-Up & Timing Adjustment Procedure - Ford Bronco

Reference · 1987-1991 BroncoAll 95 service procedures


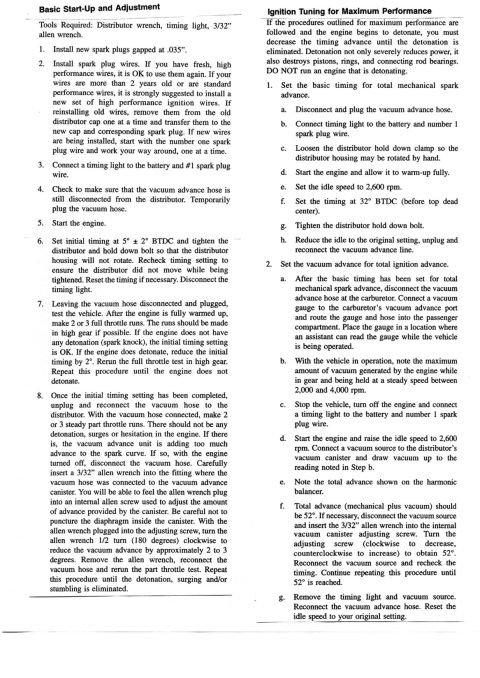


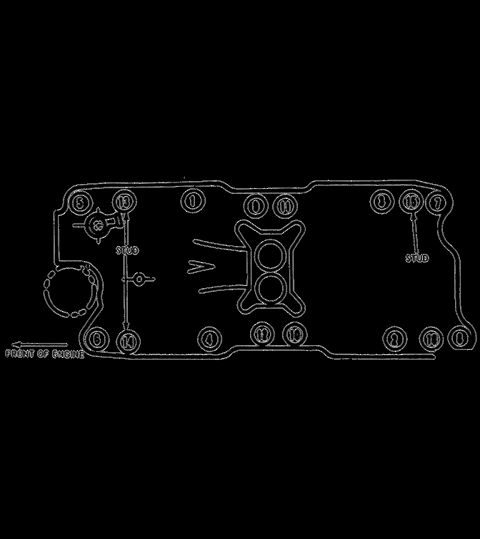
Service procedure for installing and tuning a performance distributor; set initial timing 5-2 BTDC, total mechanical advance 32 BTDC, plug at .035 inch.
Part of 1987-1991 Ford Bronco Service Procedures
This document is a two-part service procedure for setting up and tuning a vacuum-advance distributor ignition system. The first section, "Basic Start-Up and Adjustment," lists required tools (distributor wrench, timing light, 3/32" allen wrench) and walks through eight steps: installing spark plugs gapped at.035", installing or transferring spark plug wires, connecting a timing light, setting initial timing at 5° ± 2° BTDC with the vacuum advance hose disconnected and plugged, performing full-throttle road tests to check for detonation (reducing timing 2° at a time if needed), and adjusting the vacuum advance canister with a 3/32" allen wrench (1/2 turn clockwise reduces advance approximately 2-3 degrees) to cure part-throttle detonation, surging, or stumbling. The second section, "Ignition Tuning for Maximum Performance," explains setting total mechanical advance to 32° BTDC at 2,600 rpm with vacuum advance disconnected, then measuring maximum engine vacuum between 2,000 and 4,000 rpm, applying that vacuum to the distributor canister, and adjusting the internal canister screw so total advance (mechanical plus vacuum) equals 52° on the harmonic balancer. It warns that detonation destroys pistons, rings, and rod bearings and that a detonating engine must never be run. The document is undated and does not name a specific vehicle.
Is this accurate? Sign in to help verify it.
Frequently asked questions
- What spark plug gap does this distributor tune-up procedure specify?
- New spark plugs should be gapped at .035".
- What initial timing setting is recommended in the basic start-up procedure?
- Set initial timing at 5° ± 2° BTDC with the vacuum advance hose disconnected and plugged, then tighten the distributor hold down bolt and recheck the timing.
- How do you adjust the vacuum advance canister to reduce detonation?
- With the engine off, insert a 3/32" allen wrench into the fitting where the vacuum hose connects to the canister and turn the internal adjusting screw 1/2 turn (180 degrees) clockwise to reduce vacuum advance by approximately 2 to 3 degrees. Be careful not to puncture the diaphragm.
- What total ignition advance does the maximum performance tuning procedure target?
- Total advance (mechanical plus vacuum) should be 52°, achieved by setting basic timing at 32° BTDC at 2,600 rpm and then adjusting the vacuum canister screw (clockwise to decrease, counterclockwise to increase).
- Why does the document warn against running a detonating engine?
- Detonation not only severely reduces power, it also destroys pistons, rings, and connecting rod bearings; the procedure says DO NOT run an engine that is detonating.

No comments yet.