Home/
Registry/
Ford/
Bronco/
1992-1996/
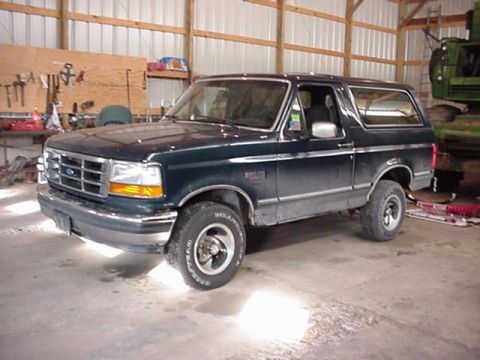
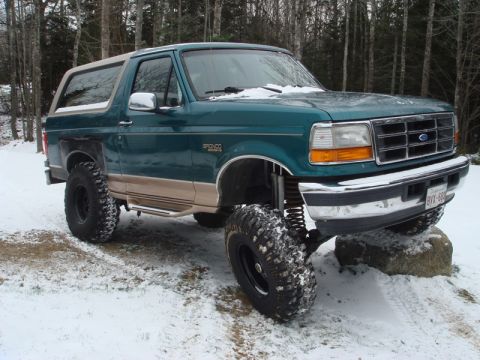
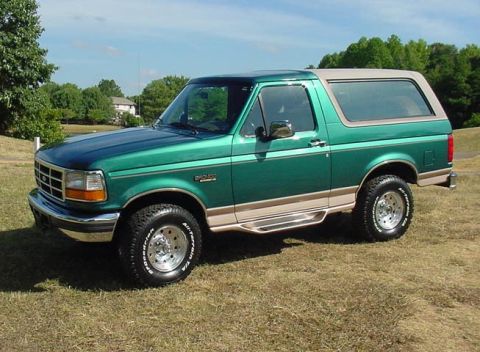
1993 Ford Bronco/
Photo
supermotors.net/registry/media/907903
Ford Bronco/F-Series Rancho Lift Install Pg 6 - Rear Radius Arm Bracket Relocate
Reference · 1992-1996 BroncoAll 142 service procedures
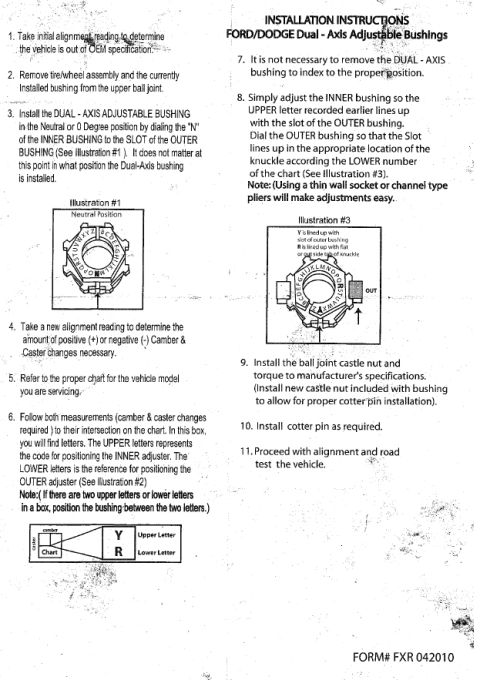
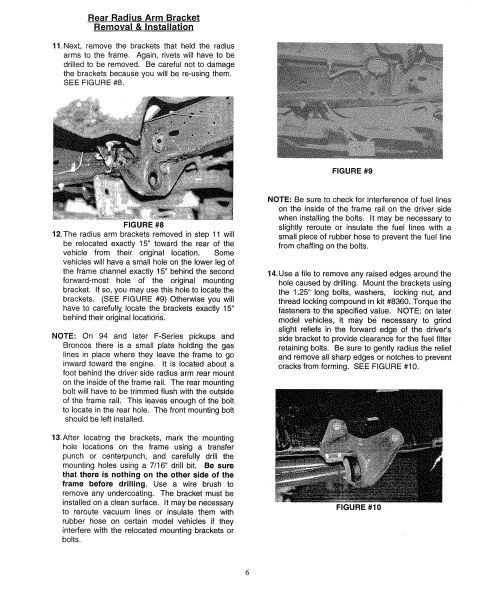
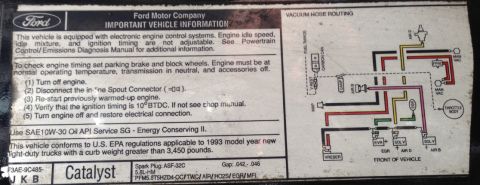
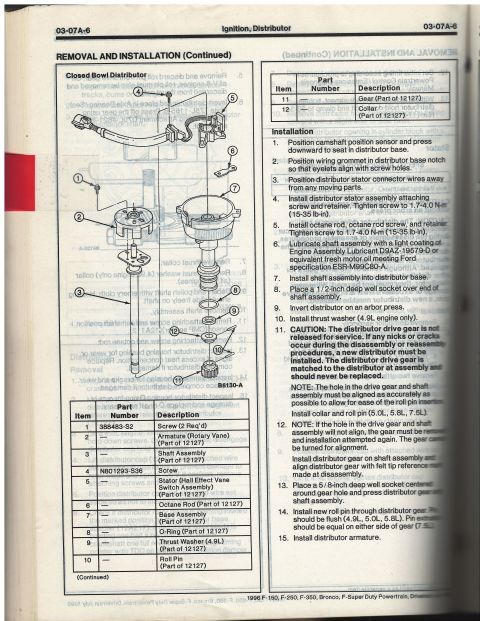
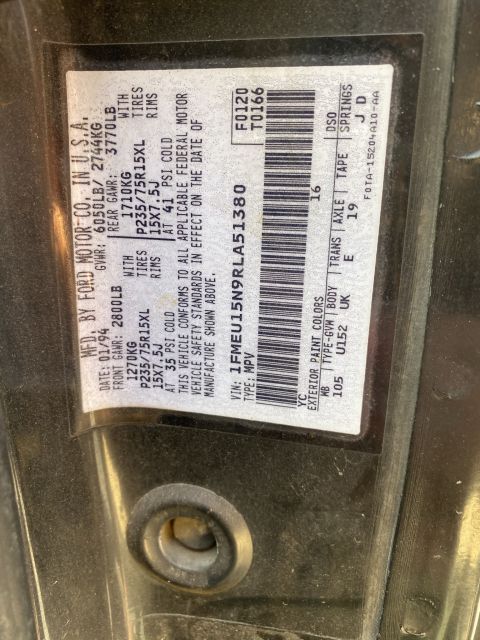
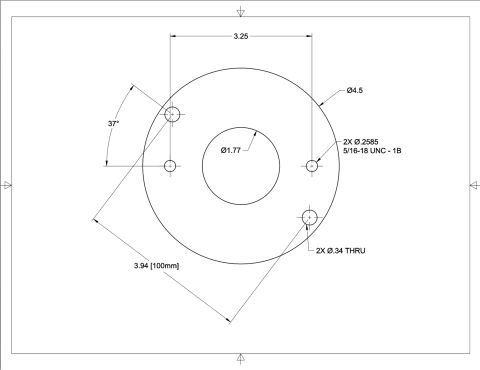

Service instructions for removing and relocating rear radius arm brackets 15 inches toward the rear of the frame, drilling rivets, and torquing relocation bolts.
Part of 1992-1996 Ford Bronco Service Procedures
This is page 6 of a suspension lift installation instruction manual (uploaded as Rancho lift instructions for a Ford Bronco), covering rear radius arm bracket removal and installation, steps 11 through 14. Step 11 instructs drilling out the rivets holding the radius arm brackets to the frame while preserving the brackets for reuse (Figure #8). Step 12 explains relocating the brackets exactly 15 inches rearward from their original position, noting that some vehicles have a locating hole in the frame channel (Figure #9). A note explains that on 1994 and later F-Series pickups and Broncos, a gas line retaining plate behind the driver-side radius arm rear mount requires trimming the rear mounting bolt flush with the frame rail. Step 13 covers marking hole locations with a transfer punch, drilling with a 7/16" bit, cleaning undercoating with a wire brush, and possibly rerouting or insulating vacuum lines. A second note warns about fuel line interference on the driver side. Step 14 covers deburring drilled holes with a file, mounting brackets with 1.25" bolts, washers, locking nuts, and thread locking compound from kit #8360, torquing to spec, and grinding stress-relieved clearances on later models for fuel filter retaining bolts (Figure #10).
Is this accurate? Sign in to help verify it.
Frequently asked questions
- How far rearward are the radius arm brackets relocated?
- Exactly 15 inches toward the rear of the vehicle from their original location. Some vehicles have a small hole in the lower leg of the frame channel exactly 15" behind the second forward-most hole of the original bracket that can be used to locate the brackets.
- What size drill bit is used for the bracket mounting holes?
- A 7/16" drill bit, after marking the hole locations with a transfer punch or centerpunch. Be sure nothing is on the other side of the frame before drilling.
- What hardware is used to mount the relocated radius arm brackets?
- The 1.25" long bolts, washers, locking nuts, and thread locking compound included in kit #8360, torqued to the specified value.
- What special issue applies to 1994 and later F-Series pickups and Broncos?
- There is a small plate holding the gas lines where they leave the frame, about a foot behind the driver-side radius arm rear mount. The rear mounting bolt must be trimmed flush with the outside of the frame rail; the front mounting bolt should be left installed.
- What should be done about fuel lines when installing the bracket bolts?
- Check for interference on the inside of the driver-side frame rail; it may be necessary to slightly reroute or insulate the fuel lines with a small piece of rubber hose to prevent chafing on the bolts.
No comments yet.