Home/
Registry/
Ford/
Bronco/
1992-1996/
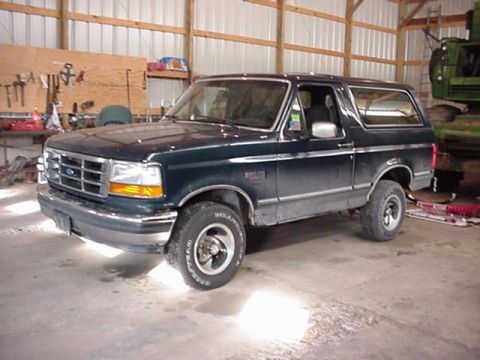
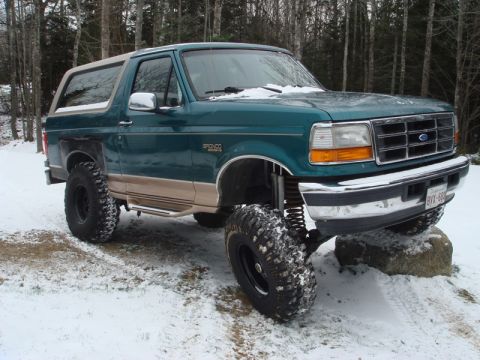
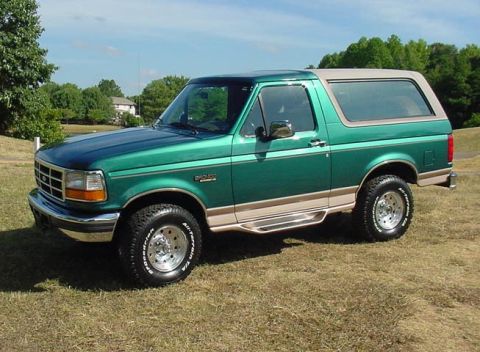
1996 Ford Bronco/
Photo
supermotors.net/registry/media/1052732
1994 Ford Bronco/F-150 Radio & CD Player Removal Procedure - Service Manual 15-01-3

Reference · 1992-1996 BroncoAll 142 service procedures
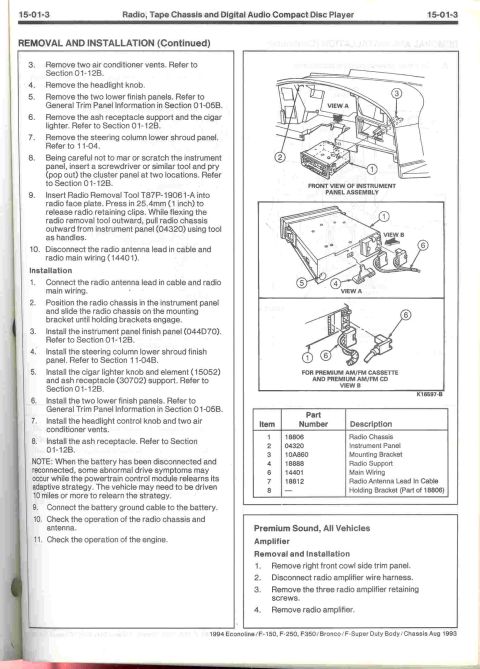


Ford service manual page 15-01-3 covering radio/tape/CD player removal and installation; calls out Radio Removal Tool T87P-19081-A pressed 25.4mm to release retaining clips, with parts callouts.
Part of 1992-1996 Ford Bronco Service Procedures
This is page 15-01-3 from the 1994 Ford Econoline / F-150 / F-250 / F-350 / Bronco / F-Super Duty Body/Chassis service manual (dated Aug 1993), covering the section "Radio, Tape Chassis and Digital Audio Compact Disc Player." It continues the removal and installation procedure for the factory radio chassis, including removing air conditioner vents, headlight knob, lower finish panels, ash receptacle support, cigar lighter, and steering column lower shroud panel, and using Radio Removal Tool T87P-19061-A to release the radio retaining clips. The installation steps reverse the process and include a note that after battery disconnection the powertrain control module must relearn its adaptive strategy over 10 miles or more of driving. Two illustrations show a front view of the instrument panel assembly and connector views (View A and View B) for the Premium AM/FM Cassette and Premium AM/FM CD units, with a parts legend listing part numbers 18806 (radio chassis), 04320 (instrument panel), 10A860 (mounting bracket), 18888 (radio support), 14401 (main wiring), and 18812 (radio antenna lead-in cable). A short procedure for removing and installing the Premium Sound amplifier (behind the right front cowl side trim panel) is also included.
Is this accurate? Sign in to help verify it.
Frequently asked questions
- What tool is needed to remove the factory radio from a 1994 Ford Bronco or F-Series truck?
- Radio Removal Tool T87P-19061-A. Insert it into the radio face plate and press in 25.4mm (1 inch) to release the radio retaining clips, then flex the tool outward and pull the radio chassis out using the tool as handles.
- Where is the Premium Sound radio amplifier located and how is it removed?
- It is behind the right front cowl side trim panel. Remove the trim panel, disconnect the radio amplifier wire harness, remove the three retaining screws, and remove the amplifier.
- Why might the engine run abnormally after reconnecting the battery during radio removal?
- The manual notes that after the battery is disconnected and reconnected, abnormal drive symptoms may occur while the powertrain control module relearns its adaptive strategy; the vehicle may need to be driven 10 miles or more.
- What is the Ford part number for the radio antenna lead-in cable?
- 18812, per the illustration parts table. The main wiring is 14401 and the radio chassis is 18806.
- What vehicles does this radio removal procedure cover?
- The page footer states it applies to the 1994 Econoline, F-150, F-250, F350, Bronco, and F-Super Duty Body/Chassis manual, dated Aug 1993.

No comments yet.