Home/
Registry/
Ford/
Bronco/
1980–1986/
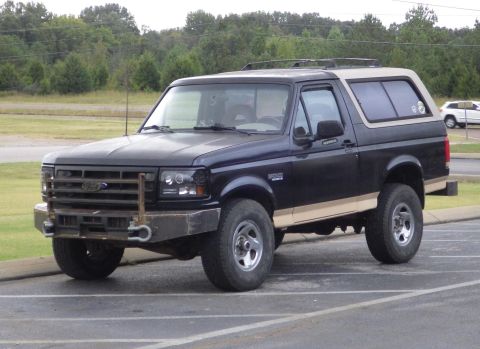
“That dirty old truck”/
Build
supermotors.net/registry/2742/79887
Album section
Build
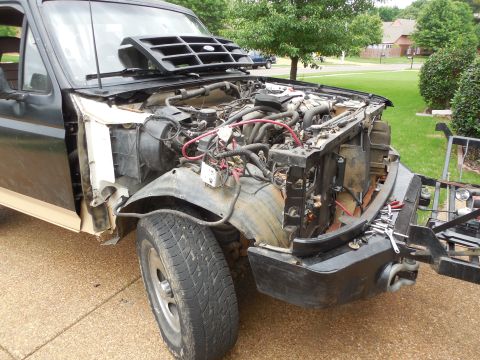
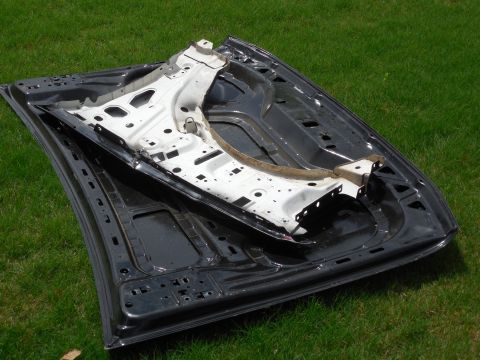
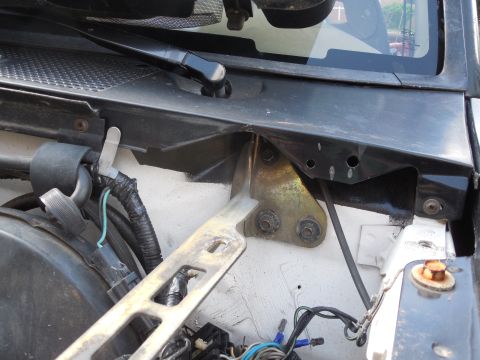
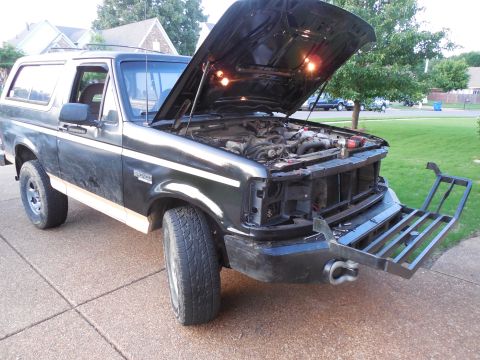
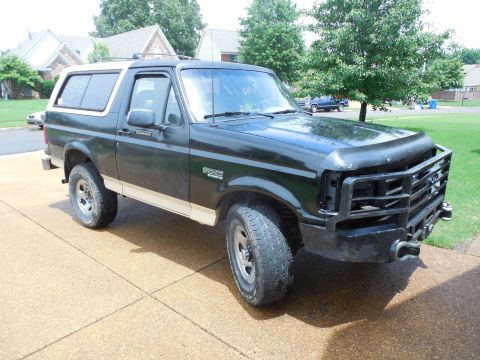
From 1983 Ford Bronco “That dirty old truck” — documented by Steve83.
339 photos
1 video
Album section
From 1983 Ford Bronco “That dirty old truck” — documented by Steve83.

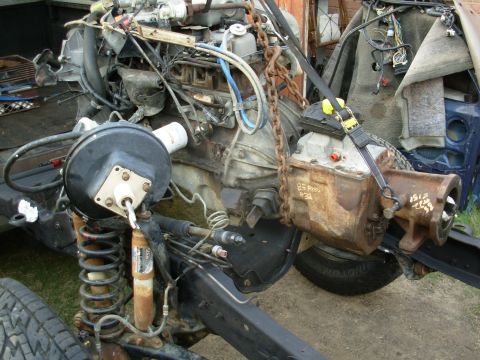
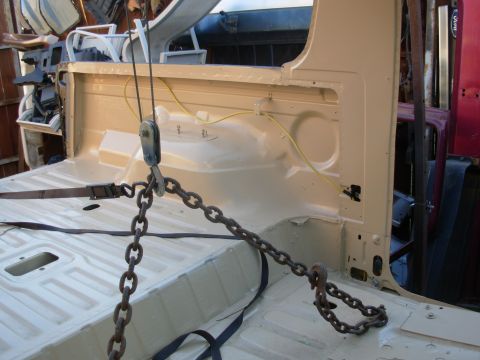
![1983 Ford Bronco - I'm really getting my money's worth out of this little crane. [url=http://www.supermotors.net/registry/22771/78471-2] http://www.supermotor…](https://www.supermotors.net/thumb/933566-480.jpg)
![1983 Ford Bronco - I'm really getting my money's worth out of this little crane. [url=http://www.supermotors.net/registry/22771/78471-2] http://www.supermotor…](https://www.supermotors.net/thumb/933567-480.jpg)
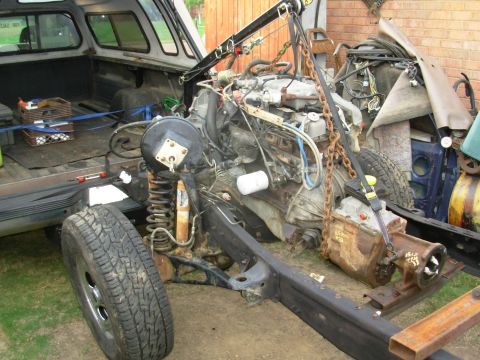
![1983 Ford Bronco - Lined up... [url=http://www.supermotors.net/registry/22771/78471-2] http://www.supermotors.net/getfile/901056/thumbnail/24hoisted.jpg](https://www.supermotors.net/thumb/933568-480.jpg)
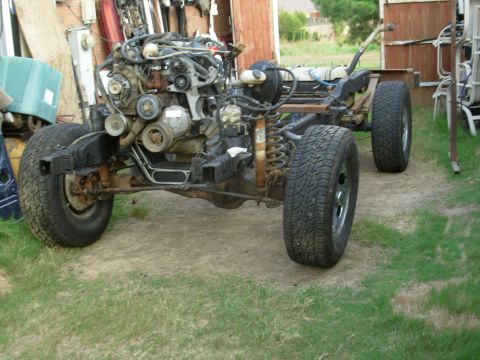
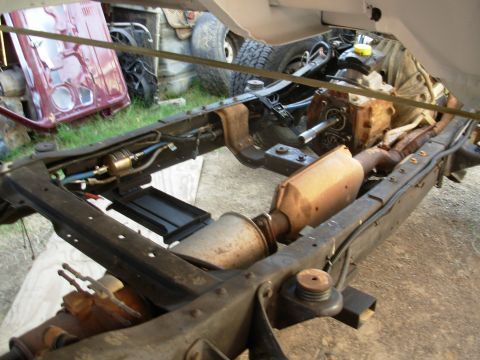
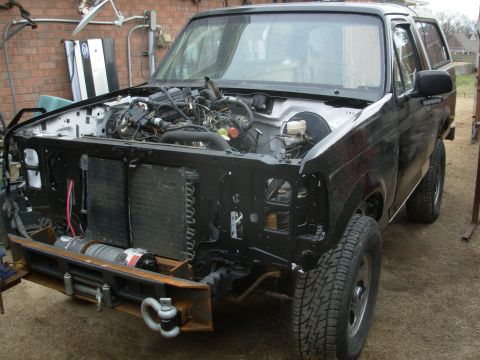
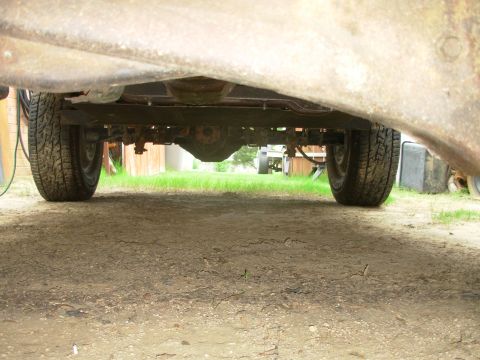
![1983 Ford Bronco - The dually is in Park - I'm rolling the chassis under the engine. [url=http://www.supermotors.net/registry/22771/78471-2] http://www.superm…](https://www.supermotors.net/thumb/933569-480.jpg)
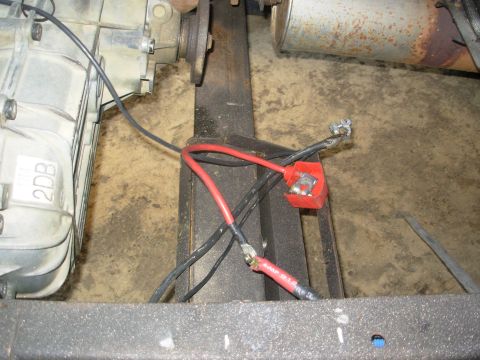
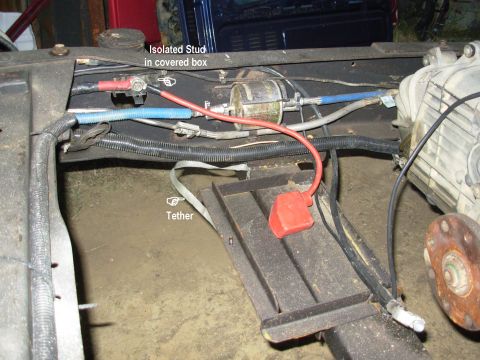
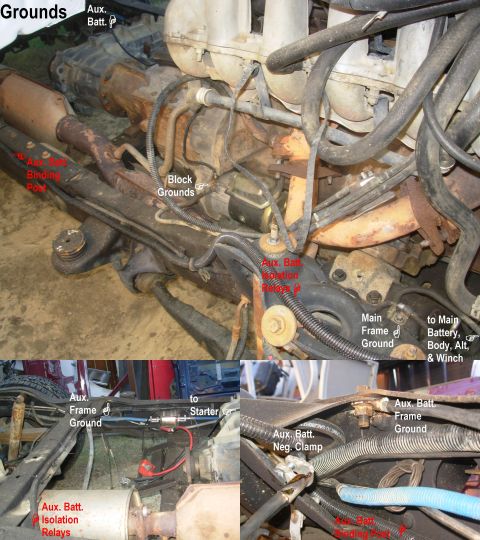
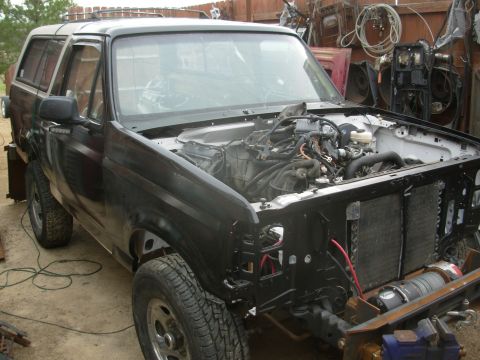
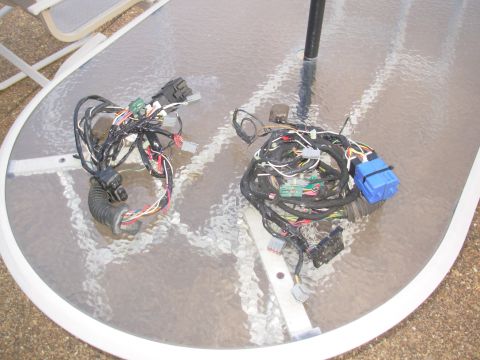
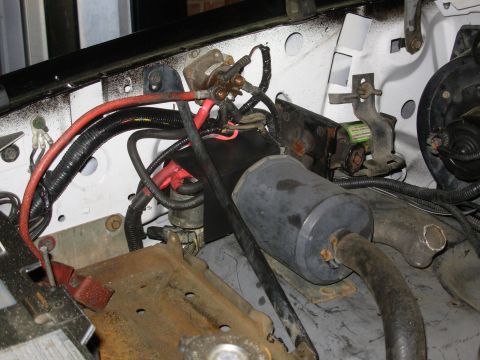
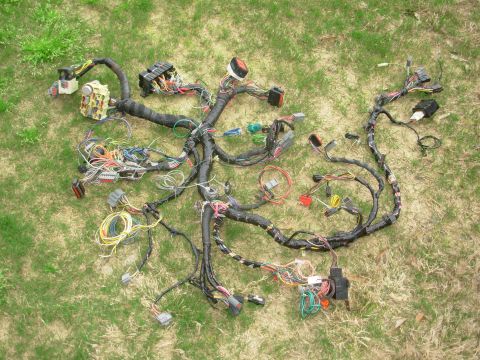
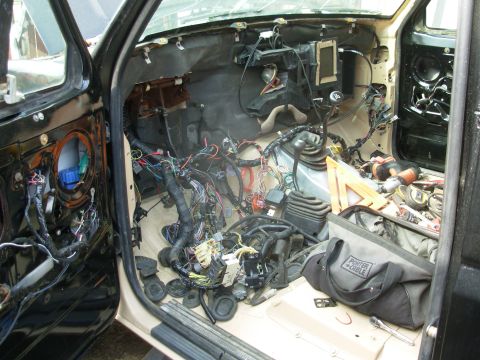
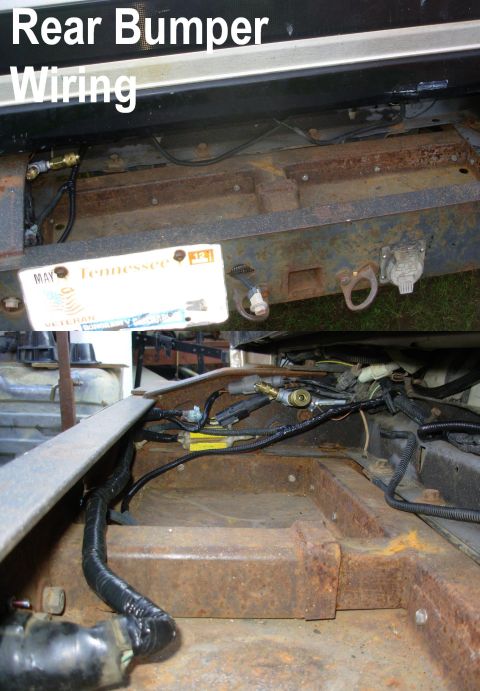
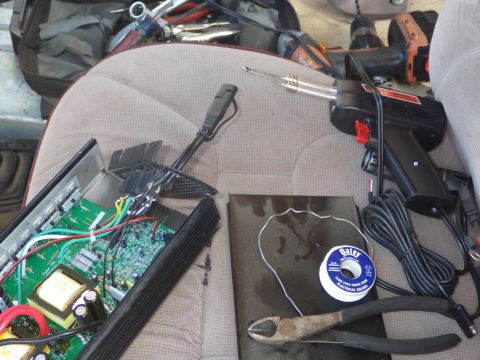
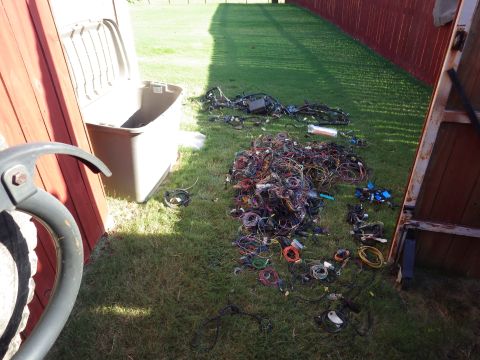
![1983 Ford Bronco - I added a few new circuits to the frame harness, and then laid it in. [url=http://www.supermotors.net/registry/media/930158] http://www.sup…](https://www.supermotors.net/thumb/935111-480.jpg)
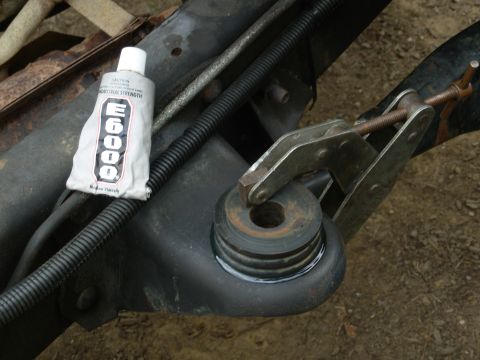
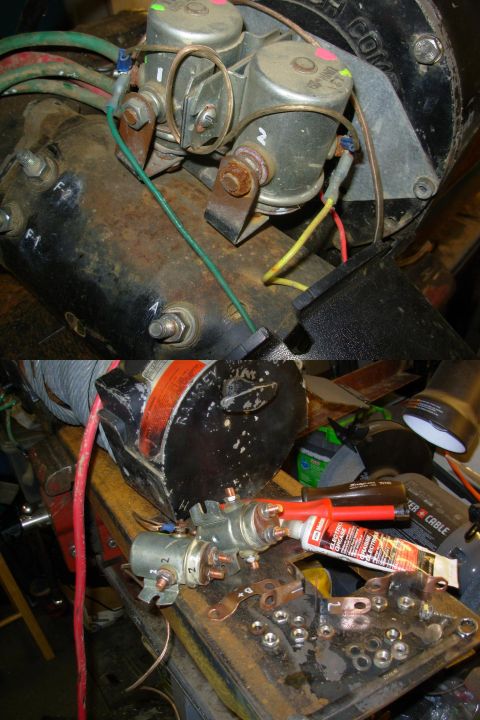
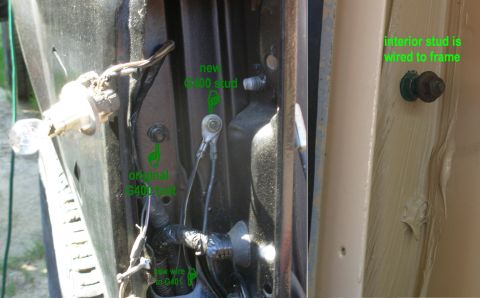
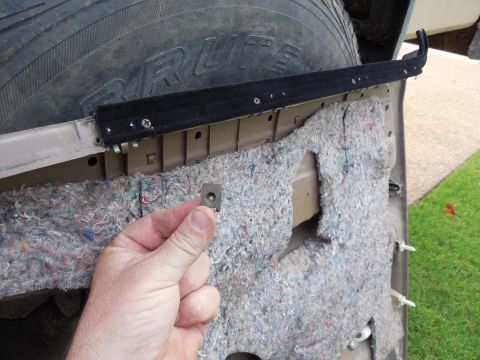
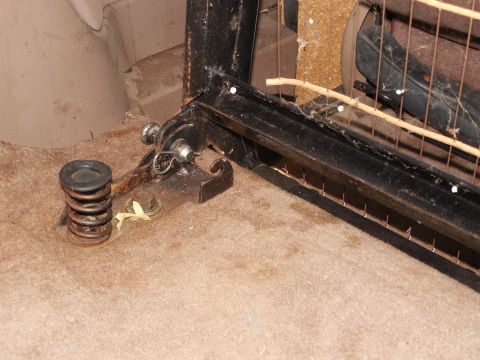
![1983 Ford Bronco - The factory installs about 3 of these RFI straps, but I have a bunch. [url=https://www.supermotors.net/registry/media/907034] https://www.s…](https://www.supermotors.net/thumb/951350-480.jpg)

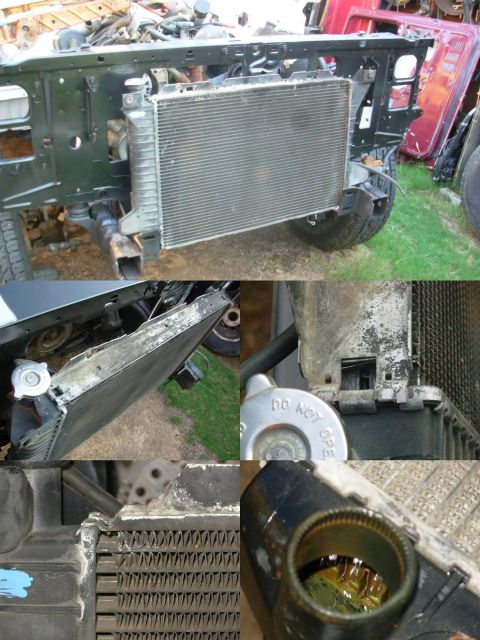


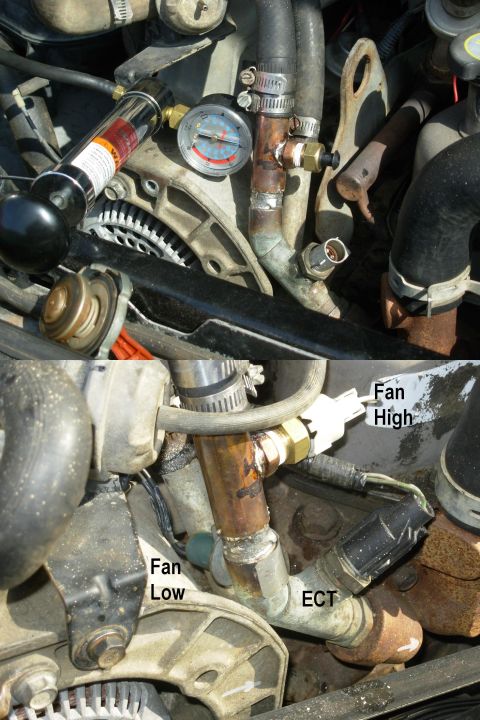
![1983 Ford Bronco - These are the same fans I've been using for years (probably from an ~'07 Focus). [url=https://www.supermotors.net/registry/media/609763_1]…](https://www.supermotors.net/thumb/978754-480.jpg)
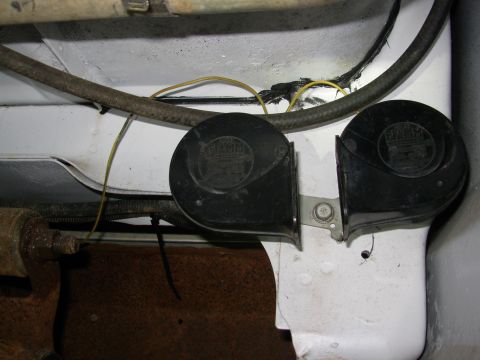
![1983 Ford Bronco - These help with A/C, so I'm adding them. [url=http://www.supermotors.net/registry/media/978973] http://www.supermotors.net/getfile/978973/t…](https://www.supermotors.net/thumb/978987-480.jpg)
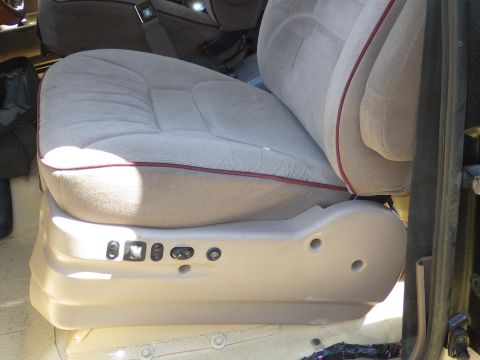
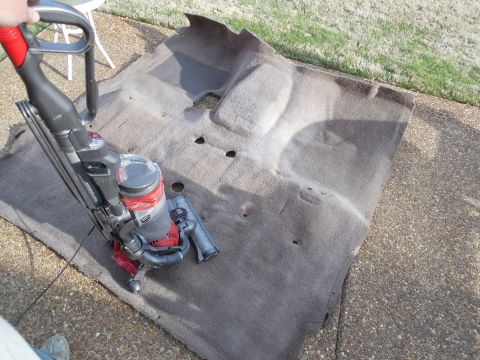
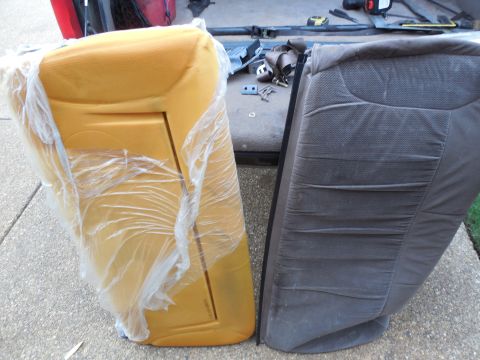
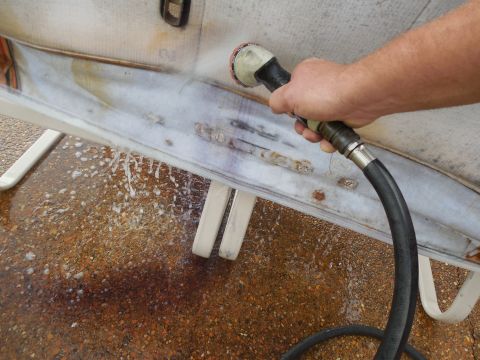
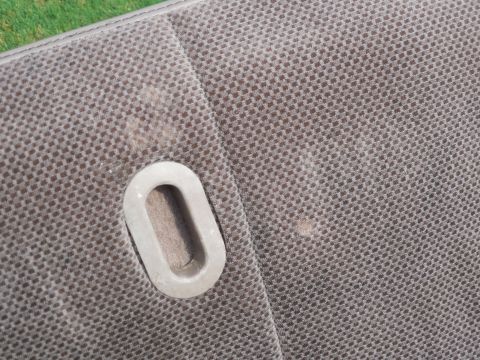
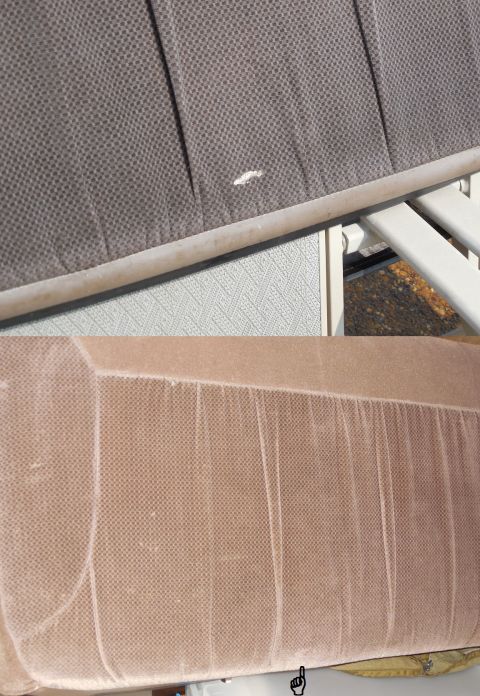
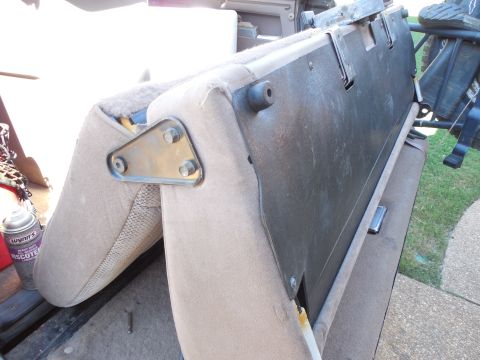
![1983 Ford Bronco - These chairs look nearly-new after a ride through the washing machine. [url=https://www.supermotors.net/registry/media/882905] https://www.…](https://www.supermotors.net/thumb/988737-480.jpg)


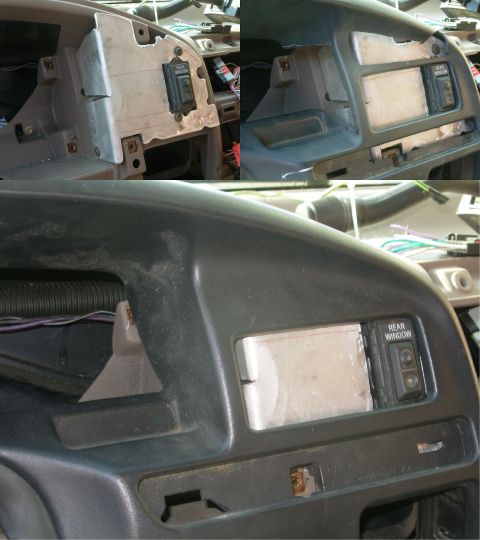
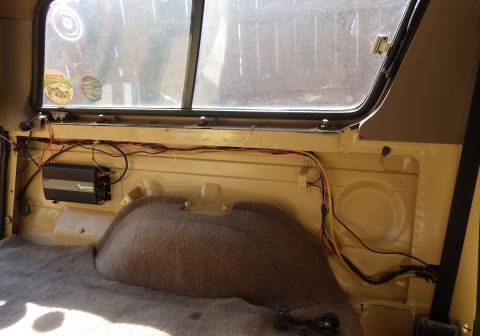
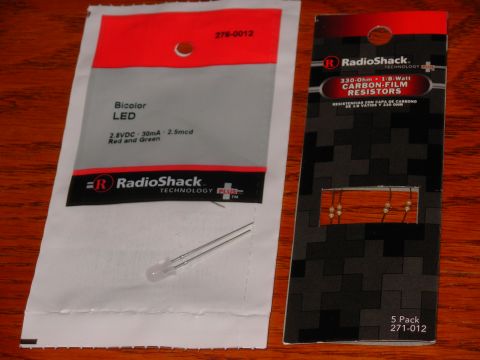
![1983 Ford Bronco - These sockets, each of the other sockets, and the USB power adapters have [url=http://www.amazon.com/gp/product/B0087YADV2/]these switches…](https://www.supermotors.net/thumb/995942-480.jpg)
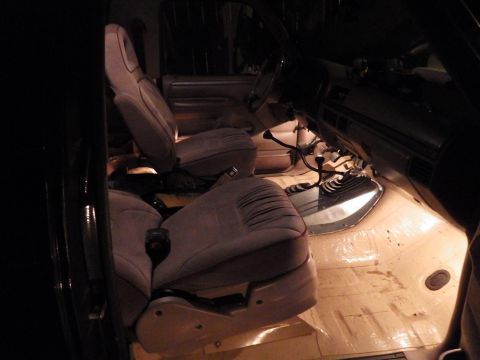

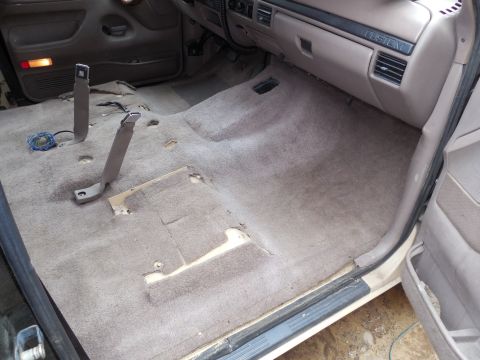
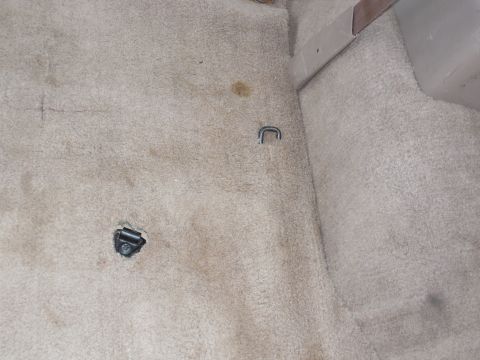
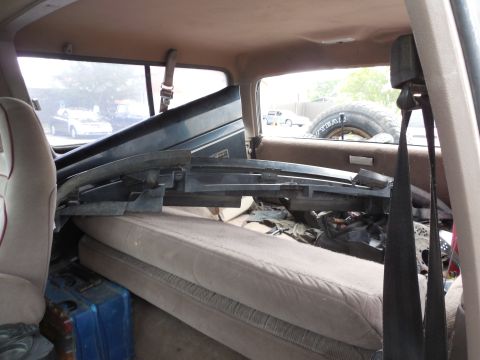
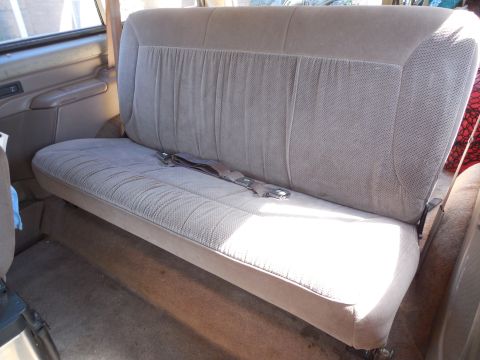
![1983 Ford Bronco - With a few more little tweaks, the chairs fit over the carpet. [url=https://www.supermotors.net/registry/media/939627] https://www.supermot…](https://www.supermotors.net/thumb/1019824-480.jpg)
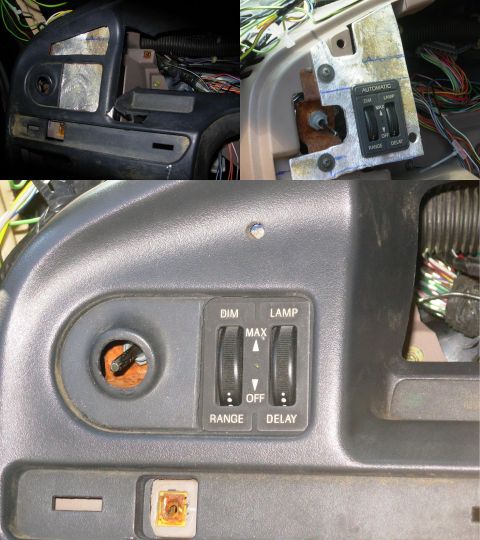
![1983 Ford Bronco - This location seemed most intuitive for the USB power, and [url=http://www.amazon.com/gp/product/B005FE44TO/]these switches fit & looked be…](https://www.supermotors.net/thumb/1023303-480.jpg)


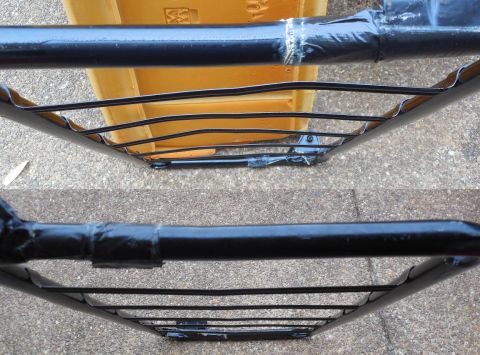
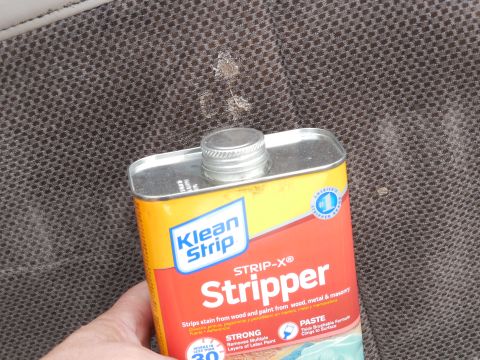
![1983 Ford Bronco - Of course, the butt upholstery is nastier than the back. [url=http://www.supermotors.net/registry/media/894698] http://www.supermotors.net/…](https://www.supermotors.net/thumb/1036464-480.jpg)

![1983 Ford Bronco - Curb Weight [url=http://www.supermotors.net/registry/media/1055401] http://www.supermotors.net/getfile/1055401/thumbnail/2015spring.jpg Wow…](https://www.supermotors.net/thumb/1037543-480.jpg)
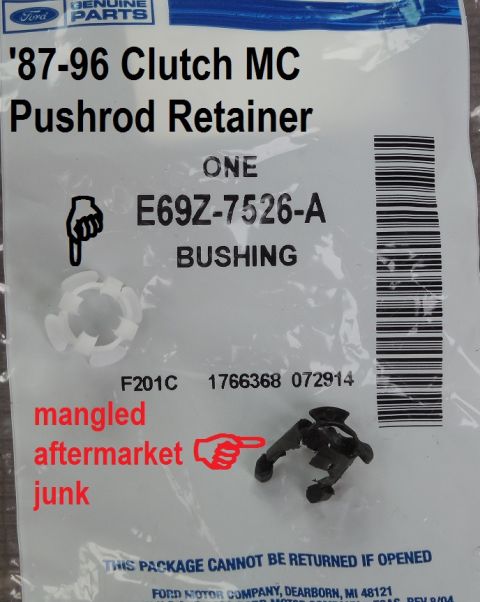
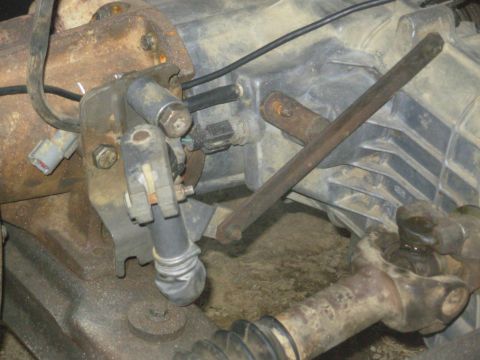
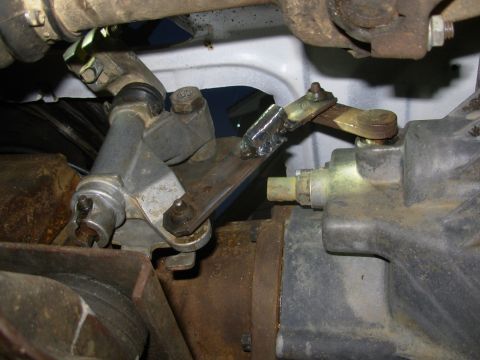
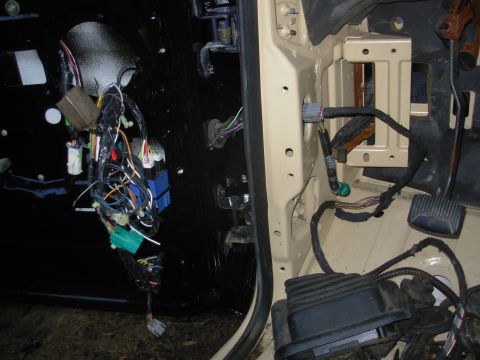
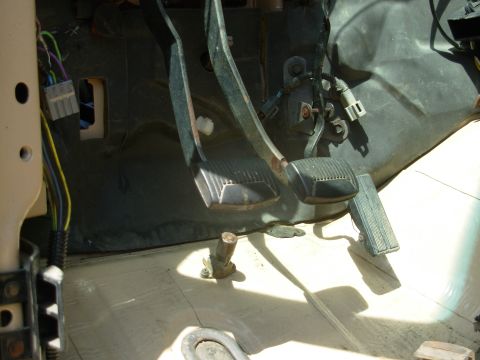
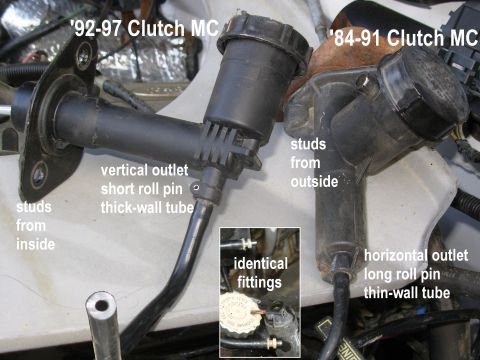
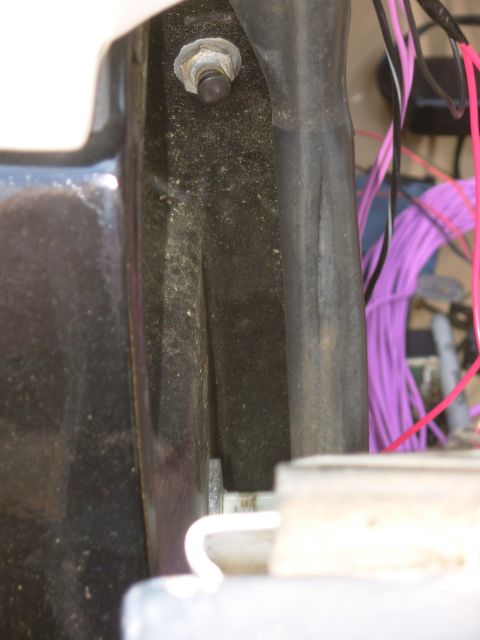
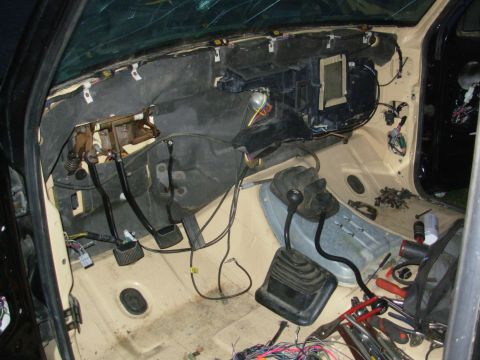
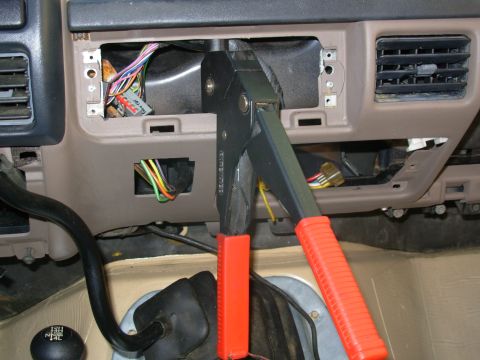
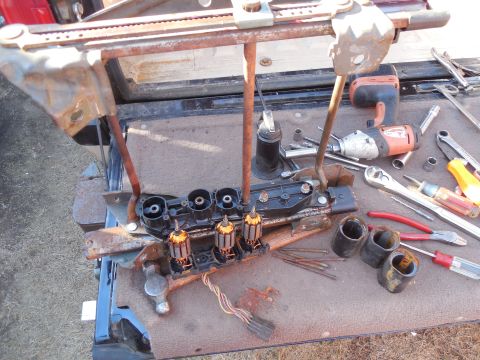
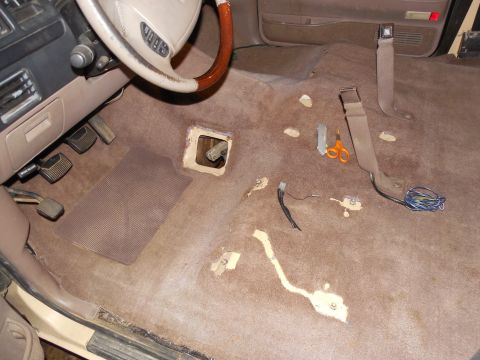
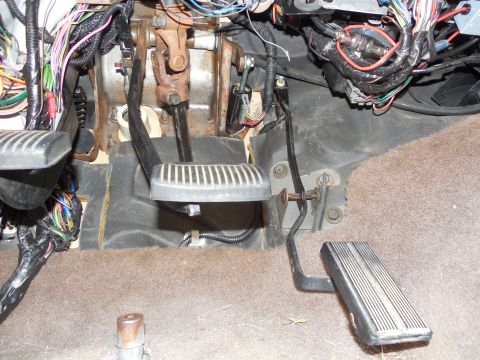
![1983 Ford Bronco - The clutch MC pushrod kept sliding off the lever, so I pulled the pedals ([url=https://www.amazon.com/dp/B005H7ODUE/]F3TZ-2455-A ) out to f…](https://www.supermotors.net/thumb/1040130-480.jpg)
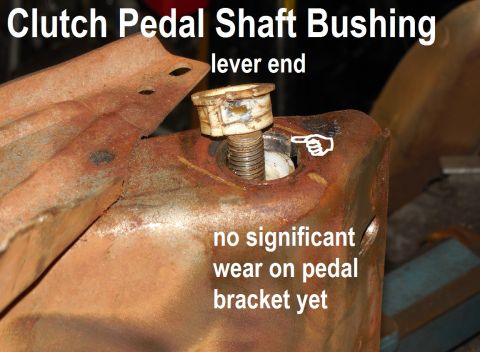
![1983 Ford Bronco - Even though this pedal bracket ([url=https://www.amazon.com/dp/B005H7ODUE/]F3TZ-2455-A ~$180 in 2015) is the improved design with a thicker…](https://www.supermotors.net/thumb/1040131-480.jpg)
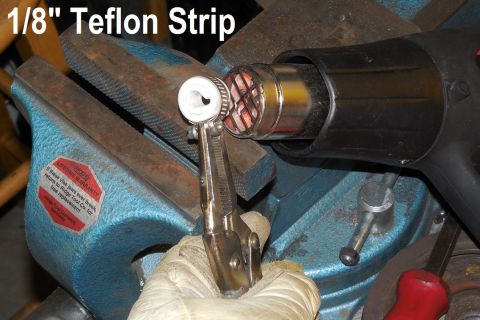
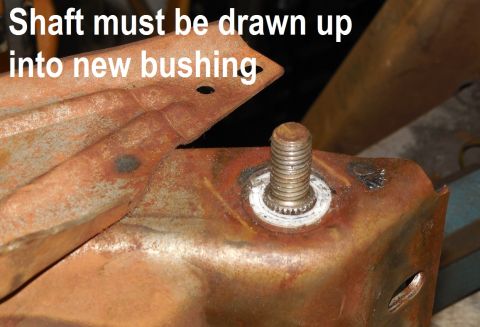
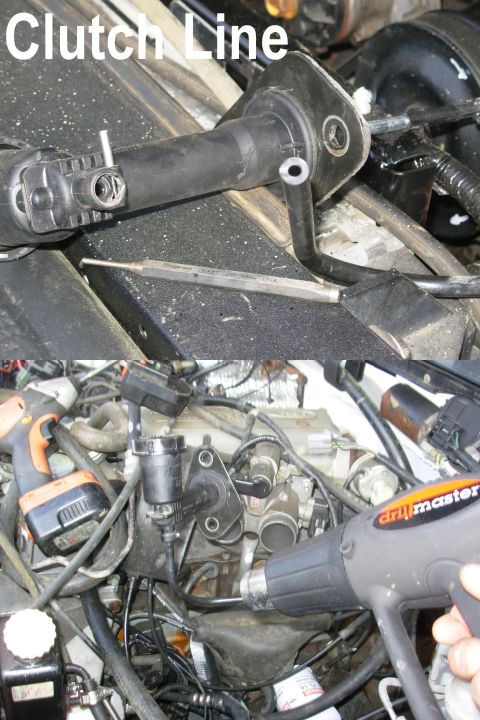
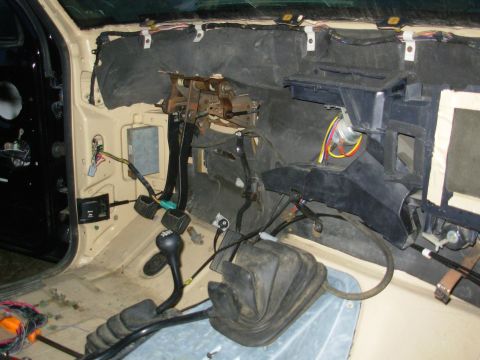
![1983 Ford Bronco - Technically, a new lever [url=https://www.amazon.com/dp/B0042HE68Y/]E7TZ-7A554-A is required every time, and they're only ~$25, but I'm goi…](https://www.supermotors.net/thumb/1040135-480.jpg)


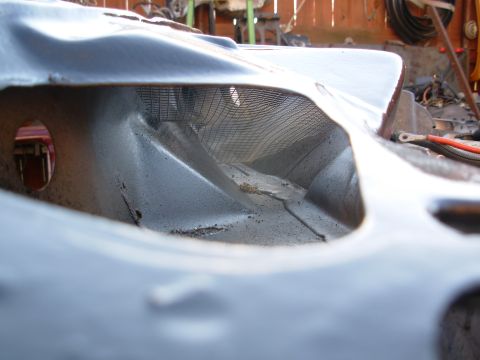
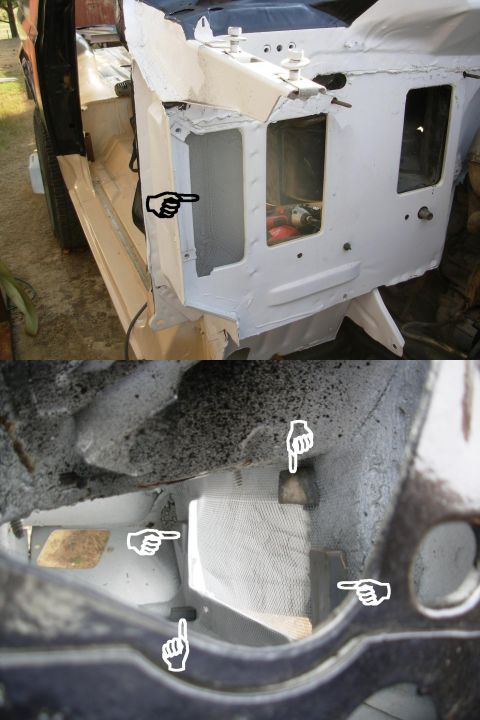
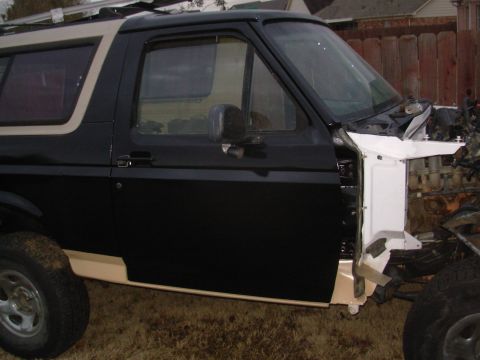
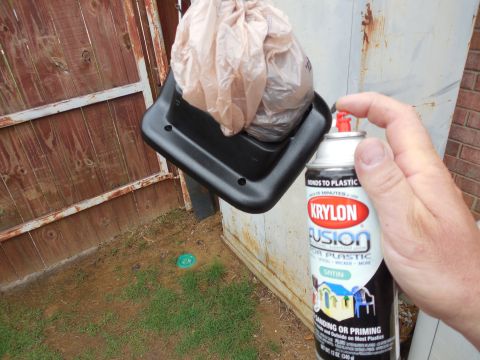
![1983 Ford Bronco - I painted it white inside, just like before. [url=http://www.supermotors.net/registry/media/1057283] http://www.supermotors.net/getfile/105…](https://www.supermotors.net/thumb/1057284-480.jpg)
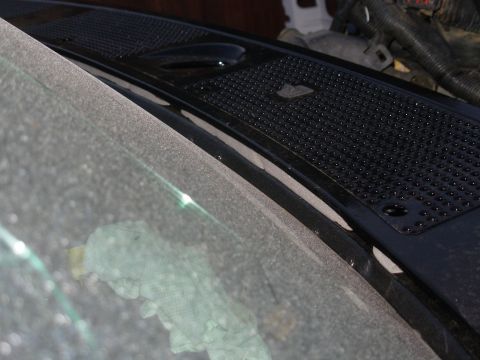
![1983 Ford Bronco - It's a high-protein paint job. [url=http://www.supermotors.net/registry/media/1057285] http://www.supermotors.net/getfile/1057285/thumbnail…](https://www.supermotors.net/thumb/1057574-480.jpg)